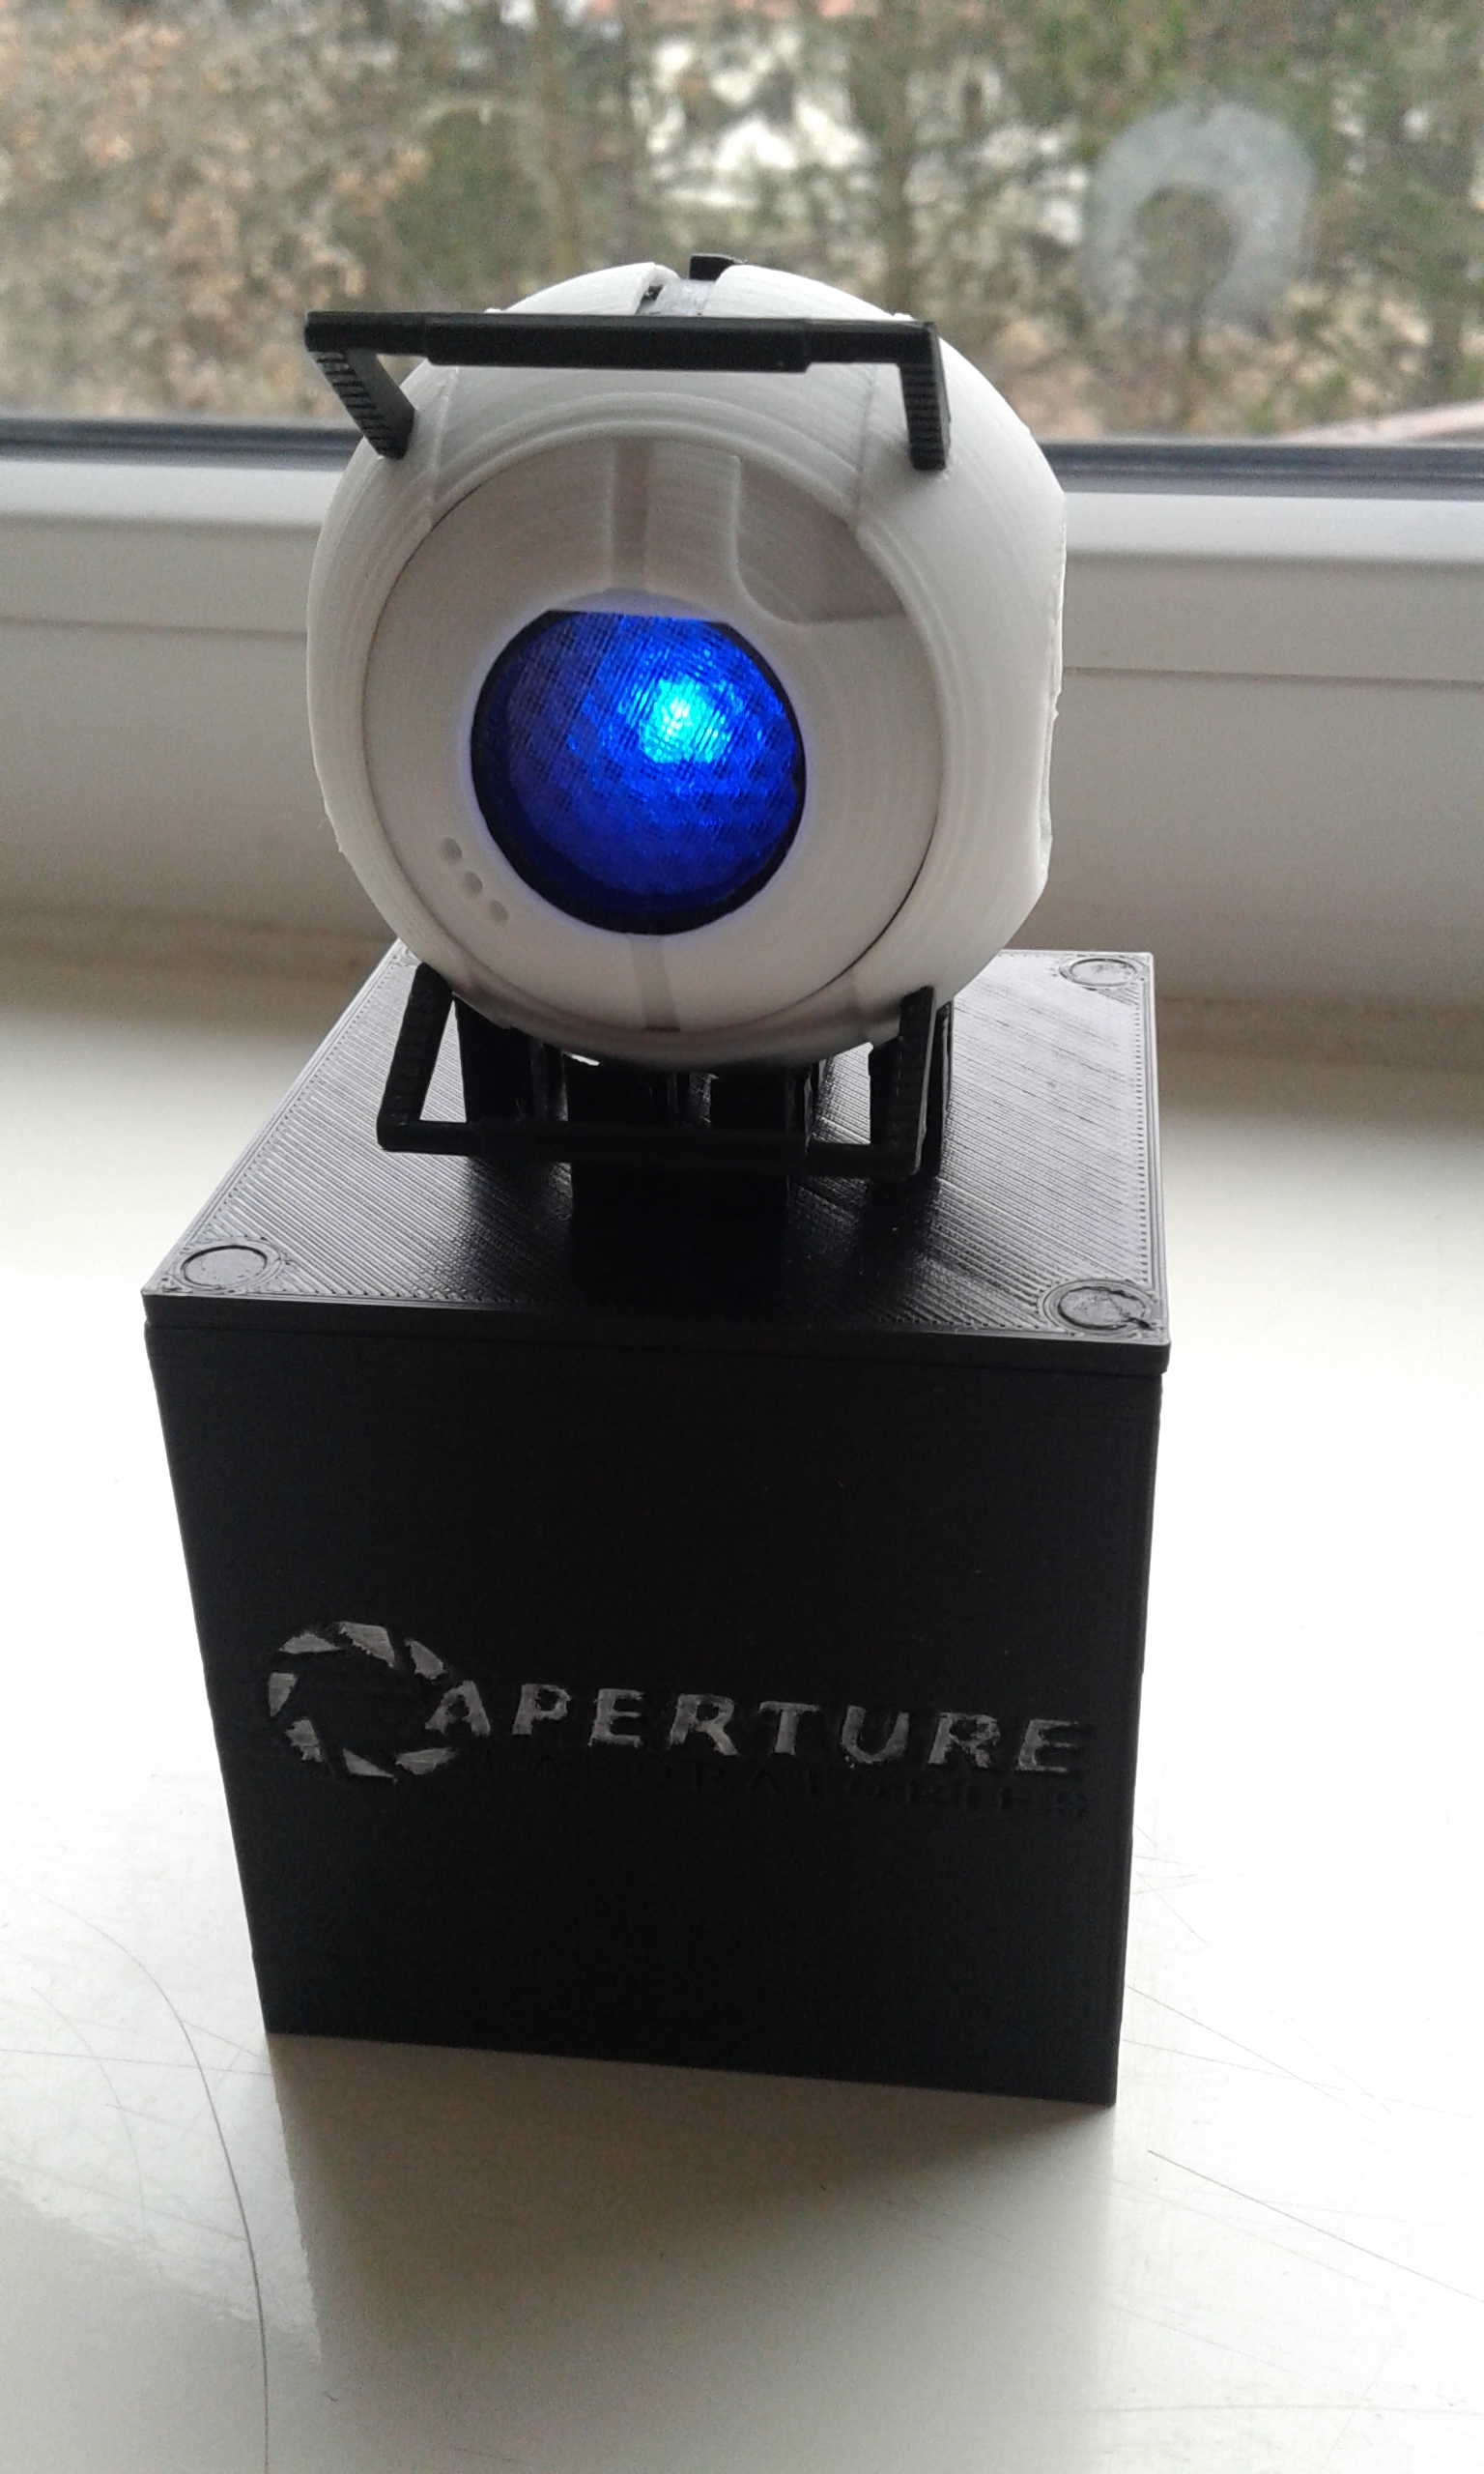
Wheatley (Portal 2) with LED
myminifactory
For complete model printing, print two Front Flaps, two Sliders, and two Handles. Print one of every other component. The only exceptions are Outer shells, both front and back, which require supports. To add 1mm brim to Outer shells and Flaps, use a separate tool. Front Flap, Front Shell, Outer Shell Front, and Outer Shell Back print in white PLA. Lens prints in transparent PLA with 40% honeycomb infill, two layers on the bottom, three perimeters, and no top layers. Everything else prints in black PLA. The entire Wheatley model prints at a resolution of 0.10, while the Box/Stand prints at 0.20. For electronics (requiring some soldering): * 1206 Blue LED * 51 Ohm resistor * SS13T40 sliding switch * 2032 battery * BH2032 battery holder (like this one: http://imgur.com/oJofXZJ) * Some wires to connect You can use different parts, but they were designed with these in mind. If you want to skip electronics, consider printing Core_right_B instead of the regular one and printing lens in blue instead of transparent. Order of assembly: 1. Solder resistor, LED, and two wires together. Feed the wires through holes in the LED plate. Glue the LED (using hot glue or CA) into the center of the LED plate. 2. Use CA to glue the LED plate with the Lens together, making sure they are aligned. 3. Solder one wire to the battery holder and another to the switch. Connect the two wires using a bit of wire, keeping in mind the polarity of the LED and battery. 4. Secure the switch in its designated slot on Core_right using hot glue. 5. If the LED lights up, proceed with the next steps. 6. Use CA to attach Lens and battery holder to Core_right. 7. Attach Core_left to Core_right. 8. Attach each Slider to a Front_Flap (sand both sides of slider+flap with fine grid sandpaper to ensure smooth sliding). 9. Place both sliders in position, then glue Outer_shell_front to the Core. 10. Attach Front_shell to the Core. 11. Attach both handles in the notches on Outer_shell. 12. Enjoy your completed Wheatley model. The Box/Stand was designed to snap together using six 2x5mm round neodymium magnets. When gluing these, make sure their polarity is aligned so that the box can stick together securely or snap its base on top to form a stand.
With this file you will be able to print Wheatley (Portal 2) with LED with your 3D printer. Click on the button and save the file on your computer to work, edit or customize your design. You can also find more 3D designs for printers on Wheatley (Portal 2) with LED.
