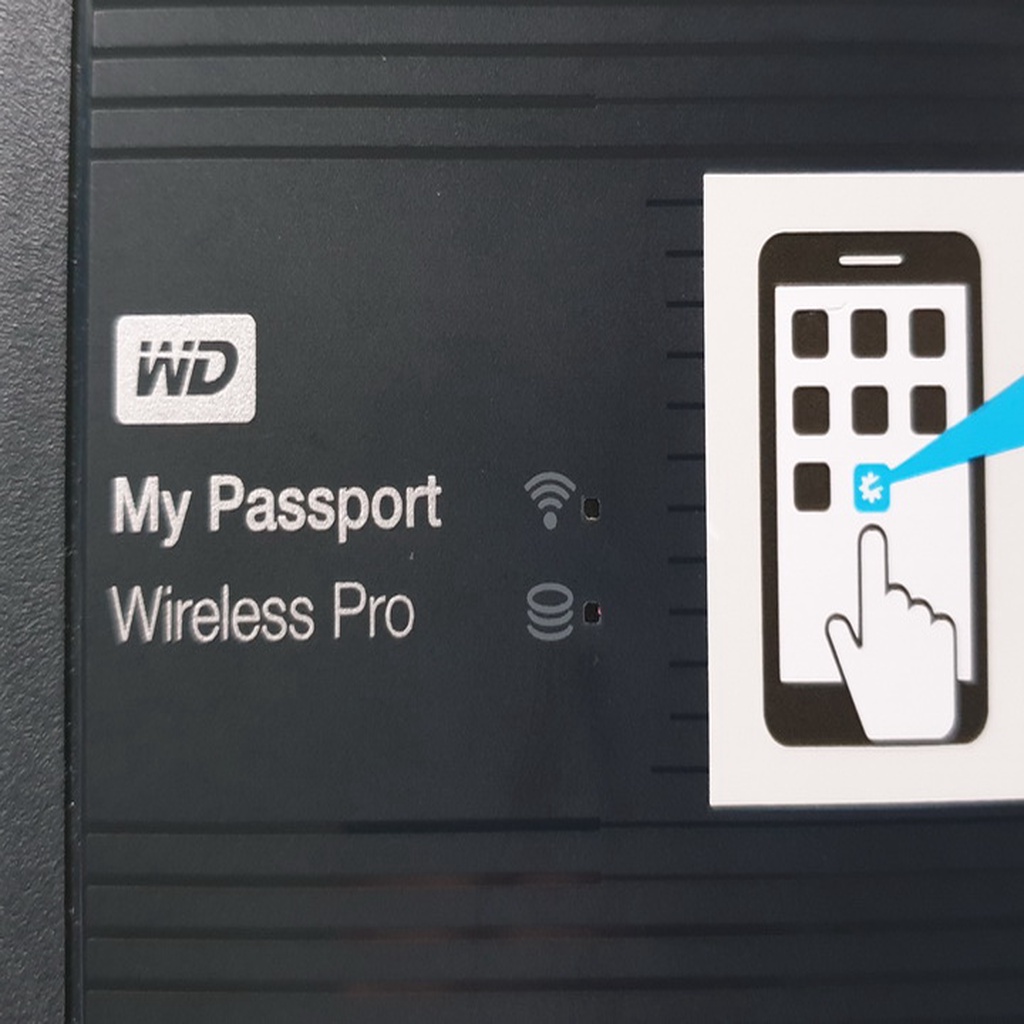
WesternDigital MyPassport Pro - Upgrade
prusaprinters
<p>If you don't use your Western Digital MyPassport Pro all the time, but more like once or twice a year as a backup device for your camera, the battery might be damaged through constant drain of stand-by electronics.<br/> My last device died of this since there where no spareparts availabel.</p> <p>This time I upgraded my device with a main switch, to completely disconnect the battery.</p> <p>Details on who to do it are below.</p> <h3> Print Settings</h3> <p><strong>Printer Brand:</strong></p> <p>Prusa</p> <p><p class="detail-setting printer"><strong>Printer: </strong> <div><p>i3 MK2.5</p></div><strong>Rafts:</strong></p> <p>No</p> <p><p class="detail-setting supports"><strong>Supports: </strong> <div><p>No</p></div><strong>Resolution:</strong></p> <p>0,1</p> <p><p class="detail-setting infill"><strong>Infill: </strong> <div><p>50</p></div><br/> <strong>Filament:</strong><br/> [</p> <h3> doesn't matter ABS/PET ](http://www.amazon.com/s?url=search-alias&field-keywords=doesn%27t+matter+ABS%2FPET&tag=thingiverse09-20) any you like How I Designed This</h3> <p><strong>WARNING!</strong></p> <p><div><p>Before you start:<br/> YOU WILL LOSE YOUR WARRANTY WITH THIS MOD!</p> <p>I'm NOT responsible if you mess up and brick your device!</p> <p>Short circuiting a lithium battery may cause it to explode!</p> <p><strong>Step 1</strong></p> <p><div><p>Lets start:<br/> The only place for a switch is somewhere beside the SD-slot.</p> <p>Is bought a switch with 4 seperate contacts (article number 708232, at conrad.at)</p> <p>To open the case you best use smartphone/tablet repair tools.<br/> Start directly above the SD-slot since the nose there is the easiest and countinue clockwise.</p> <p><strong>Step 2</strong></p> <p>Don't try to get out the electronic, because it's fixed with the HDD. You need to first open the 3 clips holding the HDD. One of them is very tricky.<br/> Then you can safely take out all the components.</p> <p><strong>Step 3</strong></p> <p>File the noches of the switch housing so you can solder the switch directly on to the SD-slot.<br/> Clip the long switch arm that the cap has a good fit. Place the switch onto the SD-slot that the plane is about 1mm higher than the circuit board. The plane can than cover the hole in the casing so you don't get too much dust inside.<br/> Solder the switch in place (be careful not to get solder into the SD-slot!)</p> <p><strong>Step 4</strong></p> <p>Drill-Guide:<br/> Western digital uses different casings for different HDD sizes. I happen to have a 2TB and a 3TB version of them, so I made different drill-guides.<br/> Just place them on the SD-slot and gently drill with a 4mm drill. After the first hole, just turn the drill-guide and drill the second hole (thats because the holes are slightly overlapping).<br/> Afterwards remove the excess to get a single long hole.</p> <p>The switch-cap and drill guide are designed with a distance of 7mm between the center line from SD-slot to the switch-pin. So the switch-cap is asymmetrical! Place it that the pin is furthest from SD.</p> <p><strong>Step 5</strong></p> <p>Attention now!<br/> Don't cut all wires at once or you will short circuit the battery. You don't want to short circuit a lithium battery, belive me!<br/> Cut as close to the battery as you can, but still be able to solder.<br/> Always only cut one wire and solder a new longer one. then isolate the end!<br/> Then the next wire. Don't forget to use shrink sleeves!</p> <p><strong>Step 6</strong></p> <p>Get the switch in off position, put the connector in and solder the lower two wires.<br/> Then the corresponding wires from the battery.<br/> Afterwards the upper row.<br/> Be careful that nothing touches the SD-slot cover or you will short circuit.<br/> I even cut the not used pins of the switch.<br/> The wires in my pictures are a bit too long, but I didn't want to cut them a second time.</p> <p>Check if the switch is working by testing the battery level.</p> <p><strong>Step 7</strong></p> <p>If everything works, you can now put together everything.<br/> Also usw the clips of the HDD.<br/> Putting it together can be a bit fiddly. Take your time.</p> <p><strong>Last but not least</strong></p> <p>You only need to switch on the battery in stand-alone mode of it's main purpose.<br/> If you want to use it on your computer, the switch can stay off.<br/> Charging, of course, only works when switch is on. ;-)</p> <p>How did I end up with two of these devices?<br/> At first I bought the 2TB version and wanted to replace the HDD with a 5TB model.<br/> I tried several things, but nothing worked.<br/> With vaccation ahead, I ordered a second device with 3TB.</p> <p>The electronics of both devices are completely identical. So it should only be software.<br/> There is a guide on how to replace the SSD with a different one, but the procedure didn't work with mine.</p> </div></p></div></p></p></p></p> Category: Computer
With this file you will be able to print WesternDigital MyPassport Pro - Upgrade with your 3D printer. Click on the button and save the file on your computer to work, edit or customize your design. You can also find more 3D designs for printers on WesternDigital MyPassport Pro - Upgrade.
