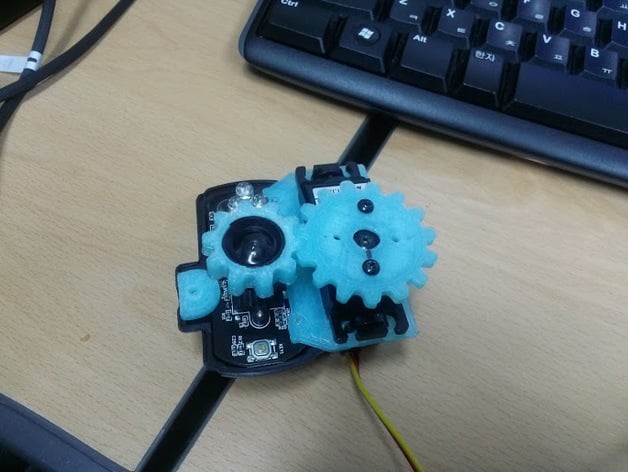
webcam autofocus gears
thingiverse
Experiment with a webcam servo setup by combining a TGCam-C30 camera and an HS-322 compatible servo. Download the STL files for "TGCam-C30_HS-322" to create all necessary parts. Position your webcam board and servo on the "servo_plate," securing them with screws if desired. Attach the servo gear to the servo horn and the lens gear to the webcam lens, ensuring proper fitment. For a safer attachment method, slightly modify the lens_gear hole diameter to accommodate the webcam lens without needing to press it tightly onto the lens. Next, choose a servo controller like Arduino with Knob tutorial for control. To design and add gears in Blender, enable "Extra Objects" Addon and ensure proper gear ratio by measuring center distances and experimenting with designs. Follow the provided specifications for the servo and lens gears, then make them solid by selecting, deselecting all, entering Edge select mode, and following a series of steps to bridge edge loops and extrude parts. With these instructions, you can create a functional webcam servo setup with custom-designed gears in Blender.
With this file you will be able to print webcam autofocus gears with your 3D printer. Click on the button and save the file on your computer to work, edit or customize your design. You can also find more 3D designs for printers on webcam autofocus gears.
