WeatherFlow Meter Weather Vane
prusaprinters
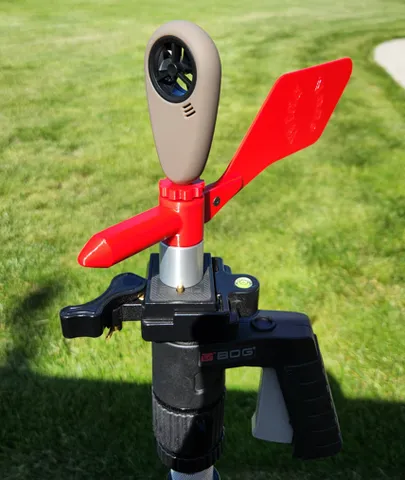
This is a weather vane for a WeatherFlow Precision Shooting Weathermeter. This mounts to a ¼-20 tripod mount. I also included a pdf file for the spindle if you wish to make from AL or other material.Note: I did not model the ¼-20 threads for Hub Cover and Jam Nut. You can let the bolt cut the thread or tap the two part. I did model the threads in the spindle. BOM:(1) ¼-20 bolt .75 inches(1) 4-40 countersunk screw .25 inches(2) 8 x 16 x 5mm sealed ball bearing(6) 1/4oz lead weights(1) Center Hub(1) Spindle ( I made this from AL, but it can also be printed)(1) Hub Cover(1) Meter Jam Nut(1) Wind Vane Assembly Instructions.Insert bolt in hub and install hub cover.Insert upper bearing to upper end of hub. Insert lower bearing to be flush with lower surface of hub.Insert wind vane into hub and install screw.Insert weights in lower side of hub pointer.Screw meter jam nut on bolt. Screw meter onto bolt until it bottoms out then back it off until positioned correctly.Tighten jam nut to meter.
With this file you will be able to print WeatherFlow Meter Weather Vane with your 3D printer. Click on the button and save the file on your computer to work, edit or customize your design. You can also find more 3D designs for printers on WeatherFlow Meter Weather Vane.