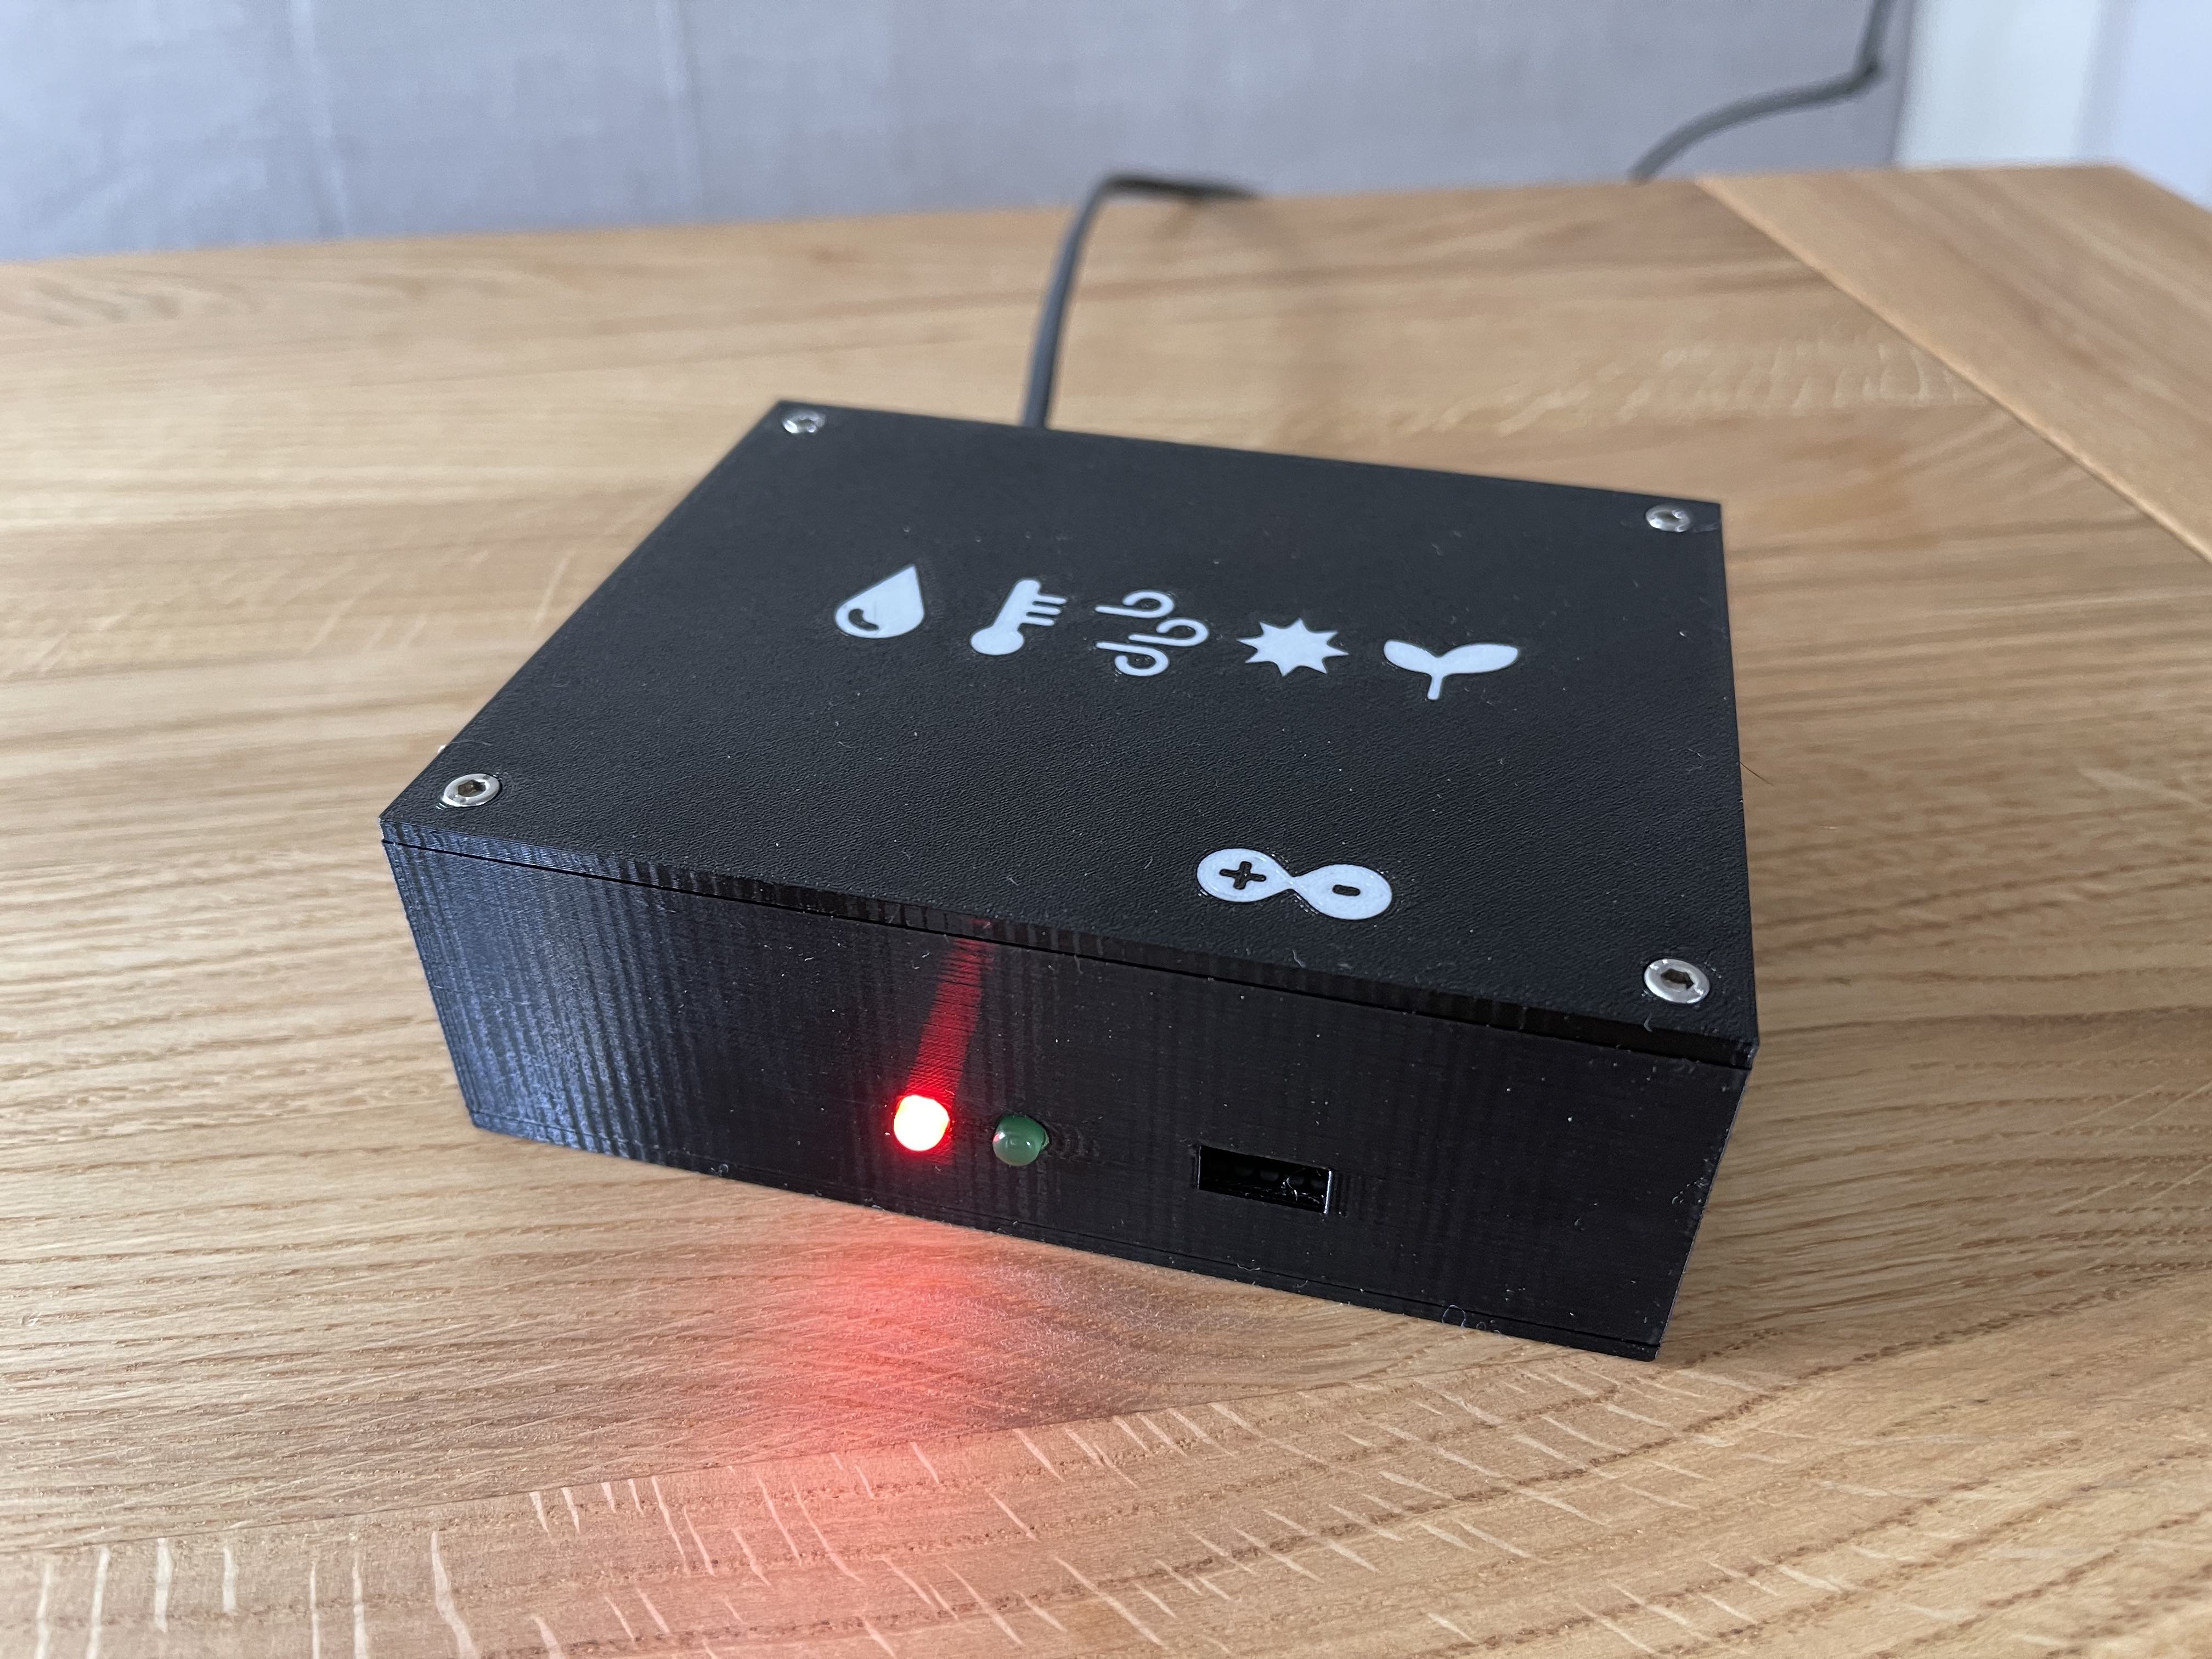
Weather Station One Part 2 - the Base Station
prusaprinters
<h3>Overview on project</h3><p>This is part of the Weather Station One project, a complete and modular weather station. The design of the system has been driven by a number of requirements:</p><ul><li>collect all common weather channels including temperature, humidity, barometric pressure, rain, wind speed and direction, illumination / sun hours, ground humidity</li><li>modular design allowing one to implement part of it, or extend the range of sensors</li><li>high depth of production; DIY as much as possible</li><li>long range transmission support - with the point of measurement far from home</li><li>integration into a home automation system</li><li>functional, easy to print, and beautiful 3D design</li></ul><p>When considering a project like this, please be aware that even with all designs published, it will be some work to do. This includes not only 3D printing, but carpentry work, soldering / electronics, and software in addition.</p><p>The parts published are made up from:</p><ol><li><strong>Part 1: Central Station. </strong>This is the part all sensors are connected to. It is battery / solar powered to allow placing it in the best place to measure data. It sends data collected using a HC-12 / 433Mhz band (up to 1 kilometer distance) chip.</li><li><strong>Part 2: Base Station.</strong> This is the Central Station's counter part. It receives data using another HC-12 chip and is dispatching it to our home-automation system. In addition, it hosts a web server allowing direct access to weather data.</li><li><strong>Part 3: Temperature </strong>(and other) <strong>sensor</strong>. This sensor is designed to sit in a proper Stevenson Screen / Wetterhütte. The current version measures ambient temperature, humidity, and barometric pressure using a digital sensor. It is connected to the Central Station.</li><li><strong>Part 4: Rain Gauge.</strong> This is a rain gauge collecting rain and feeding it into commuting buckets. The number of commutes is measured using a reed contact triggered a bucket-moved magnet. It is connected to the Central Station.</li><li><strong>Part 5: Wind Vane and Anemometer.</strong> Probably the most complex printing part measuring 16 wind directions and wind speed. Similar to the rain gauge, it is a mechanical part. Wind directions are measured using either 8 reed contacts, or an magnetic angle measurement sensor. Wind speed is measured by a single reed contact closed every time the anemometer wings do a full rotation. It is connected to the Central Station.</li><li><strong>Part 6: Stevenson Screen / Wetterhütte.</strong> This part is not detailed further because we have built it based on a <a href="http://www.met.fu-berlin.de/%7Estefan/huette.html">tutorial published by DWD (Deutscher Wetterdienst)</a>.</li><li><strong>Part 7: optional Battery Pack.</strong> The solar module and charger chosen come with a mount for a 14500 sized Lithium battery. Depending on the power consumption of the Central Station (and sensors) you may want to use an external Battery Pack.</li><li><strong>Part 8: Software and Electronics.</strong> This part is published on <a href="https://github.com/HarrysLapTimer/WeatherStationOne">Github</a>.</li><li><strong>Part 9: Solar Panel Mount</strong>. This is a solar panel mount as used currently. It allows adjusting the elevation to optimize generation for Winter and Summer seasons. Mid term it will be replaced by a solar tracker following the sun azimuth.</li></ol><p>For your convenience, I have created a <a href="https://www.prusaprinters.org/social/92858-harry/collections/101642">WeatherStationOne</a> collection including all but parts 6 and 8.</p><p>End of overview common to all parts.</p><h3>Part 2 - Base Station</h3><p>This is basically a box hosting an ESP32 microcontroller, a HC-12 chip, and transformer connected to a power cord. The base station will be connected to your home network using WiFi. The electronic parts and the software implementing the base logic are described on <a href="https://github.com/HarrysLapTimer/WeatherStationOne.git">github</a>. </p><p>I have decided to make the box from a bottom, center and top part. This allows access to circuit boards soldering from both the bottom and the top during assembly.</p><p>The STLs provided allow both a single color, or a multicolor print. This later can be done easily using the M600 command for tool changes and the configuration of a printer with two (virtual) extruders in PrusaSlicer. I assume there are similar technics for other printers / slicers.</p><p>The box is not water proof.</p><h4>Printing configuration</h4><ul><li>Layer height 0.2mm</li><li>0.4mm nozzle</li><li>15% infill</li><li>White and black PETG filament</li><li>place top and bottom parts surface on the printing bed</li><li>automatic support (from building plate only)</li></ul><h4>Other parts needed</h4><ul><li>1x ESP32 Developer Board</li><li>1x HC-12 board</li><li>1x 10 uF Elco</li><li>1x transformer 220V/110V AC to 3.3V DC</li><li>1x power cord matching your country</li><li>1x fuse (optional)</li><li>2x 220 Ohm resistor for LEDs</li><li>1x red LED 5mm (power)</li><li>1x green LED 5mm (receiving message / error)</li><li>universal circuit boards for ESP32 and transformer</li><li>8x M2x8 screws (boards)</li><li>8x M3x10 screws (housing)</li><li>2x M3x8 screws (cable clamp)</li></ul>
With this file you will be able to print Weather Station One Part 2 - the Base Station with your 3D printer. Click on the button and save the file on your computer to work, edit or customize your design. You can also find more 3D designs for printers on Weather Station One Part 2 - the Base Station.
