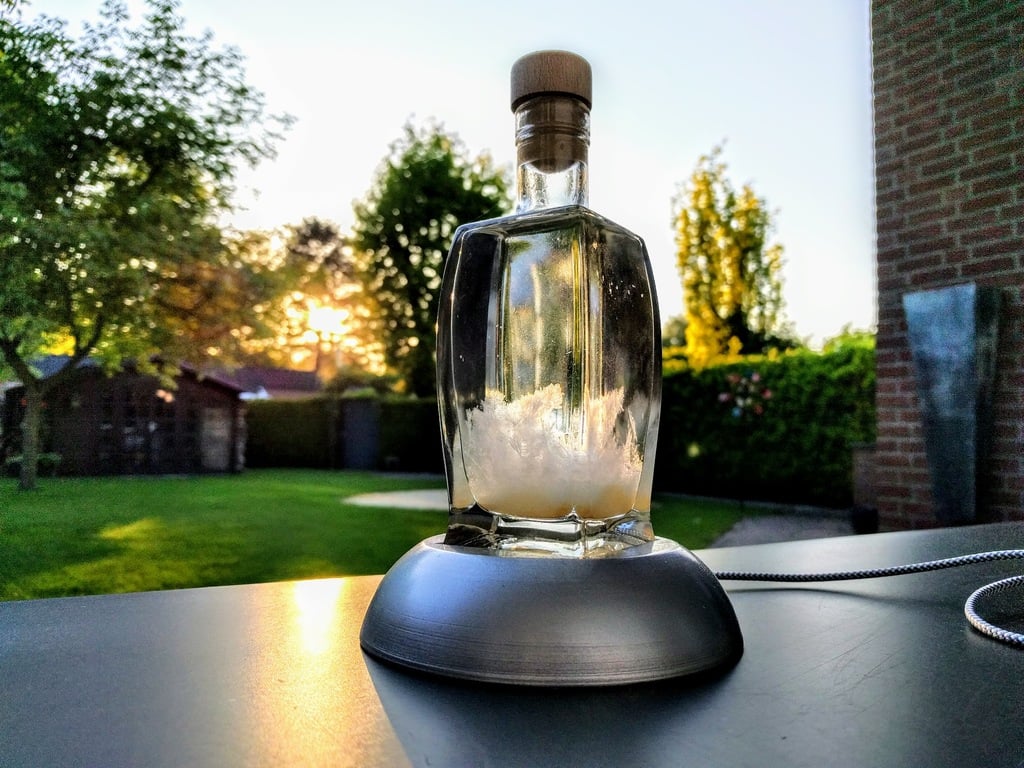
Weather in a Bottle
thingiverse
It appears that this text is a DIY tutorial on how to build a Storm Glass, which is a decorative container that displays upcoming weather conditions using a crystal-like substance. The tutorial provides instructions on how to print the stand and cover for the storm glass using a 3D printer, as well as the electronics required to display the weather data. It also includes information on how to configure the software and connect to a WiFi network. Here is a summary of the steps involved: 1. Print the stand and cover for the storm glass using a 3D printer. 2. Solder a brass inlet into the top of the stand, which will be used to attach the crystal-like substance. 3. Assemble the electronics required to display the weather data, including an ESP8266 microcontroller, WS2812B LEDs, and a DC-DC converter. 4. Configure the software using Visual Studio Code and PlatformIO. 5. Connect the storm glass to a WiFi network and configure the location key for the weather data. The tutorial also provides some notes on troubleshooting and customization options, as well as a link to the GitHub repository where the code can be found. Overall, this is a comprehensive DIY tutorial that provides detailed instructions on how to build a Storm Glass using 3D printing and electronics.
With this file you will be able to print Weather in a Bottle with your 3D printer. Click on the button and save the file on your computer to work, edit or customize your design. You can also find more 3D designs for printers on Weather in a Bottle.
