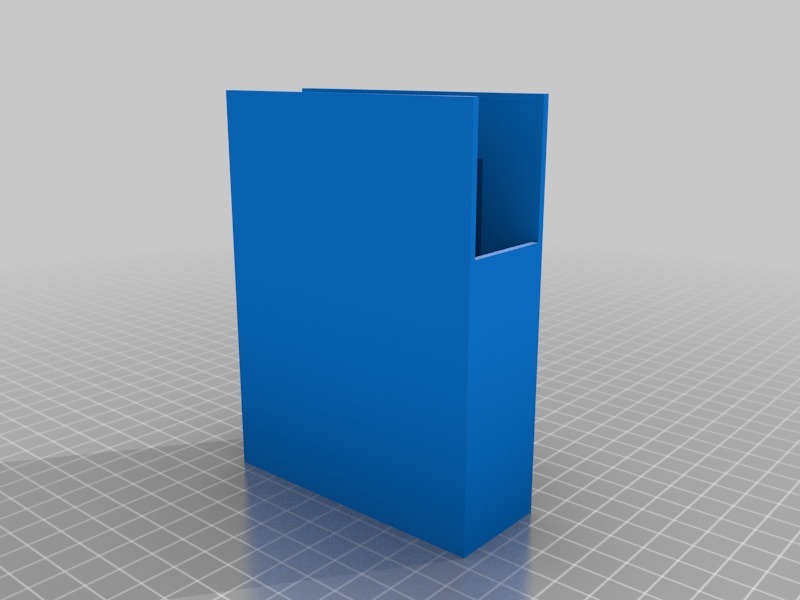
WD Elements 2TB Open Case
thingiverse
Mounting a 2TB external hard drive like the Elements model from Western Digital directly to the rear of your television can be a fantastic way to declutter your viewing area while still having access to all of your stored content. First, you will need to gather some basic materials which are easily found at most electronics or home goods stores. You'll require a sturdy adhesive strip designed for mounting heavy objects securely, a drill press or other precision drilling tool, and the hard drive itself, obviously. The Elements model is a great choice due to its compact size and impressive storage capacity. Start by carefully selecting a spot on the back of your TV where you can safely mount the drive without obstructing any vents or compromising the structural integrity of the device. Once you've identified the perfect location, use your drill press to create a small pilot hole that's just large enough for the adhesive strip to fit snugly through. Next, peel off the backing from one end of the strip and carefully press it against the back of the TV where you want the drive to be mounted. Make sure it's centered and secure before moving on to the next step. With the strip now firmly attached to your TV, take your hard drive and attach it to the other end of the adhesive strip using a similar process. This will create a sturdy connection that can hold even the heaviest drives in place. Finally, plug in your hard drive and connect it to any devices you'd like to access its content from. With this simple setup, you'll have all of your stored files right at your fingertips without taking up any additional space on your coffee table or entertainment center.
With this file you will be able to print WD Elements 2TB Open Case with your 3D printer. Click on the button and save the file on your computer to work, edit or customize your design. You can also find more 3D designs for printers on WD Elements 2TB Open Case.