WC Free 3D model
cgtrader
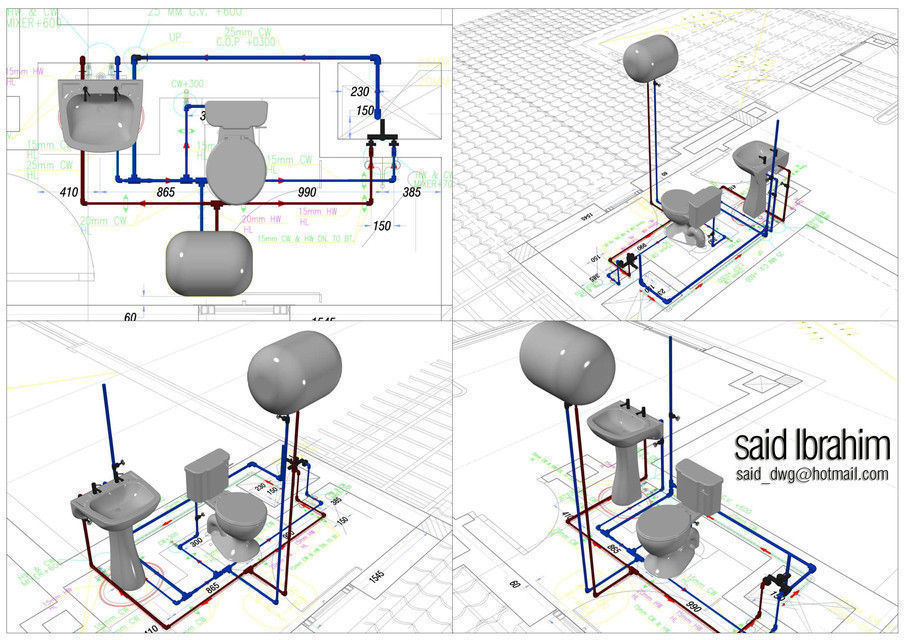
Drawing a Plan View in AutoCAD 2016 is pretty much a piece of cake, even for an amateur draftsman like me. I start by switching over to the Layout tab where I select from among the many predefined templates that come with the program and hit create. A drawing layout instantly pops up as soon as my new template has been chosen. I now begin to work on defining boundaries of different regions within this layout area. These boundaries are established via insertion of simple geometric objects such as circles or polygons depending upon how specific a border requirement happens to be at hand. This makes sure no piece falls outside of specified confines during actual drafting phase later down the road when needed most! Next step would obviously involve selecting line types (or line weights) along with color options before beginning actual creation part itself! Lines must always match style chosen while filling certain zones requires proper combination of both so as not get jumbled in messy confusion which no-one wants anyway! After carefully thinking through which specific shapes require edges defined around them via lines we proceed onward using command 'Boundary', where every picked element gets transformed instantly turning it right away part itself automatically getting separated off its whole original shape seamlessly integrating brand new component onto canvas without ever leaving current viewport since whole interaction stays completely self-contained within current window space.
With this file you will be able to print WC Free 3D model with your 3D printer. Click on the button and save the file on your computer to work, edit or customize your design. You can also find more 3D designs for printers on WC Free 3D model.