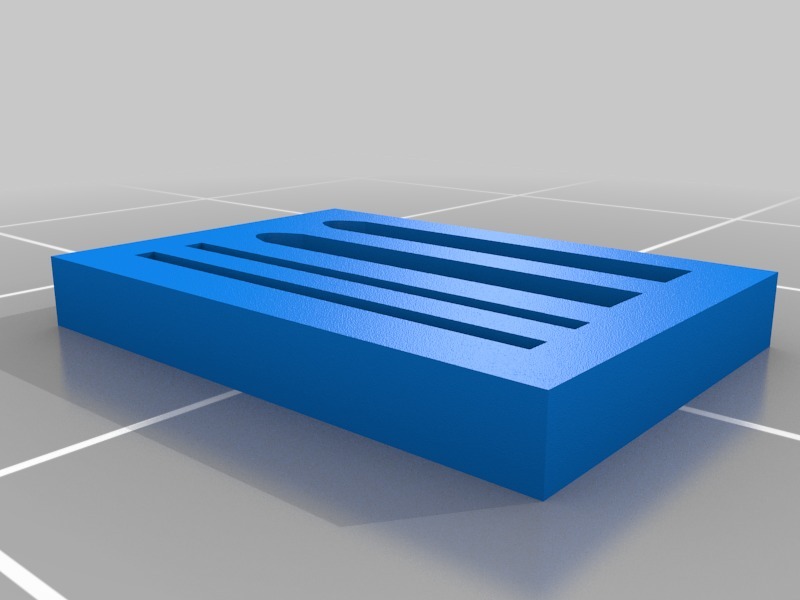
Wax Seal stick mold
thingiverse
Crafting a Customized Wax Seal Mold from Scratch To begin creating your very own customized wax seal mold, start by gathering all necessary materials and tools. This will ensure a smooth and efficient process from start to finish. Begin by selecting the specific type of mold you desire, taking into account factors such as shape, size, and design complexity. Once you have made this choice, carefully cut out the desired design or pattern from a thin sheet of metal, plastic, or other durable material. Next, place the cut-out design onto a flat surface, ensuring it is centered and secure. Using a specialized tool or heat source, carefully shape the mold to achieve the desired depth and texture. This process may require some patience and finesse, but the end result will be well worth the effort. Once the mold has been shaped and cooled, test its functionality by pouring melted wax into the cavity. Observe how the wax flows and solidifies within the mold, taking note of any areas that may need further refinement. With these steps completed, your customized wax seal mold is now ready for use. Simply place a small amount of melted wax onto the surface of the mold, apply gentle pressure to ensure even distribution, and voila! Your very own wax seal is complete.
With this file you will be able to print Wax Seal stick mold with your 3D printer. Click on the button and save the file on your computer to work, edit or customize your design. You can also find more 3D designs for printers on Wax Seal stick mold.
