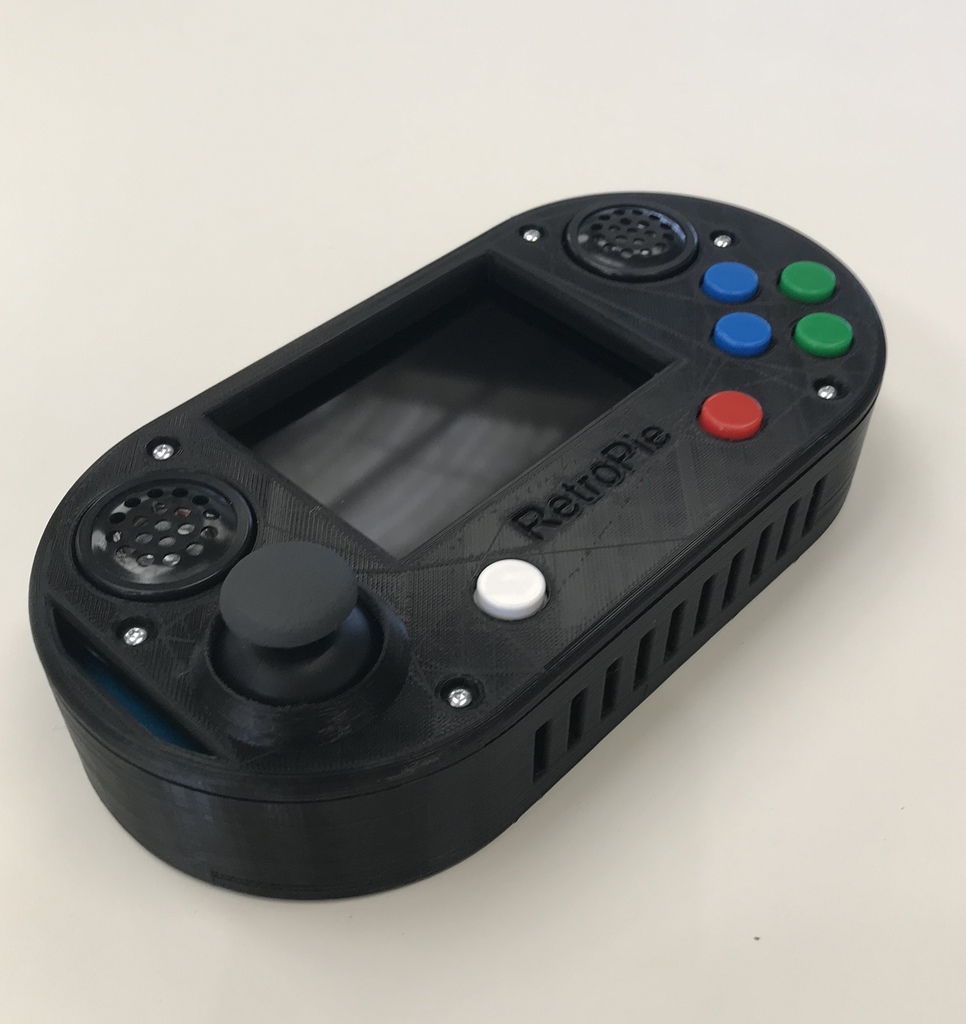
Waveshare Game Hat case
thingiverse
Update V3: - Improved ergonomics for better comfort. - Enhanced support around the on/off switch, now easier to mount with the button already in place. - Reinforced screw mounts for added stability. - Smaller side buttons for a more streamlined design. V2: I sought a case that protected my Game Hat while keeping its original buttons intact, and also made it easy to access the on/off switch and side buttons. I wanted the ports to be accessible, but not the USB/LAN port, so my kids couldn't cause any mischief. To facilitate adjustments inside Retropie without opening the case every time, I connected a wireless Bluetooth mini keyboard. To make RetroPi 100% kid-proof: - Disable the launch menu. - Remove the Retropie menu. - Choose games suitable for children. - Activate kid mode. Tips for assembly: - Mount the side buttons first. - Install the Game Hat at an angle, allowing the L+R buttons to slide in and mount the on/off switch with it as well. - Be aware that the on/off button has a front and back side. - Secure the case with 6 screws (2.2 x 19 parker screws).
With this file you will be able to print Waveshare Game Hat case with your 3D printer. Click on the button and save the file on your computer to work, edit or customize your design. You can also find more 3D designs for printers on Waveshare Game Hat case.
