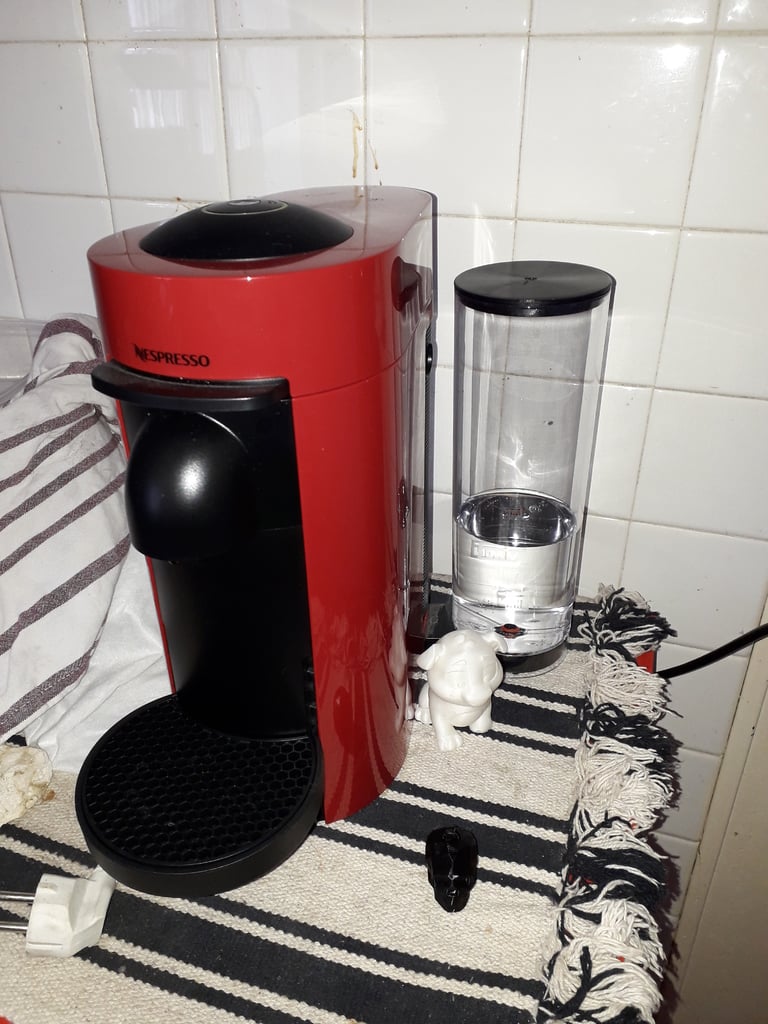
Water tank cap replacement for nespresso vertuo
thingiverse
Replacing the Nespresso Vertuo water tank cap is a relatively straightforward process that requires minimal technical expertise. Begin by locating the water reservoir and lifting it out of its cradle. Place the reservoir on a stable surface to prevent any accidental spills. Next, position the cap in front of you, ensuring that the small notch on one side aligns with the corresponding groove on the tank's lid. Gently press down on the cap until it clicks into place, securing it firmly onto the tank. To complete the replacement process, lower the reservoir back into its cradle and reconnect it to the machine by twisting it clockwise. Finally, plug in the Vertuo and turn it on to test the system, verifying that the new cap is functioning properly.
With this file you will be able to print Water tank cap replacement for nespresso vertuo with your 3D printer. Click on the button and save the file on your computer to work, edit or customize your design. You can also find more 3D designs for printers on Water tank cap replacement for nespresso vertuo.
