Warmachine Armor (Pepakura to 3d Printing)
thingiverse
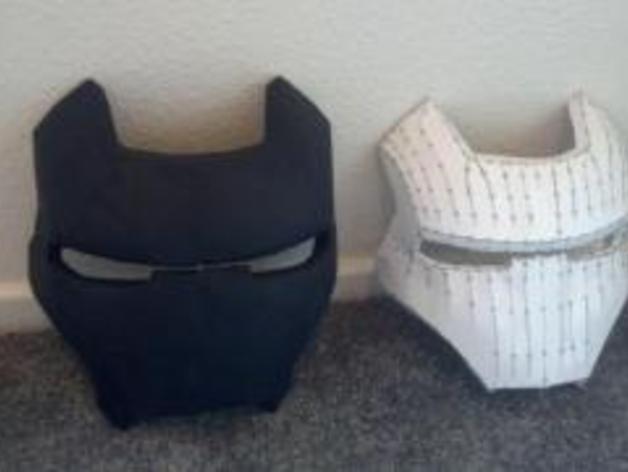
Create your own War Machine suit? I'm sharing the process! First up is the Faceplate. Print two halves in PLA at 0.5 layer thickness without a raft and using ABS support. Join them with ABS cement, sand lightly, prime, sand again, apply bondo, sand once more, paint, and there it is - your faceplate! For the main Helmet, print the front and back portions, join with ABS cement, sand, prime, bondo, sand, paint - and voila! Use hot glue to hold in place for perfect fusion. Remember, coat the inner portion of the faceplate with ABS for seamless fusion.
With this file you will be able to print Warmachine Armor (Pepakura to 3d Printing) with your 3D printer. Click on the button and save the file on your computer to work, edit or customize your design. You can also find more 3D designs for printers on Warmachine Armor (Pepakura to 3d Printing).