Wanhao i3/Maker Select Ikea Stand
prusaprinters
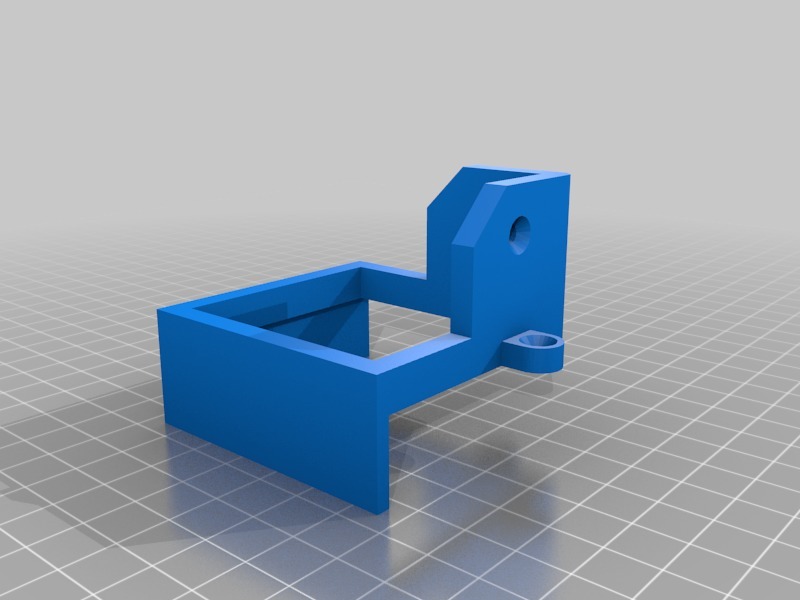
<p>Everyone has their own version, here's mine. There's so many different versions of people creating these stands that it's easy to mix and match parts to customize it to your desires. Most of the files attached are from other people's creations, all are credited below.</p> <h3>Hardware Needed</h3> <p><strong>You will need:</strong></p> <div><ul><li>3 Ikea lack tables</li> Raspberry Pi 3 Lots of #6 x 3/4" wood screws <h3>Print Instructions</h3> <p><strong>lack_stacker_with_screws.stl</strong></p> <div><p>This is Tobi97l's design.</p> Print 4 of these to join the bottom table to the middle table. Screw in place with #6 wood screws. <p><strong>IKEA-LACK-BRACKET-82CSK.stl</strong></p> <p>This is Pr0teinAddict's design.</p> <p>Print 4 of these to secure the legs of the bottom table. This both prevents them from turning and coming lose over time, and stabilizes them a bit. I printed them with 30% infill because I was in a rush. They are strong, but the table still can rock a bit more than I would like.</p> <p>Also, only 2 of the 7 screws actually go into solid wood (the upper 2 on the legs). It might be possible to move the screw holes for the table side so at least 2 of them hit solid wood too.</p> <p><strong>ControlBox_Mount.stl</strong></p> <p>This is dirtsky's design.</p> <p>Print 2 or 3 of these to hold the control box under the table. I printed them with 90% infill because they need to be quite strong.</p> <p>Printing them did not go very well for me. The corners lifted up from the bed and warped horribly. It ended up being about 15mm at the narrowest point instead of a uniform 20mm. But the bracket is still quite sturdy, so I used it anyways. It is a very tight fit, so I recommend<strong>upscaling them by 1-2%</strong> so they fit a little better.</p> <p>If you don't have a helper, find a box or something to rest the control panel on while you screw it in place. You need to have all the screws in before it starts holding it's own weight - with just one or two screws it will pull the screw right out and you'll have to pick a new spot to mount it.</p> <p><strong>filament guide.stl</strong></p> <p>This is my own design. There are a few others I have seen, but none of them went all the way through the table, and had the top rounded a bit.</p> <p>Print 1 of these to go through the top table. Drill a hole in the table with a 1/2 inch drill bit and pop it in.</p> <p><strong>rpi3-bottom_netfabb.stl and rpi2-top_netfabb.stl</strong></p> <p>These are 0110-M-P's design.</p> <p>Print 1 of each to hold your raspberry PI and screw it to the table next to the control box.</p> <h3>Spool Holder</h3> <p>I used this spool holder. There are hundreds of possible options - use whatever one you like.</p> <p><a href="https://www.thingiverse.com/thing:2185015">http://www.thingiverse.com/thing:2185015</a></p> </div></ul></div> Category: 3D Printer Accessories
With this file you will be able to print Wanhao i3/Maker Select Ikea Stand with your 3D printer. Click on the button and save the file on your computer to work, edit or customize your design. You can also find more 3D designs for printers on Wanhao i3/Maker Select Ikea Stand.
