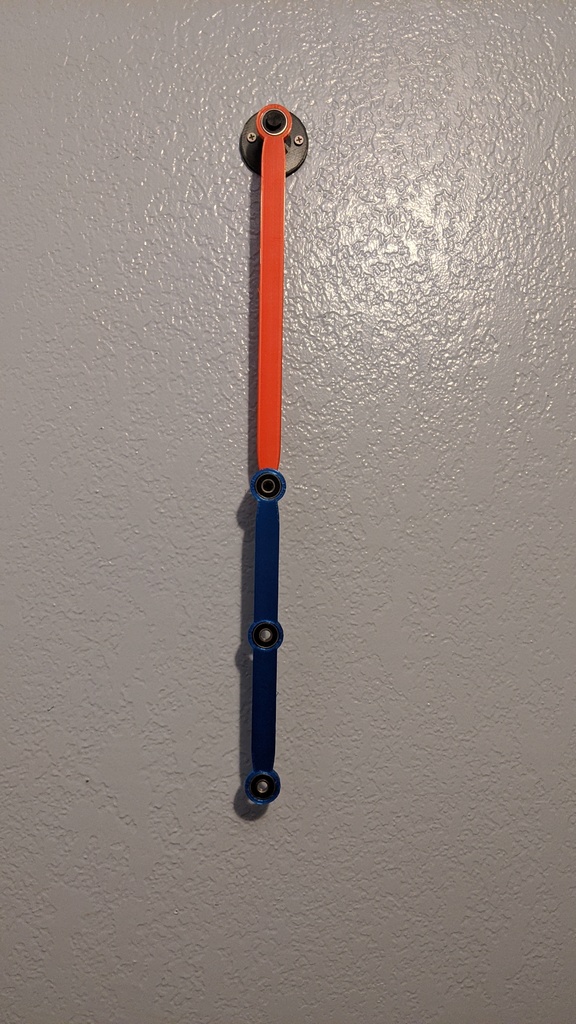
Wall mounted double pendulum
thingiverse
This is a Double Pendulum attached to your Wall. Prepare: What you need are 4 2" Deck Screws, and 4-5 Ball Bearings which can be purchased here https://amzn.to/3c0mZnv for $7. Print the Long Pendulum with 60-100% Infill at .2mm Resolution. Print the Pendulum Separator with 100% Infill at .2mm Resolution and Supports. Print the Screw with 100% Infill at .2-.12mm Resolution and Rafts (breaks somewhat easily). Print the Short Pendulum with 50-100% Infill at .2mm Resolution. Print the Wall Mount with 100% Infill at .2mm Resolution. Assembly: Take the longer pendulum, and 2 Ball Bearings, and insert the bearings into the pendulum. You'll probably need to use a tiny amount of glue to get them to stick; hot glue is available if needed. Then do the same thing for the smaller pendulum. Sand down the Pendulum Separator in order for it to fit into the bearing's. Drill 4 holes into the Wall Mount base that are at about the 12, 3, 6, 9 positions. Find a stud in the wall and make sure you have enough space (the radius of the Double Pendulum is 58cm or a bit less than 2 feet). Then attach the Wall Mount to the wall using the 4 Deck Screws. Attach the long bar to the Wall Mount screw, but only tighten it a bit more than finger tight (the screw can break if you tighten it too much). Notes: The pendulum will hit your wall if it spins too fast. The Screw will break eventually. Have fun.
With this file you will be able to print Wall mounted double pendulum with your 3D printer. Click on the button and save the file on your computer to work, edit or customize your design. You can also find more 3D designs for printers on Wall mounted double pendulum.