Wall-E Figure
thingiverse
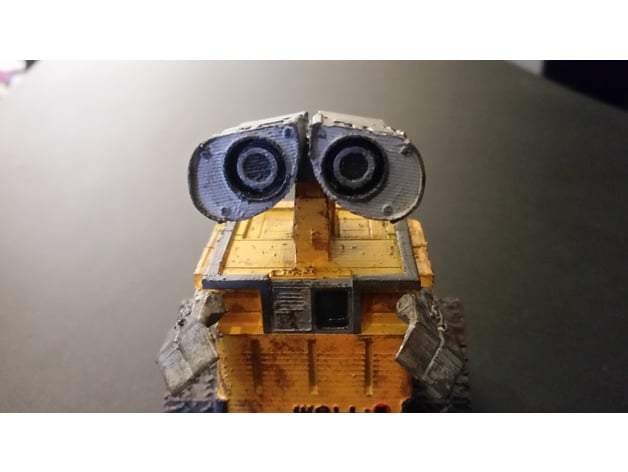
Watch here: https://youtu.be/kS-vLoGrEr4 It's time to bring Wall-E back to life, this time in a smaller, sleeker package that's easy to handle. Gone are the days of massive, multi-part robots that never quite worked as intended. This time around, I'm working with a single-piece figure that's stripped down to its essentials - no electronics to clutter things up. Since all the individual pieces were already modeled out, my task was simply to assemble them and fill in any gaps or holes that might have developed during the design process. A few tweaks here and there to make sure everything printed smoothly and evenly, and we're good to go. Next up, my talented wife took over, bringing her artistic skills to bear on the project. First, she applied a coat of filler primer to give the model some extra texture and depth. Then, she whipped out the airbrush for a flawless yellow finish that really makes the piece pop. Finally, she added the finishing touches with acrylic paints, carefully blending them together to create a rich, vibrant color scheme. And just when you thought it was all over, she sealed the deal with a clear coat, giving Wall-E a glossy finish that's simply irresistible. Here are the print settings I used: Printer: Da Vinci 1.0 Pro Filament: Hatchbox PLA Layer Height: 0.1mm Infill: 30% Supports: Yes
With this file you will be able to print Wall-E Figure with your 3D printer. Click on the button and save the file on your computer to work, edit or customize your design. You can also find more 3D designs for printers on Wall-E Figure.