Wall-E costume for Robot Shield & LinkIt 7697
thingiverse
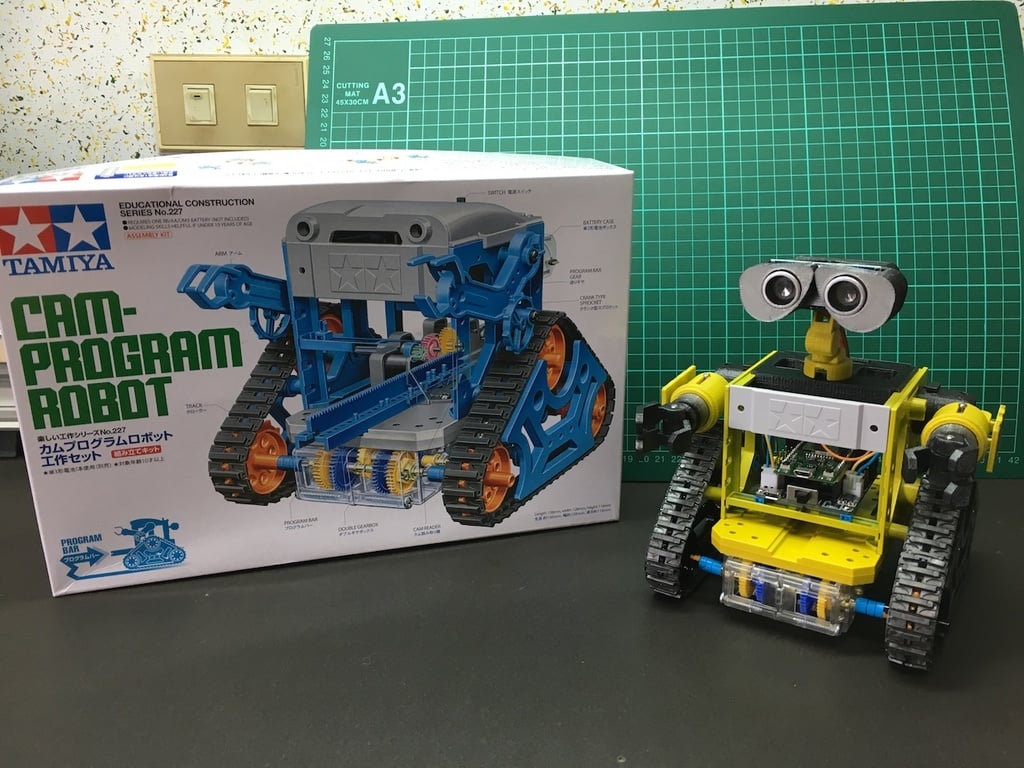
There are three servo motors operating Robot Shield + LinkIt 7697 and performing various actions. I used Rhinoceros to draw mechanical parts and Arduino IDE to code firmware. I'm utilizing Prusa i3 Clone with PLA. The entire assembly took approximately 18~24 hours to complete. Thank you ~ ^_^ Miniplan - Robot fun (Facebook Page) https://www.facebook.com/miniPlanrobot/ Main Body: TAMIYA Cam Program Robot No.70227 Controller: Robot Shield + LinkIt 7697 https://docs.labs.mediatek.com/resource/linkit7697-arduino/en/kits-and-shields/robot-shield LinkIt 7697 with Robot Shield https://www.tindie.com/products/jasonleung8866/linkit-7697-with-robot-shield/ Program Code: https://tinyurl.com/tgw6tff Left Arm: P9, Right Arm: P8, Head: P7 Left Motor: P10 P12, Right Motor: P13 P17 HR-SC04P, Trig: P2, Echo: P3 Servo: SG90 x 3 PCS (13cm) Ultrasonic Sensor: HC-SR04P x 1PCS (26cm) Screws: Self-tapping screw M2 x 8mm x 30 PCS, M2 x 6mm x 2 PCS Assembly Instruction: https://www.youtube.com/watch?v=2stvvvawn4o Licensed under the Creative Commons - Attribution - Non-Commercial license.
With this file you will be able to print Wall-E costume for Robot Shield & LinkIt 7697 with your 3D printer. Click on the button and save the file on your computer to work, edit or customize your design. You can also find more 3D designs for printers on Wall-E costume for Robot Shield & LinkIt 7697.