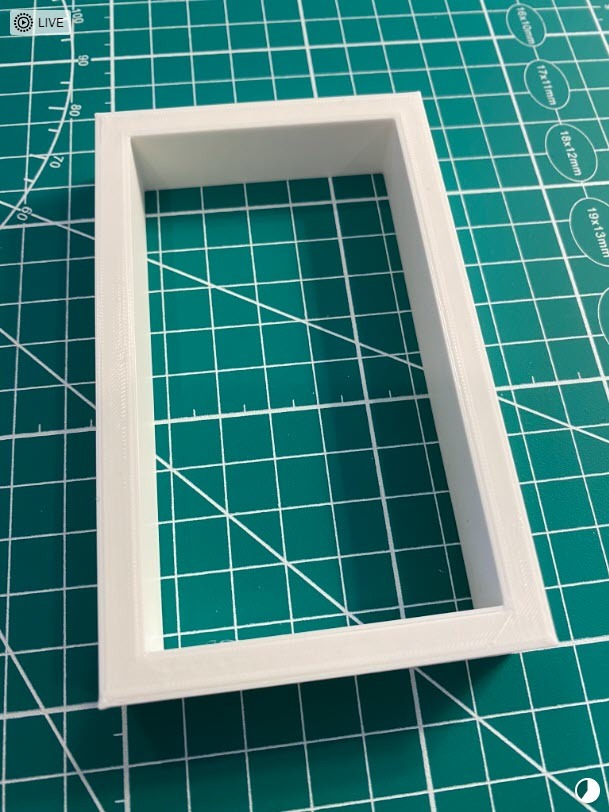
Wall Control - Single Gang Outlet Spacer/Support
thingiverse
Support/Spacer for single gang outlet through Wall Control pegboard. When I initially installed the outlet through the Wall Control pegboard (nope, couldn't move the outlet), I used a cutting wheel in a rotary tool to cut the pegboard. It cut well, and I did get a UL listed single gang extension from Home Depot.... https://www.homedepot.com/p/Box-Extender-2-pack-BE1-2/202708650 The installation was great, but.... tightening the outlet down, into the extension ring and electrical box began to warp the Wall Control pegboard toward the wall behind it. So.... necessity being the mother of invention, I designed and printed this simple spacer to put between the sheetrock and the Wall Control pegboard to keep it from collapsing in. I attached this spacer to the back of the Wall Control pegboard with double sided tape. You only need it to hold long enough to get it hung, then the pressure of the outlet mounted through the extension ring to the outlet backbox will hold it in place. It worked Great!!! WARNINGS: - DO NOT USE THIS WITHOUT A UL LISTED EXTENSION RING, THAT IS WHAT MAKES THIS INSTALLATION CODE COMPLIANT. - ALWAYS DISCONNECT POWER AT THE CIRCUIT BREAKER AND USE THE APPROPRIATE LOCKOUT TAGOUT GEAR SO YOU CAN SAFELY COMPLETE THE ELECTRICAL WORK AND ALWAYS TEST TO INSURE THAT THERE IS NO POWER AT THE OUTLET BEFORE YOU BEGIN WORK. - IF YOU ARE NOT COMFORTABLE DOING ELECTRICAL WORK, DO NOT DO IT. HIRE A LICENSED ELECTRICIAN. IT IS CHEAPER THAN THE EMTs AND THE AMBULANCE RIDE IF YOU LITE YOURSELF UP.
With this file you will be able to print Wall Control - Single Gang Outlet Spacer/Support with your 3D printer. Click on the button and save the file on your computer to work, edit or customize your design. You can also find more 3D designs for printers on Wall Control - Single Gang Outlet Spacer/Support.
