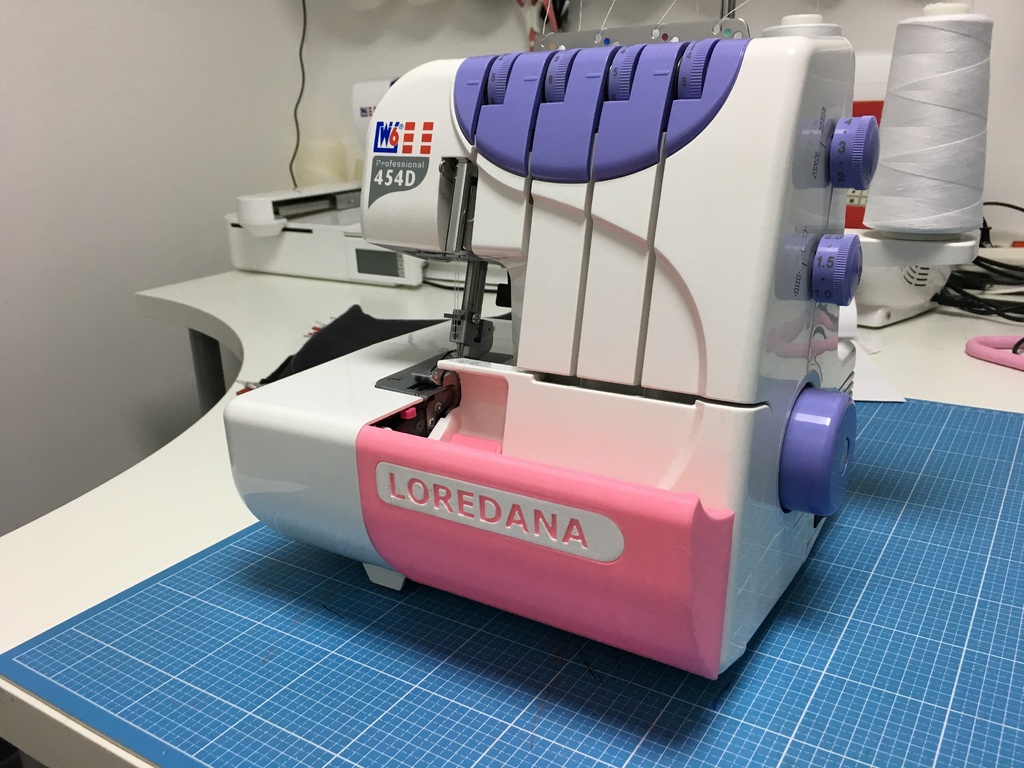
W6 Auffangbehälter Overlock
thingiverse
The container consists of the base element and the side panel that comes in on the left to the machine, and the nub behind it that fits into the recess of the W6. Assemble together: The parts are assembled in their fully assembled state using a hot glue gun. To get the best fit, place the nub as an individual part into the designated opening and apply a drop of hot glue at the spot where the nub (Back.stl) is glued to the main part (Body.stl). Then, insert the container and press/attach it to the nub with still-hot glue. I would be very happy if you could post pictures of your finished containers here.
With this file you will be able to print W6 Auffangbehälter Overlock with your 3D printer. Click on the button and save the file on your computer to work, edit or customize your design. You can also find more 3D designs for printers on W6 Auffangbehälter Overlock.
