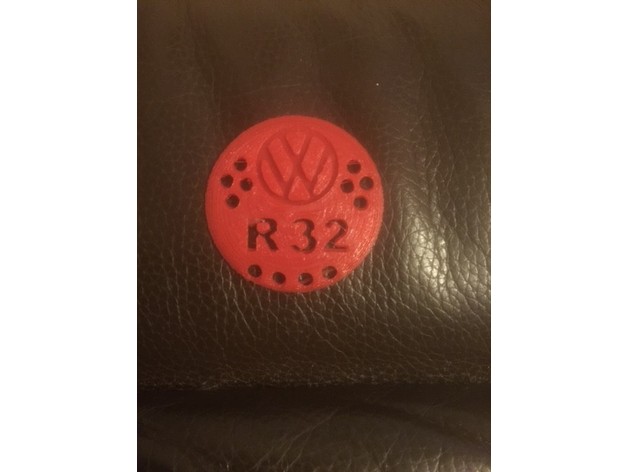
VW r32 Dash Air Vent Badge Replacement
thingiverse
Replacing VW Dash Air Vent on a R32: A Step-by-Step Guide If you're looking to swap out your old air vent on a Volkswagen R32, you've come to the right place! This DIY guide will walk you through the process with ease. First and foremost, make sure you have all the necessary tools and parts before starting this project. You'll need a new air vent, some basic tools like a screwdriver and pliers, and a pair of gloves for protection. To begin, locate the old air vent on your dashboard. It's usually held in place by screws or clips, so take note of how it's attached to ensure you can easily remove it later. Next, use your screwdriver to carefully pry the old air vent loose from its mounting points. Be gentle, as you don't want to damage any surrounding components. Once the old air vent is removed, inspect the area for any debris or dirt that may have accumulated during its time in place. Clean out any mess with a soft brush or cloth to ensure a smooth installation process. Now it's time to install your new air vent! Align it properly over the mounting points and screw it into place using your trusty screwdriver. Make sure everything is secure before moving on to the next step. With your new air vent installed, double-check that it's functioning correctly. Give it a few test spins to ensure the air flows smoothly and evenly throughout your vehicle. That's it! You've successfully replaced your VW dash air vent on your R32. Take pride in knowing you saved some money by doing it yourself, and enjoy the improved airflow in your ride.
With this file you will be able to print VW r32 Dash Air Vent Badge Replacement with your 3D printer. Click on the button and save the file on your computer to work, edit or customize your design. You can also find more 3D designs for printers on VW r32 Dash Air Vent Badge Replacement.