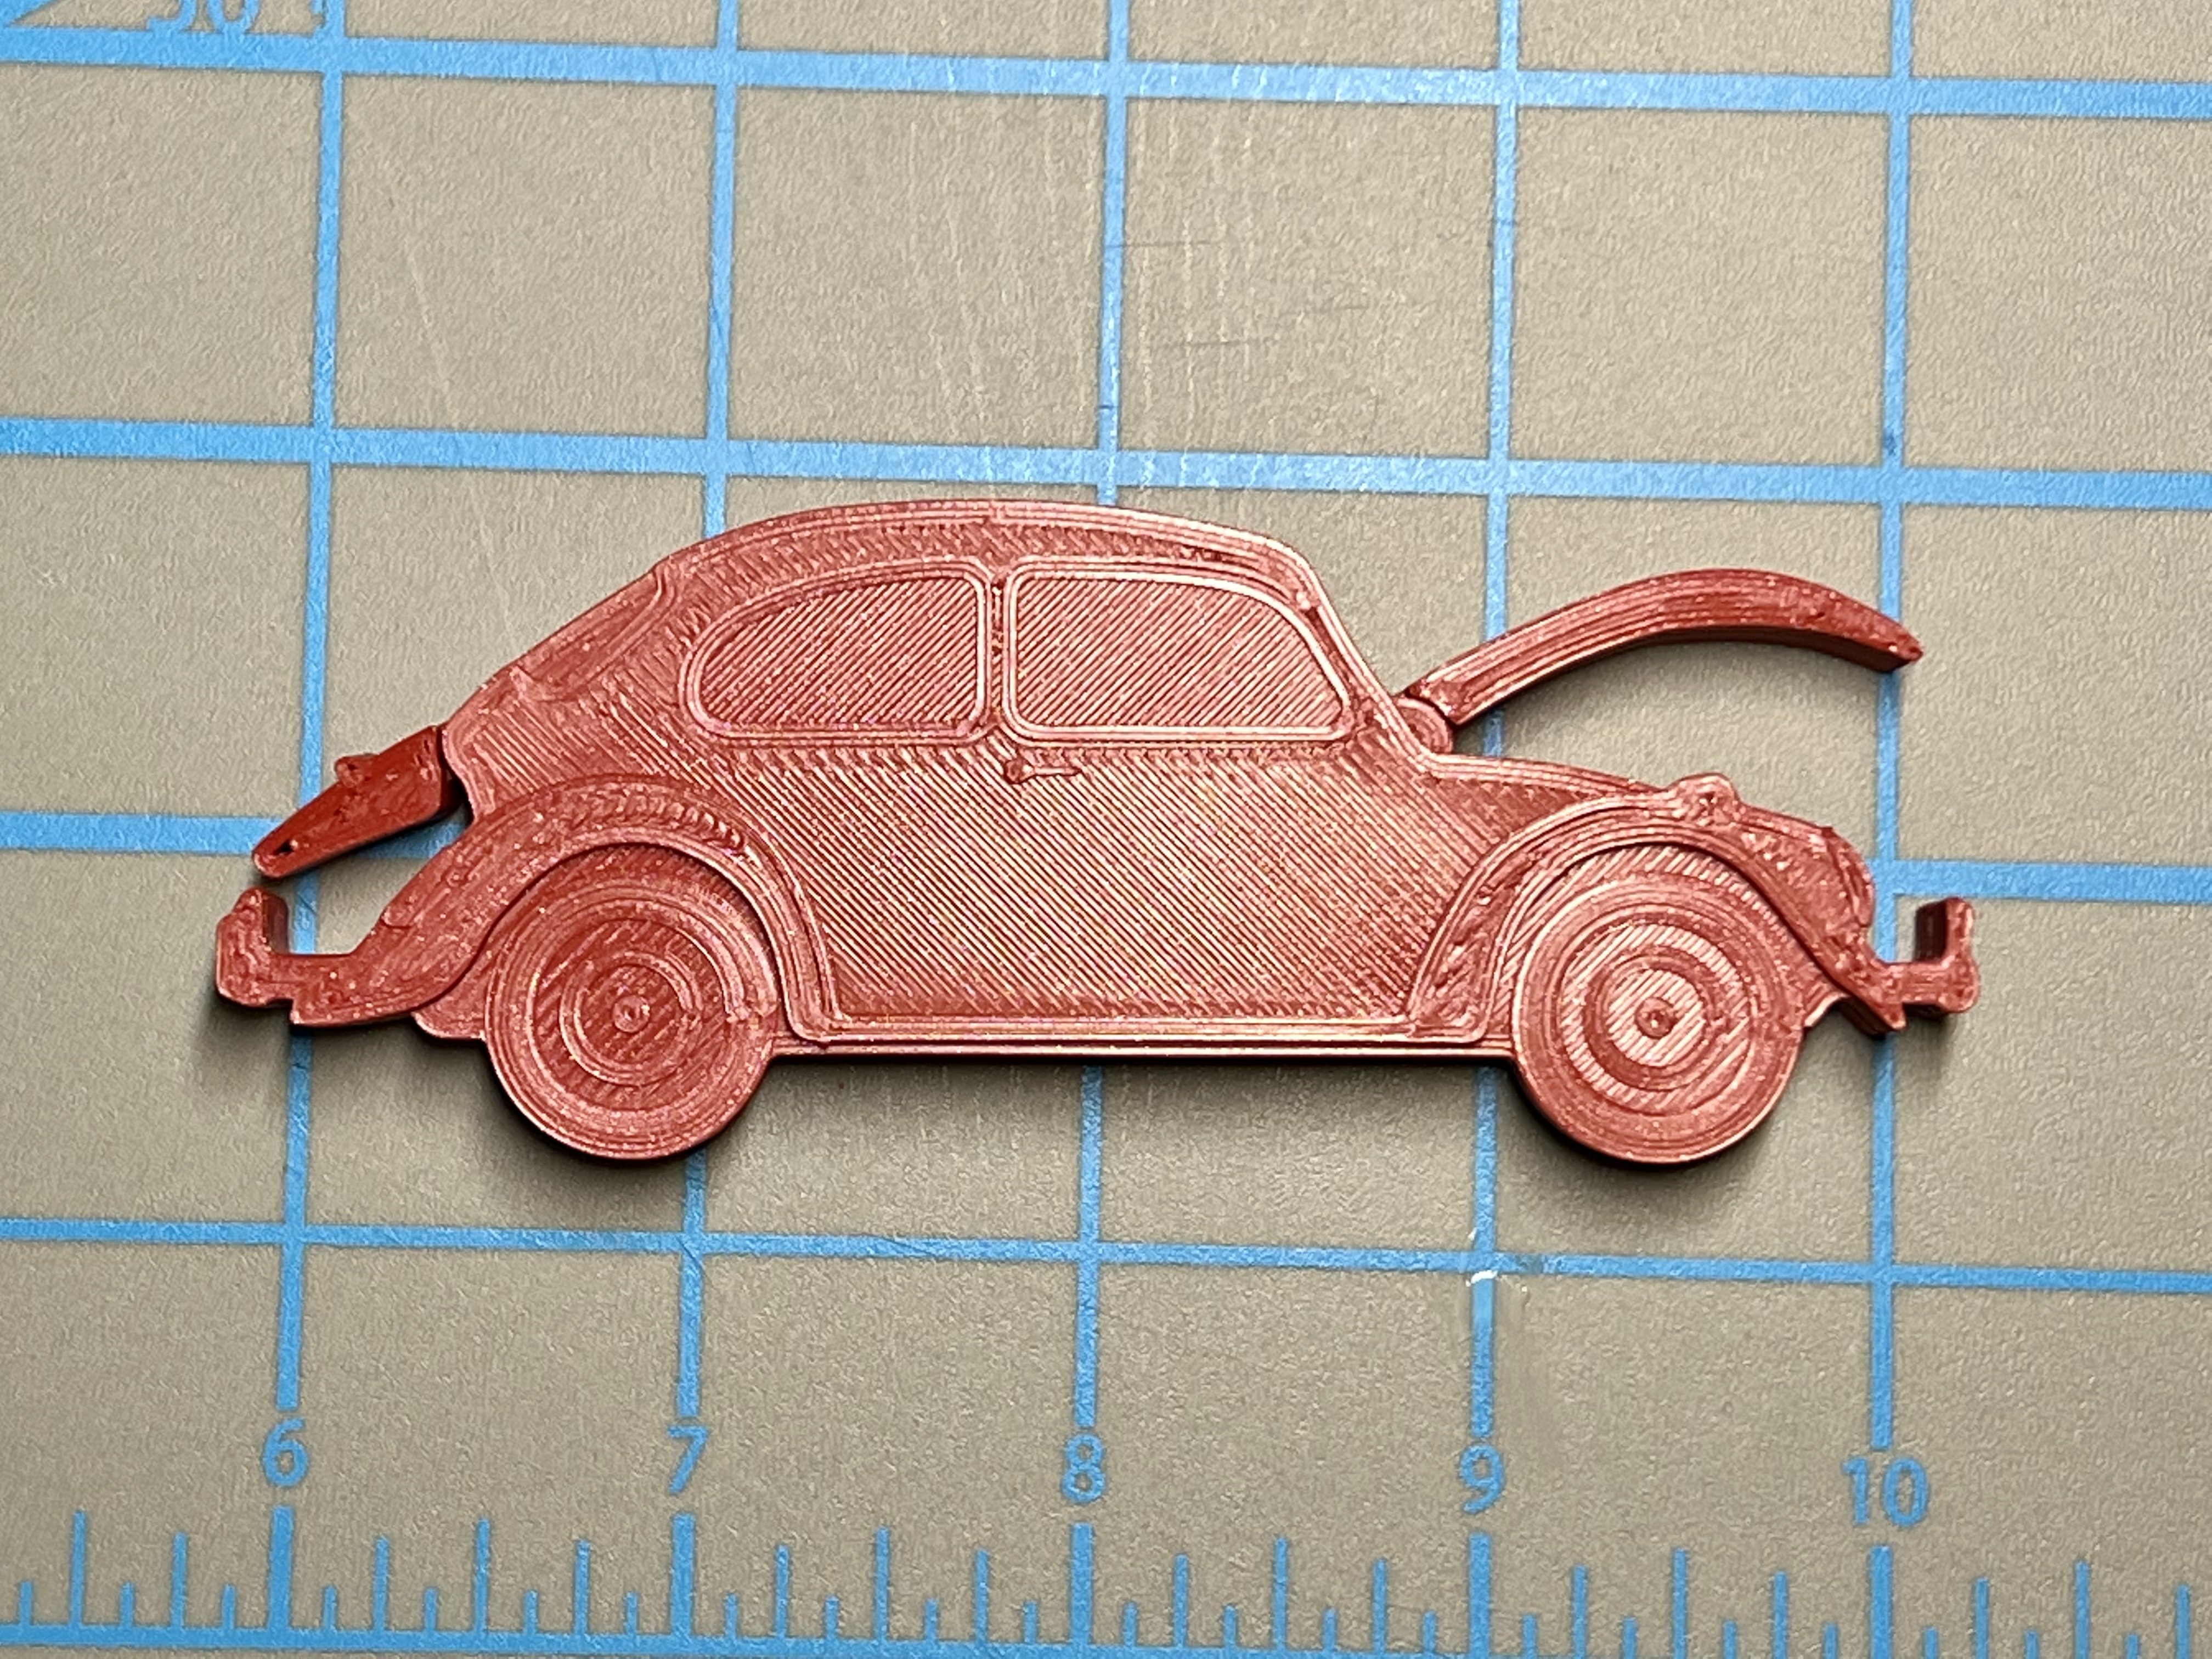
VW Beetle Magnetic Moving Key Holder
prusaprinters
<p>This cute bug holds your keys with magnets and moves both bonnet & boot in unison when attached.</p><figure class="media"><oembed url="https://youtu.be/5TeYTEfoQow"></oembed></figure><h4>Updates</h4><ul><li>v1.1 - I've lengthened the linkages slightly. This allows more travel on the mechanism and helps smaller keychains make contact with both magnets.<ul><li>I've included GCODE for v1.1 linkages, or you can download the full 3mf.</li><li>Included a (hidden) mounting standoff block in the 3mf to help stick to a wall. Just glue to the <strong>Back</strong>.</li></ul></li></ul><h3>Materials</h3><p>You'll need:</p><ul><li>PLA filament</li><li>2 x 8x3mm Magnets (<a href="https://www.amazon.com/gp/product/B07B3SDRCP">100 of these are <$12</a>)</li><li>[Optional] Super Glue</li></ul><h3>Printed Components</h3><ul><li>All the parts fit on a Prusa Mini (180x180mm) bed and are included in the file.</li><li>They're separated and named, so you can easily print in different colors / materials if you care to do so.</li><li>1 x <strong>Back </strong>- Contains all the mounting / pivot pins for the moving components.</li><li>1 x <strong>Front </strong>- Decorated front with the Beetle details.</li><li>1 x <strong>Bonnet </strong>& 1 x <strong>Boot </strong>- The externally moving pieces.</li><li>1 x <strong>Actuator </strong>- The moving piece which contacts with the keyring to move everything.</li><li>2 x <strong>Linkages </strong>- Connect the Actuator, to the <strong>Bonnet </strong>and <strong>Boot </strong>via pivot pins in the <strong>Back</strong></li></ul><h3>Print Instructions</h3><ul><li>0.4mm nozzle @ 0.2mm layer or less.<ul><li>My test prints are all 0.5mm nozzle @ 0.2mm layer.</li></ul></li><li>No supports are required.</li><li>Min 3 top layers - Exactly 2 perimeters.<ul><li>Any fewer top layers and the quality may suffer due to infill.</li><li>Any more perimeters and the surface detail may be lost.</li></ul></li><li>15% infill.</li><li>As the top face is the display side, it's useful to have your extrusion rate dialed in otherwise the face can get messy. I had some luck with ironing, but that also benefits from a dialed extrusion rate.</li><li>PLA is recommended due to the bridging.<ul><li>I tried PETG, it'd be fine for the <strong>Back</strong>, but the bridging on the Front may be a struggle.</li></ul></li><li>If your bridges look messy then try printing the <strong>Front</strong> at a lower temperature to improve bridging.<ul><li>The bridges need to be clean as there isn't a lot of clearance when assembled.</li><li>I've included a picture of how my bridging turned out for reference.</li><li> </li></ul></li><li>Watch out for elephant foot on the <strong>Linkages </strong>and the <strong>Bonnet </strong>and <strong>Boot</strong>. If the base spreads too much due to filament / bed heat, then the holes may not fit over the pivot pins.</li><li>The main <strong>Bonnet </strong>& <strong>Boot </strong>pivots are the weakest link, good layer adhesion is valuable here. I've only had issues with matte PolyTerra PLA. Others have been fine.</li></ul><h3>Assembly</h3><ul><li>Lay all the pieces out on the <strong>Back </strong>piece.<ul><li><strong>Bonnet</strong>, <strong>Boot</strong>, and <strong>Actuator </strong>pieces sit flush on the <strong>Back</strong>.</li><li>2 <strong>Linkages </strong>connect between the pivot pins.</li></ul></li><li>Insert the magnets into the <strong>Back </strong>piece.<ul><li>Works best with opposing poles facing out. E.g. the magnets are slightly repelling each other.</li><li>They <i>should</i> hold in place without glue when the Front is snapped on, but depending on the print quality they may be a tad too lose, so glue can make sure they stay.</li></ul></li><li>Snap on the <strong>Front</strong><ul><li>Designed to be a press fit, I've found it varies depending on your flow rate.</li><li>Suggest gluing with super glue once you're happy to ensure it doesn't pop off the wall.</li></ul></li><li>Mount to the wall.<ul><li>I've left this up to the reader. I'd suggest printing a rectangular standoff (e.g. just a Box shape in PrusaSlicer) and scale it based on how far from the wall you'd want.</li><li>You can then glue the standoff (box) to the <strong>Back</strong>, then attach to the wall with double-sided tape. </li></ul></li></ul><p>This is a greatly improved version of <a href="https://www.prusaprinters.org/prints/126798-vw-beetle-moving-key-hanger">my hanging key holder</a>, which had independent hooks for 2 sets of keys.</p>
With this file you will be able to print VW Beetle Magnetic Moving Key Holder with your 3D printer. Click on the button and save the file on your computer to work, edit or customize your design. You can also find more 3D designs for printers on VW Beetle Magnetic Moving Key Holder.
