VW-Beetle-Carburettor-cover
thingiverse
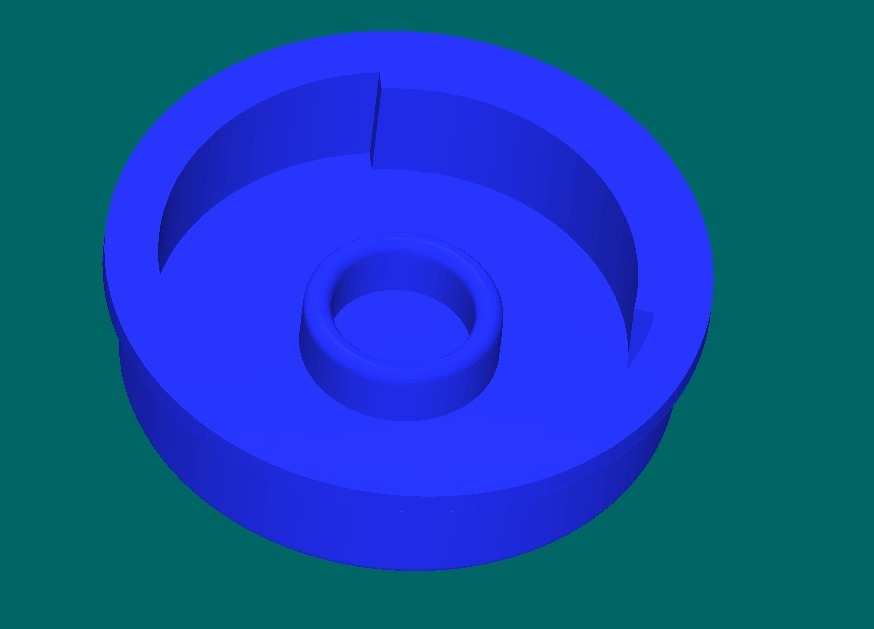
Protecting a Classic: A Step-by-Step Guide to Covering Your 1971 VW Beetle's Carbureted Engine Replacing the cover on your 1971 Volkswagen Beetle's carburetted engine is a task that requires some mechanical aptitude, but it's definitely doable with the right tools and a bit of patience. The process involves removing the old gasket, cleaning the surface, and installing a new one to ensure a proper seal. First, locate the carburetor cover on your VW Beetle's engine. It's usually held in place by four bolts that need to be removed using a socket wrench. Be careful not to strip the threads when taking out the bolts, as this can make it difficult to put everything back together again. Once you've removed the old gasket and cleaned off any dirt or debris, it's time to install the new one. Place the new gasket onto the engine block, making sure it's centered properly before tightening the cover down with the socket wrench. To avoid over-tightening, which can cause damage to the engine, use a torque wrench to tighten the bolts in a star pattern. This will help distribute the pressure evenly and prevent any damage to the surrounding components.
With this file you will be able to print VW-Beetle-Carburettor-cover with your 3D printer. Click on the button and save the file on your computer to work, edit or customize your design. You can also find more 3D designs for printers on VW-Beetle-Carburettor-cover.