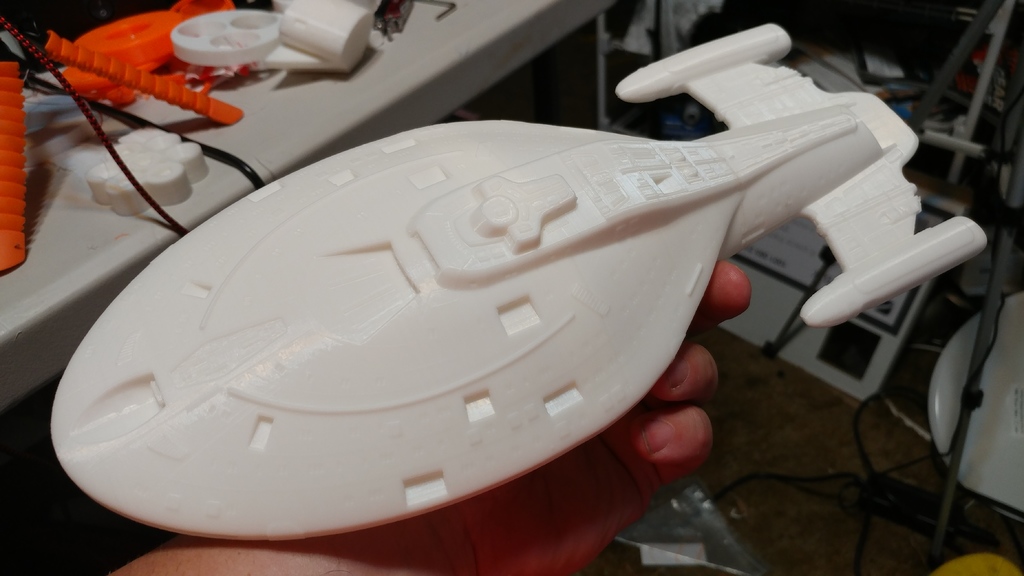
Voyager
thingiverse
The original model, stunning as it is in every detail, falls woefully short in slicers due to its multitude of individual parts. To rectify this issue, I ran it through NetFab and repositioned it upright. With a bit of tinkering, you can print this ship with almost no support and in two pieces. Start by tilting the vessel nose-down and sinking it into your slicer bed until just the nacelles barely touch the print surface. Take note of that brim disk I've included - place two on the bed first and shift them to the side. Use one for each nacelle; otherwise, they will break away during printing. You'll only need support for the sharp overhang between the nacelles and engineering hull. No infill is necessary; simply print four perimeters. For the front half, point the nose upwards and raise/lower until the nacelles just touch the bed. Use the window on the side of the hull to get the right location - zoom in for accuracy. You can print this ship with no support and no infill, except for one section. The deflector dish is a likely failure without support, so I've added 25% grid support to that area only. Once printed, glue the two halves together, and you're done. I've included two sets of G-code: the first set is designed for my Ender 2 and prints exceptionally well; it should work on any printer with sufficient build volume. This set has been thoroughly tested (the model in the picture). The second set of G-code is larger and specifically tailored for the CR10. Although untested, I'll be printing it within a week or so once my grey filament arrives.
With this file you will be able to print Voyager with your 3D printer. Click on the button and save the file on your computer to work, edit or customize your design. You can also find more 3D designs for printers on Voyager.
