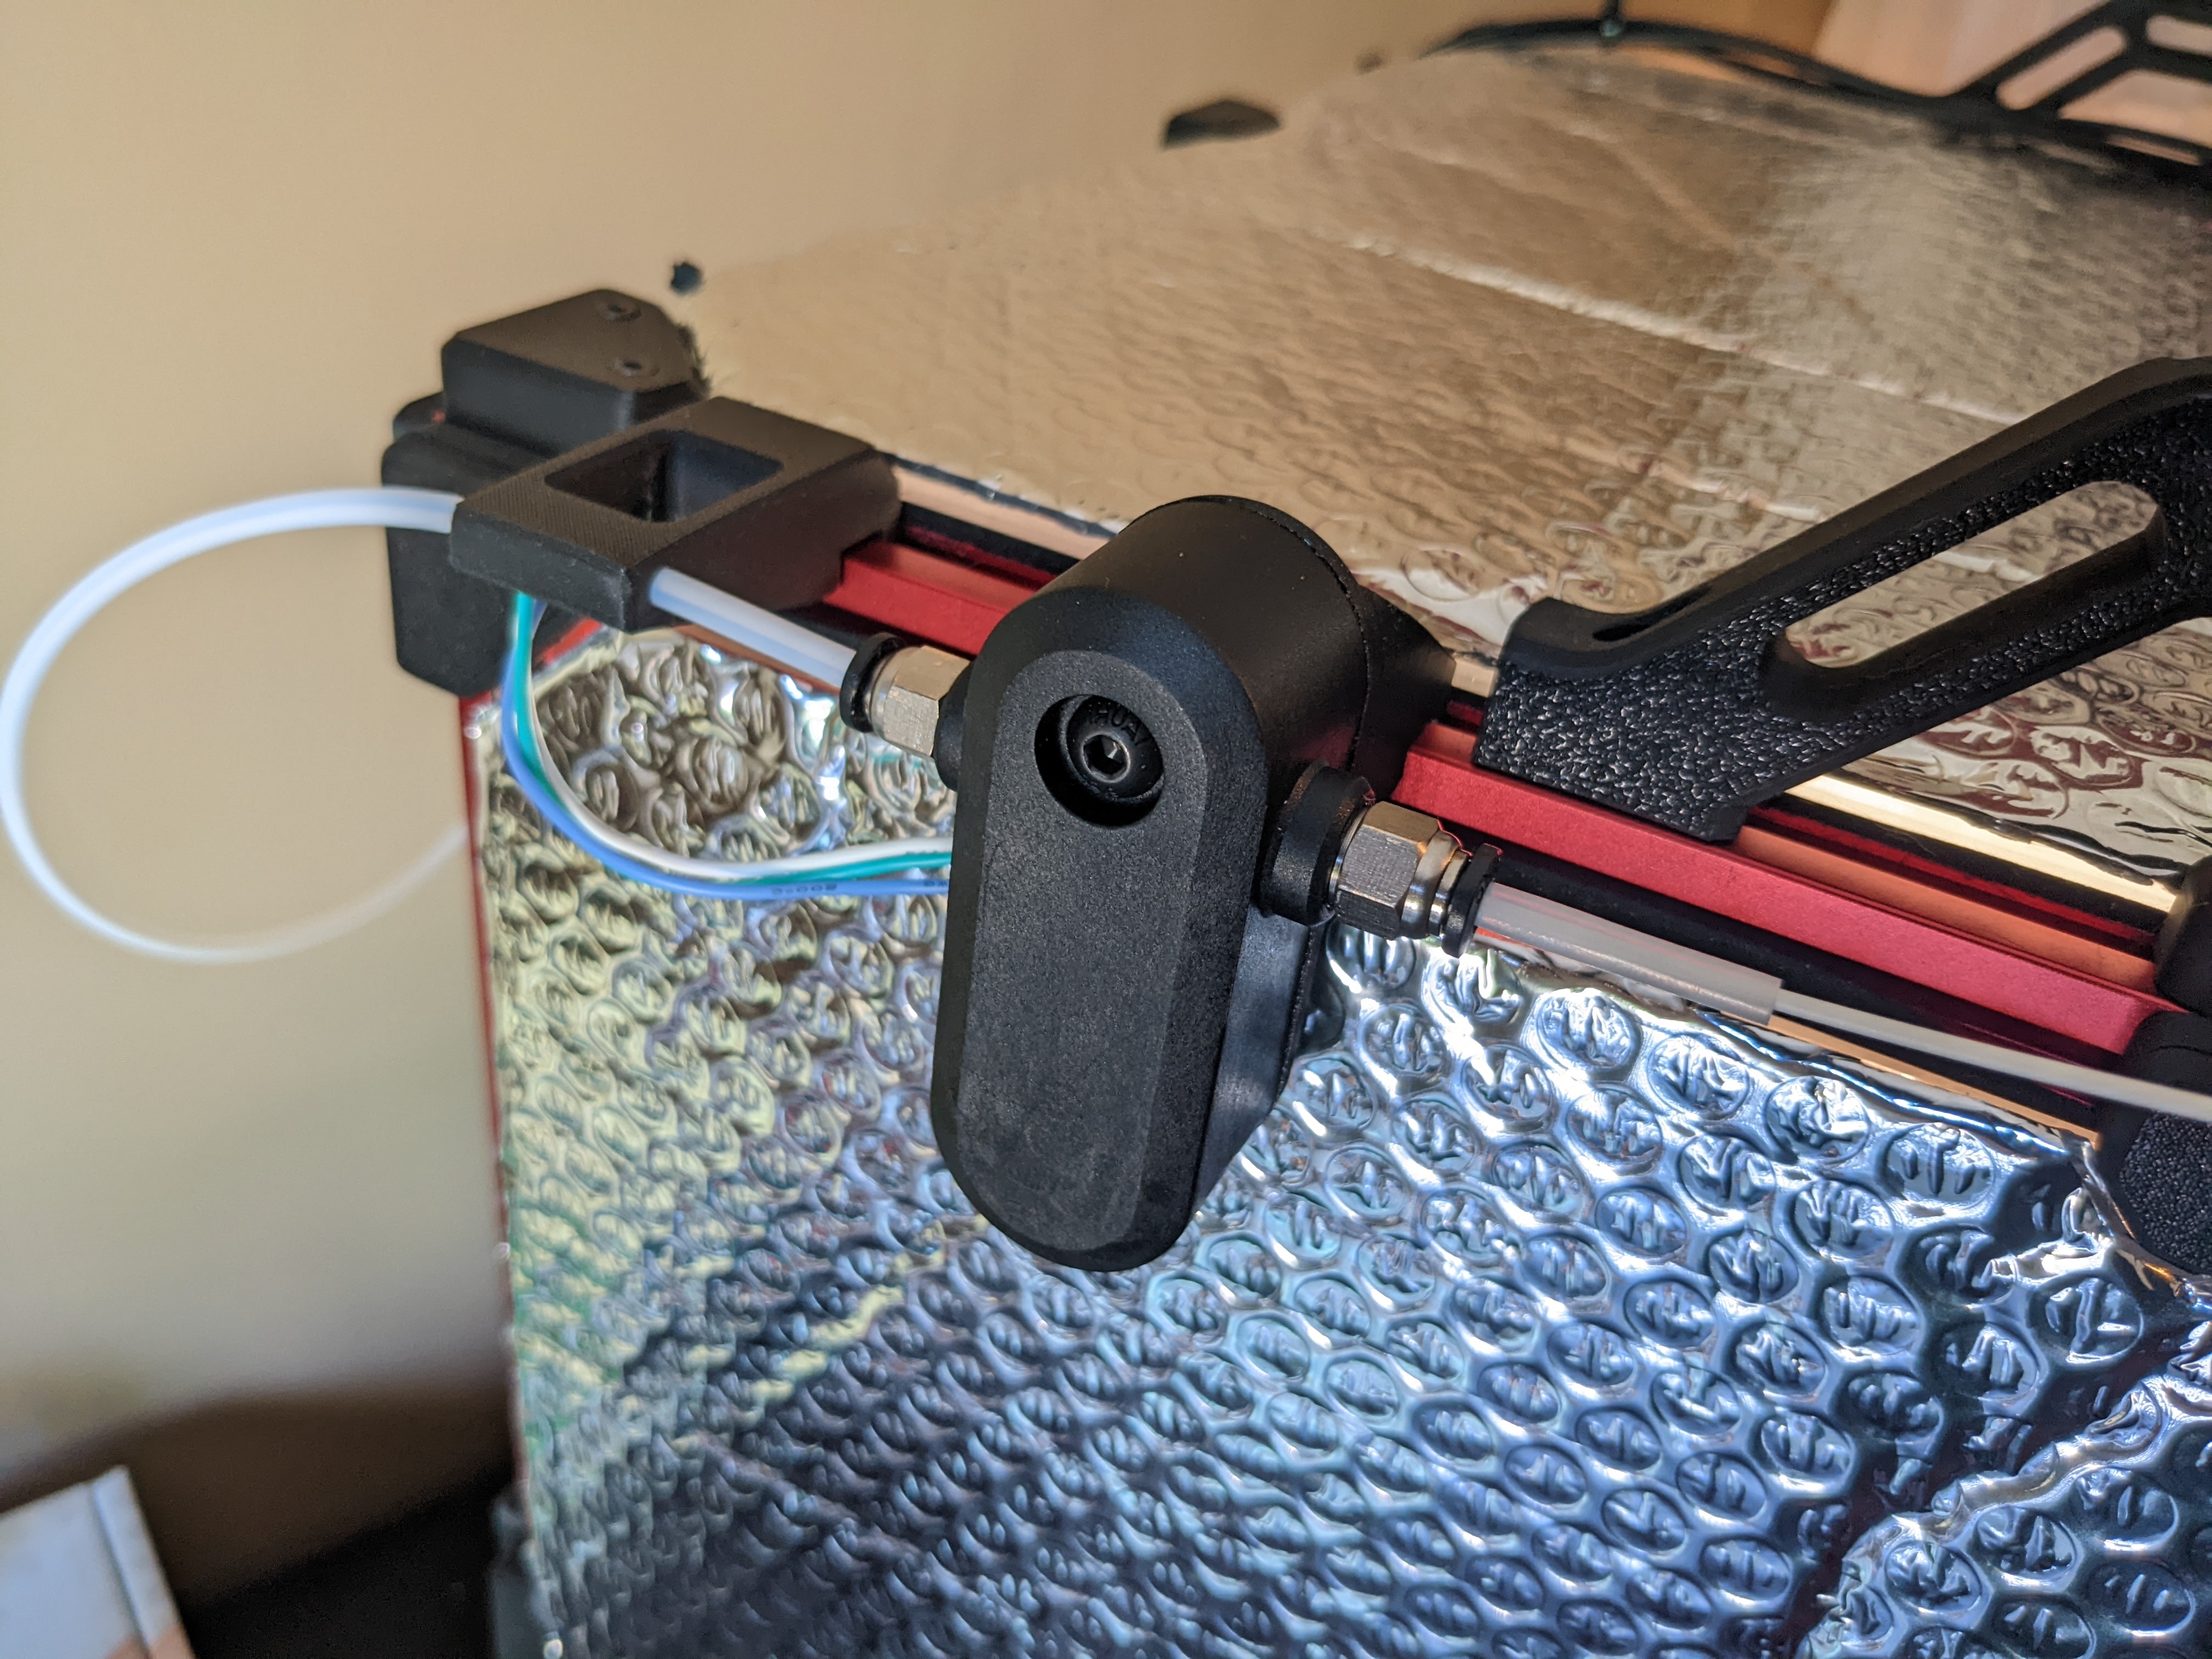
Voron V2 BTT Smart Filament Sensor Mount
prusaprinters
<p>I recently decided to install a BTT smart filament runout sensor on my Voron V2.4. I side mount my spool holder (front left of the machine) so I wanted a sensor inline with the bowden guide which would be easy to load, easy to access, and which would not interfere with my removable panels. I needed to also adjust the bowden guide as the heights no longer matched and I wasn't happy with mounting the sensor lower as it interfered with the panels.</p><p> </p><p><strong>Hardware Required</strong></p><ul><li>BTT Smart Filament Sensor (remove backplate, reuse screws)</li><li>2x M3 hammerhead nuts</li><li>2x M3 x 8mm socket head screws</li></ul><p> </p><p><strong>Print Settings</strong></p><ul><li>Print parts as oriented</li><li>Supports may be needed on the sensor mount and bowden retainer</li><li>4 walls and 40% infill</li><li>Some filing may be needed on the sensor mount where it snaps into the top extrusion depending on your support/bridging settings</li><li>May need to drill out the bowden guide PTFE path depending on your printer tuning/bridging settings</li></ul><p> </p><p><strong>Assembly</strong></p><ol><li>Remove the backplate from the BTT sensor (save the screws)</li><li>Replace with the printed backplate and attach with the two bottom screws</li><li>Attach the sensor mount to the backplate with the four remaining screws</li><li>Attach bowden guide and sensor to the top extrusion using the M3 bolts and hammerhead nuts</li><li>Feed in bowden through the bowden guide and into the sensor coupler</li><li>Insert a small length of PTFE on the other side of the sensor to guide filament in</li></ol>
With this file you will be able to print Voron V2 BTT Smart Filament Sensor Mount with your 3D printer. Click on the button and save the file on your computer to work, edit or customize your design. You can also find more 3D designs for printers on Voron V2 BTT Smart Filament Sensor Mount.
