Voron 2.4 Chamber Heater
thingiverse
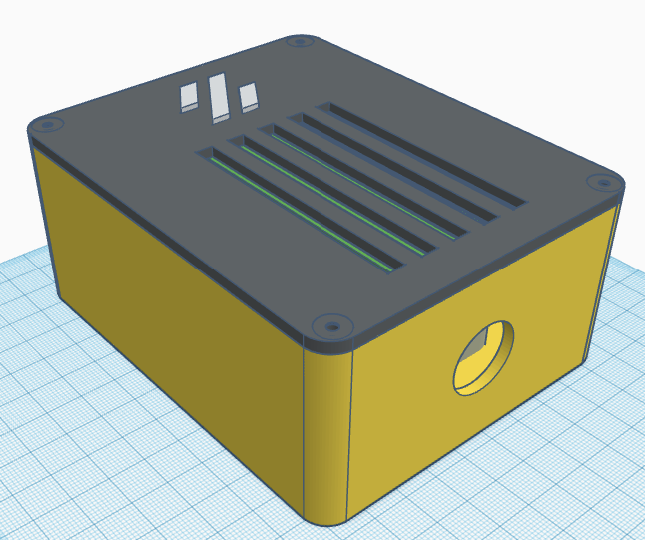
This is a box for a chamber heater for my Voron 2.4.Even with proper sealing my printer sometimes requires a lengthy heat soak so I decided to add a supplemental PTC chamber heater. The inspiration for this project came largely from the [posting by ahough on Team FDM](https://www.teamfdm.com/files/file/455-chamber-heater/page/2/?tab=comments#comment-1235) although I took a slightly different approach as I wanted a integrated thermal safety switch instead of a thermal fuse. _BEGIN STANDARD VORON WARING_ NOTE: *Voron Design does not recommend the use of additional chamber heating due to the increased risk of fire. The Voron 2.4 is designed to get sufficient chamber heat from the two existing heaters (bed and hot-end).* _END STANDARD VORON WARING_ I found a suitable candidate at my local Walmart on clearance for $5. The Mainstays unit I'm using is 120V 350W and comes with an integrated 12V fan, voltage converted board, and 80C temperature safety cutoff switch. Unfortunately, the case itself is just a bit too large so I designed a cover and case to rehouse everything. The OEM case, converter board, mains switch, and tip-over safety switch can all be binned as they're not needed. The only items to keep are the fan, heater, heater mount/frame, and thermal safety switch. The OEM heater was designed for fresh air intake and I didn't want the thermal switch affected by recirculating the already heated chamber air. Therefore, I mounted the heater outside the chamber itself at the back of the printer. This does of course entail cutting a hole in the Voron 2.4 back panel! The 120V source is wired to output side of the new solid state relay, switched by one of the BTT Octopus MCU's hot-end outputs (in my case, HE0). I inserted an additional thermistor between the heater's fins (like ahough did) to enable Klipper monitor and control the heater temp and set the max temp to 120C. When everything was up and running, I performed a PID tune on the new chamber hearer. I also included a Voron logo insert that I printed in transparent filament that may utilize some additional LEDs in the future. Note that it did require a little post-process filing to get it to fit. Also note, that the clearance between the heater cover and the x-gantry was tight on my V24, so make sure you check yours!... BOM 1x [Mainstay 350W Personal Mini Heater](https://www.walmart.com/ip/Mainstays-Personal-Mini-Electric-Ceramic-Heater-350W-Indoor-Washed-Blue/697333900) 1x [DC to AC Solid State Relay with Single Phase Plastic Cover](https://www.amazon.com/Single-Plastic-Street-Lighting-24%E2%80%91480VAC/dp/B0BY9275MG/ref=sr_1_19?crid=12XN1JAM0AH8U&keywords=dc-to-ac+Solid+State+Relay&qid=1680357935&s=hi&sprefix=dc-to-ac+solid+state+relay%2Ctools%2C159&sr=1-19) 1x [DIN Rail Mounting Bracket(https://www.amazon.com/dp/B08J6TQ2W2?psc=1&ref=ppx_yo2ov_dt_b_product_details) 1x [NTC100K Thermistor Sensor](https://www.amazon.com/gp/product/B07F3SMRLJ/ref=ppx_yo_dt_b_search_asin_title?ie=UTF8&psc=1) Assorted wiring and connectors. _!!! Optional - But Highly Recommended Whether or Not You Are Adding A Chamber Heater!!!:_ 1x [Automatic Fire Extinguisher](https://www.amazon.com/dp/B0B9YTGGJ3?psc=1&ref=ppx_yo2ov_dt_b_product_details)
With this file you will be able to print Voron 2.4 Chamber Heater with your 3D printer. Click on the button and save the file on your computer to work, edit or customize your design. You can also find more 3D designs for printers on Voron 2.4 Chamber Heater.
