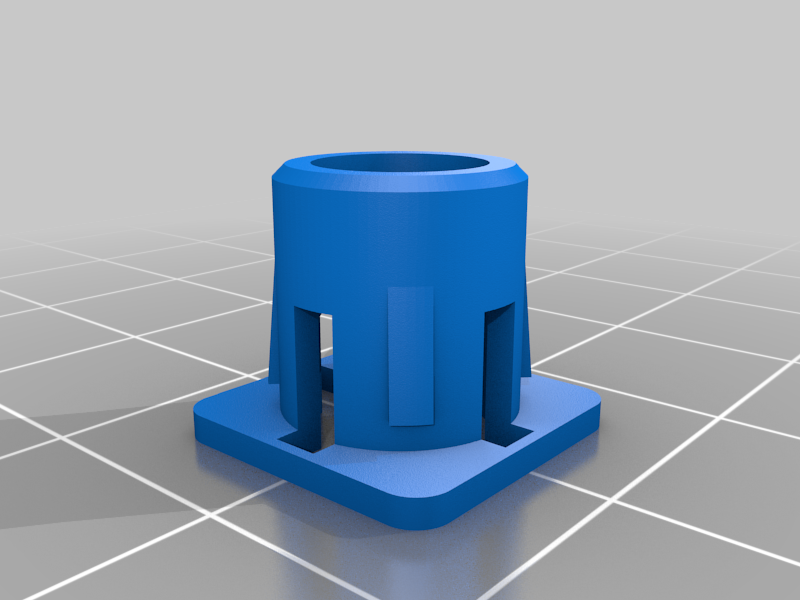
Volvo 480 pup-up headlights adjuster fix
thingiverse
Adjusting Volvo 480 Pop-Up Headlights is a relatively simple process that requires minimal tools and effort to accomplish. First, begin by locating the headlight assembly on your vehicle. On most Volvo models, this can be found near the front grille or bumper area. Once you've identified the assembly, you'll need to access it by removing any trim pieces or screws holding it in place. Next, look for a small adjustment screw located at the base of each pop-up headlight. This screw controls the height and angle of the light beam emitted by the headlight. To adjust the headlights, turn the screw clockwise to raise the headlight or counterclockwise to lower it. It's also worth noting that some models may have a secondary adjustment mechanism for fine-tuning the headlight's position. This is usually located near the adjustment screw and can be adjusted independently of the main screw. Once you've made your adjustments, reassemble the headlight assembly by replacing any trim pieces or screws you removed earlier. Be sure to tighten all screws securely to avoid any damage or loosening over time. Finally, test the headlights by turning on the vehicle's ignition and adjusting the beam as needed. This will ensure that the headlights are properly aligned and functioning correctly.
With this file you will be able to print Volvo 480 pup-up headlights adjuster fix with your 3D printer. Click on the button and save the file on your computer to work, edit or customize your design. You can also find more 3D designs for printers on Volvo 480 pup-up headlights adjuster fix.
