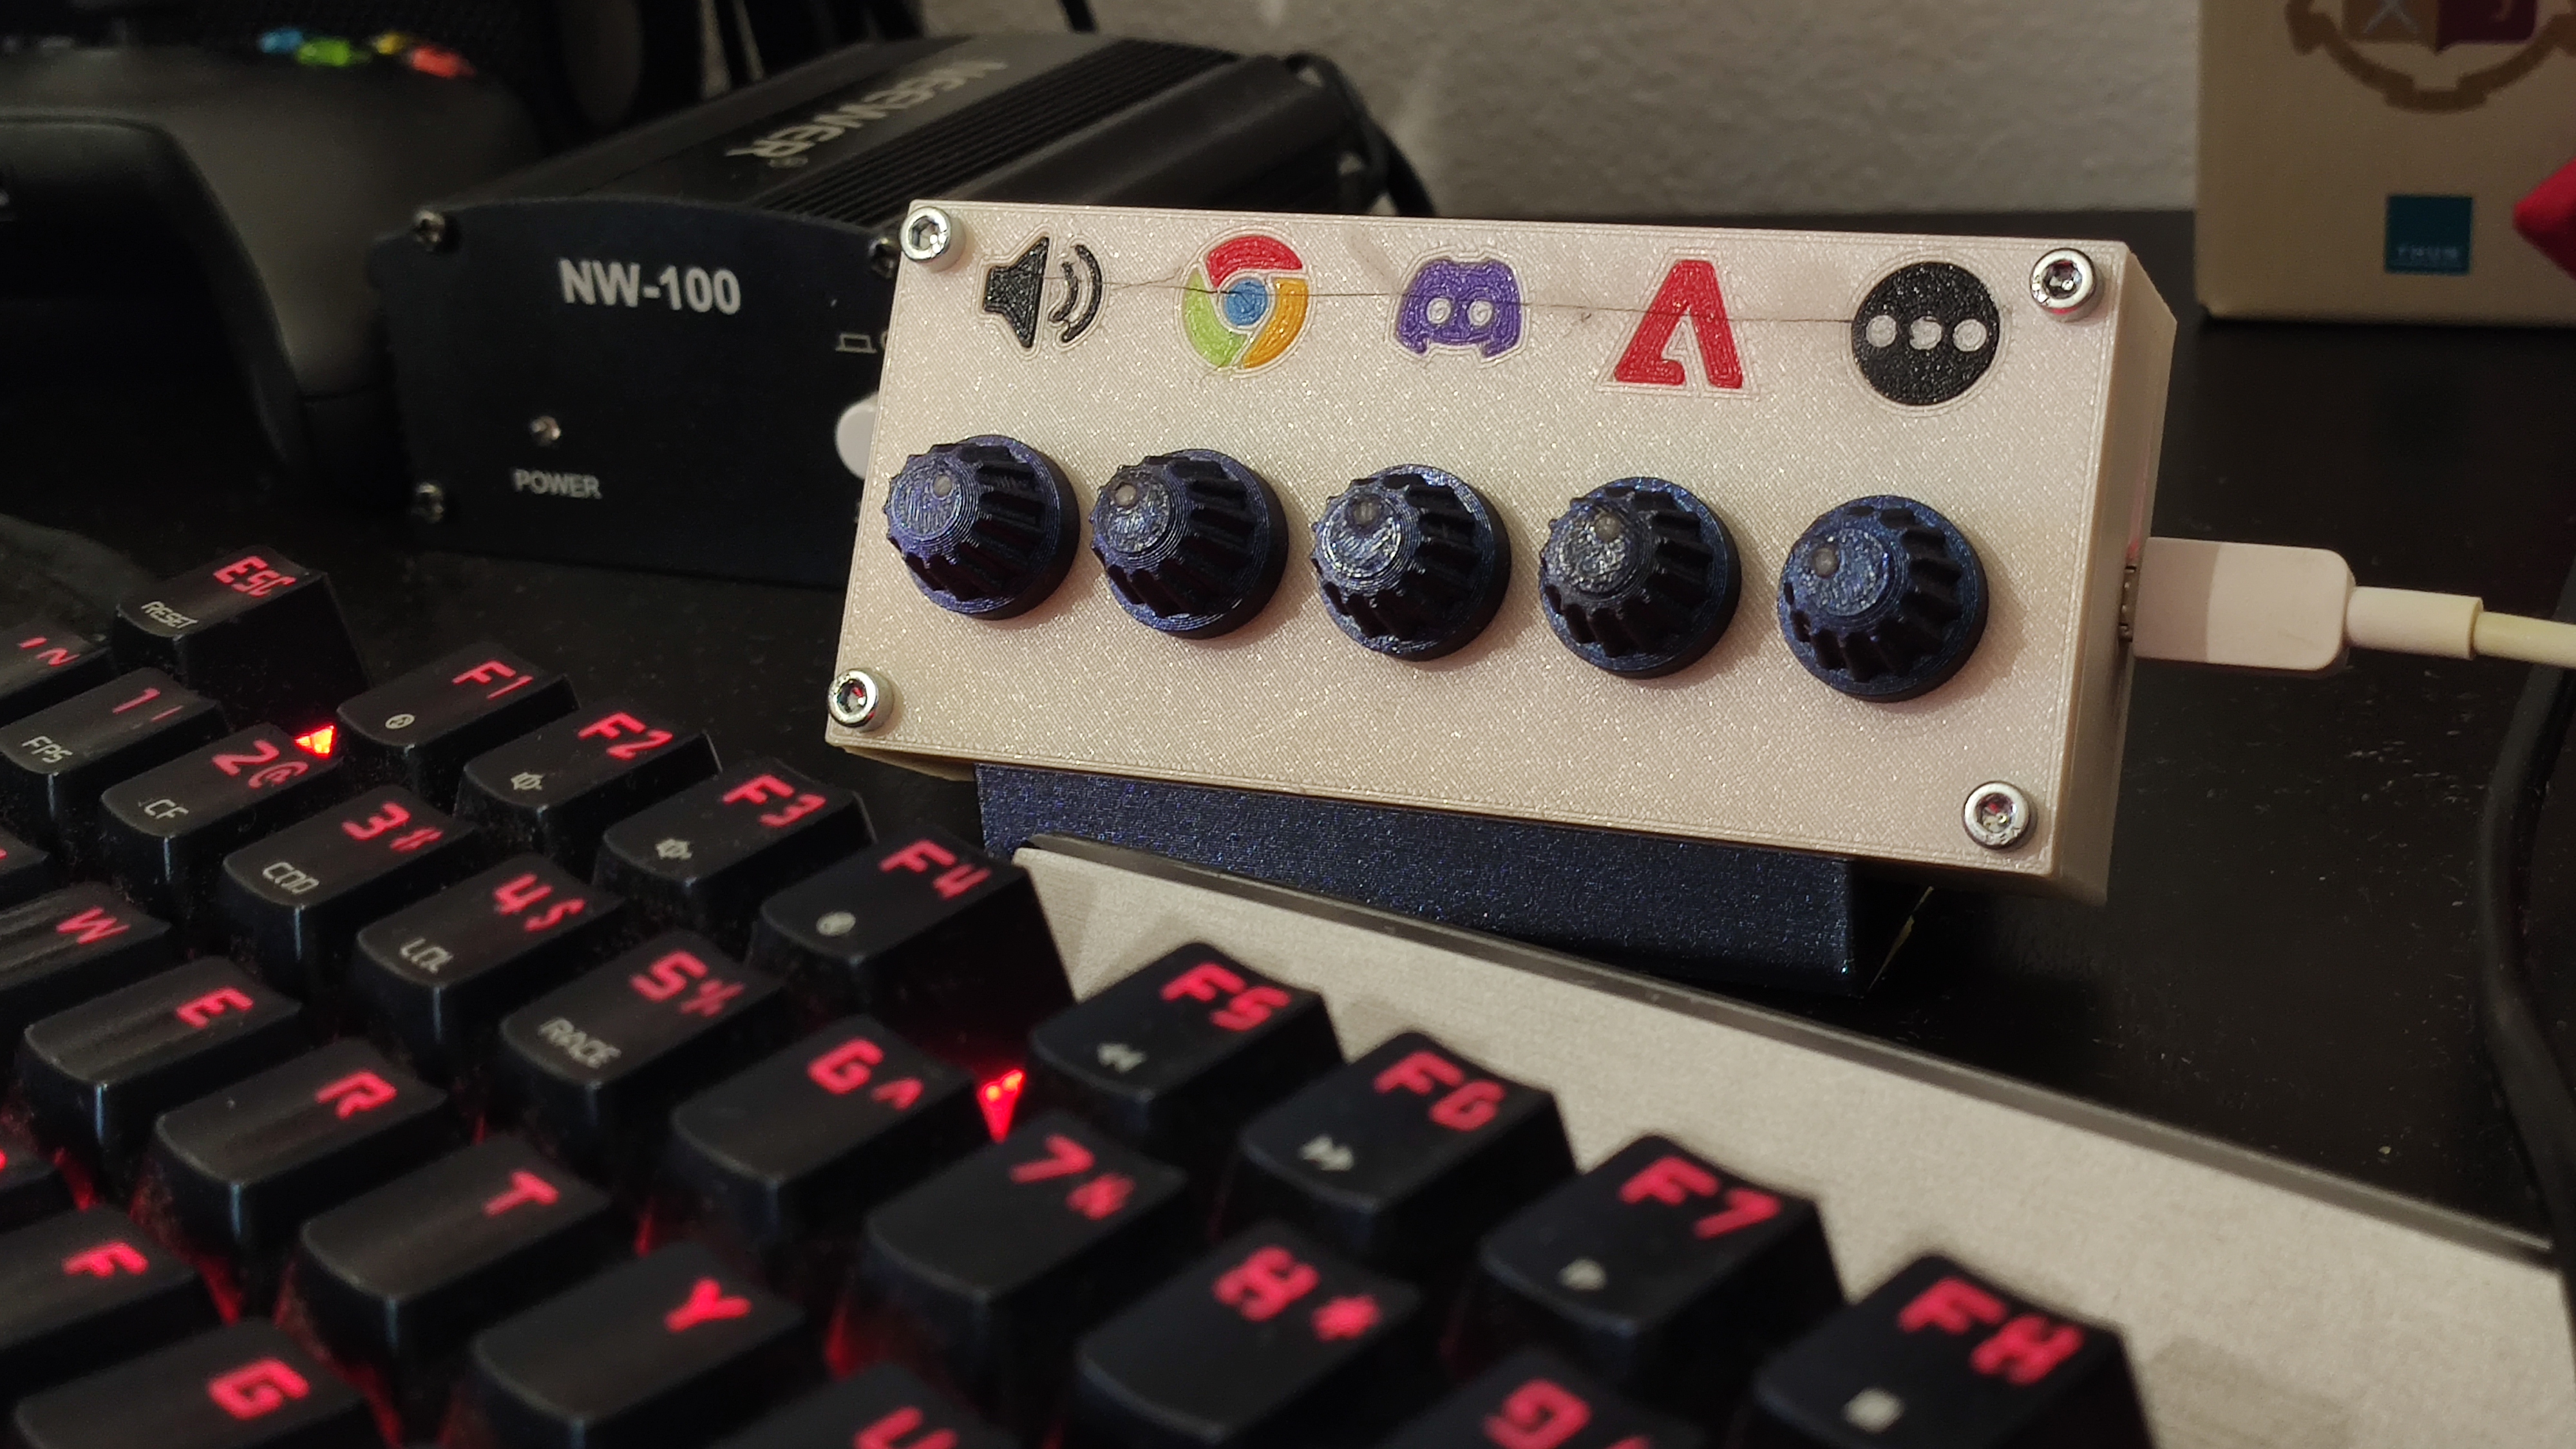
Volume mixer - Deej software
prusaprinters
<p><strong>Description</strong></p><p>Aren't You tired of always needing to open the mixer on the PC to adjust the levels of apps and games? Or do You want to lower the volume of that YouTube video playing while gaming? Oh, do I have the thing for You! This small mixer box allows up to 5 applications volume levels to be controlled with just a potentiometer, an Arduino and a script running on your computer! Hooked? Then read below!</p><p> </p><p><strong>Instructions</strong></p><p>So to begin with, this project is possible thanks to the Deej software by omriharel on GitHub, so go check the repo <a href="https://github.com/omriharel/deej">here</a>.</p><p>Now for the fun part: the project! You will need these parts printed:</p><ul><li>1 Case (any variant, read below for info)</li><li>1 Cover</li><li>1 Angled Stand (any variant, read below)</li><li>5 Potentiometer Cap (you can put a tiny piece of filament or a drop of paint in the small hole to make it easier to see how much it is rotated, but it's not mandatory)</li></ul><p>And also you will need these components</p><ul><li>1 Arduino pro micro</li><li>5 B10K 8mm tall Potentiometers (mine have 8mm tall shafts after the thread, most have 12mm so be careful!)</li><li>Some wire to solder everything together</li><li>4 M3 screws 8~13mm long</li><li>4 Ruthex M3 inserts (optional)</li><li>2 Magnets 13x25mm (optional)</li></ul><p>After that, put the pots in the holes (there is a detent so they go only one way) and tighten the nut on the cover. Then solder the wires to the arduino (one side of the pot to VCC, one to GND, the middle pin of each to one of the Arduino pro micro analog pins. A0-A1-A2-A3-4). You can daisy chain the VCC and GND wires between pots if You want. Then use some double sided tape (I used 6mm VHB tape but you can use whatever, there is plenty of room for most kinds of tape). Make sure the arduino usb port is easily reachable! The design of the case is symmetrical so You can flip it around to choose where the cable will exit! Now onto the software.</p><p> </p><p><strong>Software</strong></p><p>This is easy, You can follow what is already present on the GitHub page of Deej for the configuration, just remember to edit the Arduino sketch line that follows:</p><pre><code class="language-plaintext">const int analogInputs[NUM_SLIDERS] = {A0, A1, A2, A3, A6};</code></pre><p>After that keep following the official guide. Remember to check which side is 100% and, if needed, flip it on the configuration as per the guide.</p><p>Done! It should be working perfectly! If You do make this project, don't forget to post Your makes and share it with friends!</p><p> </p><p><strong>Customization </strong></p><p>In the files there are many variations, so here is a small explanation:</p><ul><li>Files with "selftap" means the holes are for using M3 bolts without an insert, they will cut their thread into the plastic. Standard ones (no “selftap” in name) are for ruthex threaded inserts.</li><li>Files with "No Magnet" are for those of you that don't have a magnet to put in the case and stand, standard hole is for two 13x25x2mm magnets.</li></ul>
With this file you will be able to print Volume mixer - Deej software with your 3D printer. Click on the button and save the file on your computer to work, edit or customize your design. You can also find more 3D designs for printers on Volume mixer - Deej software.
