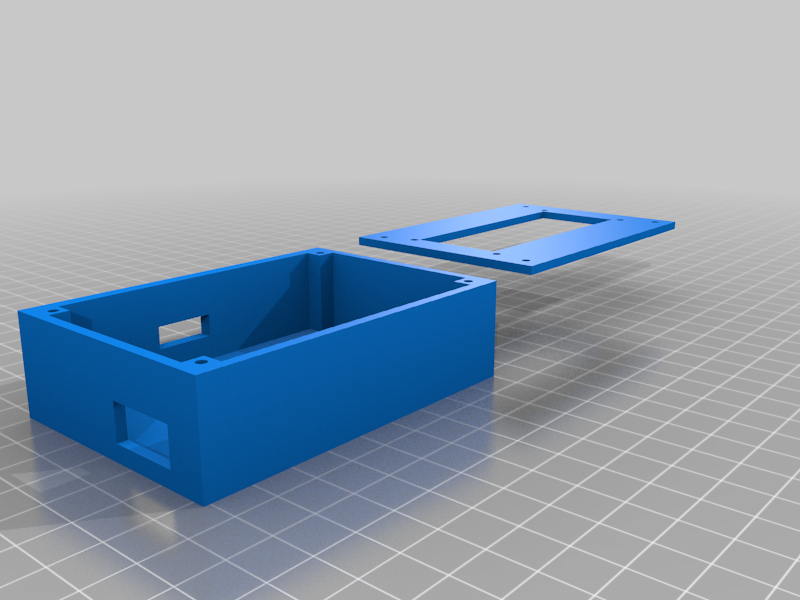
Voltmeter
thingiverse
Main goal of this project is to display a voltage reading from an electrical device. Two tweezers are used to touch the desired electrical device, and the LCD will show the voltage reading. The LCD can only display voltages between 0 and 30 volts. If the voltage is outside this range, the screen will be blank. The Arduino board has two resistors (R1 and R2) connected to it. When the project is complete, the tweezers can be connected directly to these resistors. The hole in the cover of the device is 2.5 mm in diameter. The connections between the LCD display and the Arduino board are as follows: * R1 (100kohm Resistor) connects to digital pin 5 * R2 (10kohm Resistor) connects to ground * LCD D5 pin connects to digital pin 6 * LCD D7 pin connects to digital pin 7 * LCD RS pin connects to digital pin 2 * LCD Enable pin connects to digital pin 3 * LCD D4 pin connects to digital pin 4 * LCD R/W pin connects to ground * LCD VSS pin connects to ground * LCD VCC pin connects to 5V * A 10K resistor has its ends connected to +5V and ground, with the wiper connected to the LCD VO pin (pin 3) Team Members: * Syimyk Taichabarov * Ermek Bakytov * Kubanychbek Mamanov YouTube Video Link: https://www.youtube.com/watch?v=lcr29EAhzao Parts List: * Arduino Uno R3 * LCD 16x2 * Resistor 10kOM (2 pieces) * Resistor 100kOM * Potentiometer 10kOM * Plastic * Wires * Screws (12 pieces) * Nuts (12 pieces) * Mini tweezers (preferably)
With this file you will be able to print Voltmeter with your 3D printer. Click on the button and save the file on your computer to work, edit or customize your design. You can also find more 3D designs for printers on Voltmeter.
