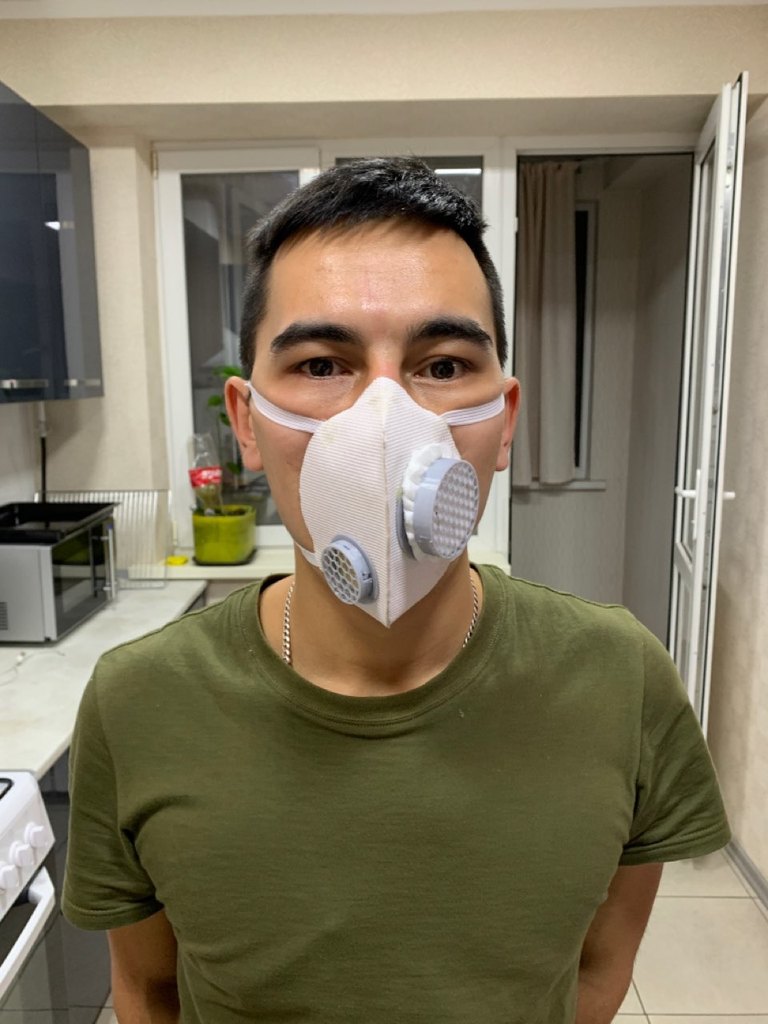
Virus mask elements
thingiverse
Here's a step-by-step guide to building your very own 3D printed virus protection mask from scratch. First, head over to Medium and check out the comprehensive tutorial created by Grinder Brader. His in-depth instructions will walk you through every aspect of designing and printing your mask. With his expert guidance, you'll be well on your way to creating a mask that's not only effective but also tailored to your specific needs. The first step is to download the design file for the mask from Medium. You can do this by clicking on the link provided in the tutorial. Once you've got the file, it's time to start printing. Make sure your 3D printer is set up and calibrated properly before you begin, as the quality of the print will be crucial to the effectiveness of the mask. As you print out the individual components of the mask, keep an eye on the progress bar and make any necessary adjustments along the way. Once the print job is complete, it's time to assemble your mask. This involves attaching the various parts together using a combination of adhesive and mechanical fasteners. With the mask assembled, it's now ready for use. Simply place it over your face, making sure that it fits snugly around your nose and mouth. The mask is designed to provide maximum protection against airborne viruses, so you can breathe easy knowing you're taking steps to safeguard yourself against illness. Remember, building a 3D printed virus protection mask from scratch requires patience and attention to detail. However, with the right guidance and equipment, you'll be able to create a mask that's not only effective but also tailored to your specific needs. So why wait? Get started today and take control of your health!
With this file you will be able to print Virus mask elements with your 3D printer. Click on the button and save the file on your computer to work, edit or customize your design. You can also find more 3D designs for printers on Virus mask elements.
