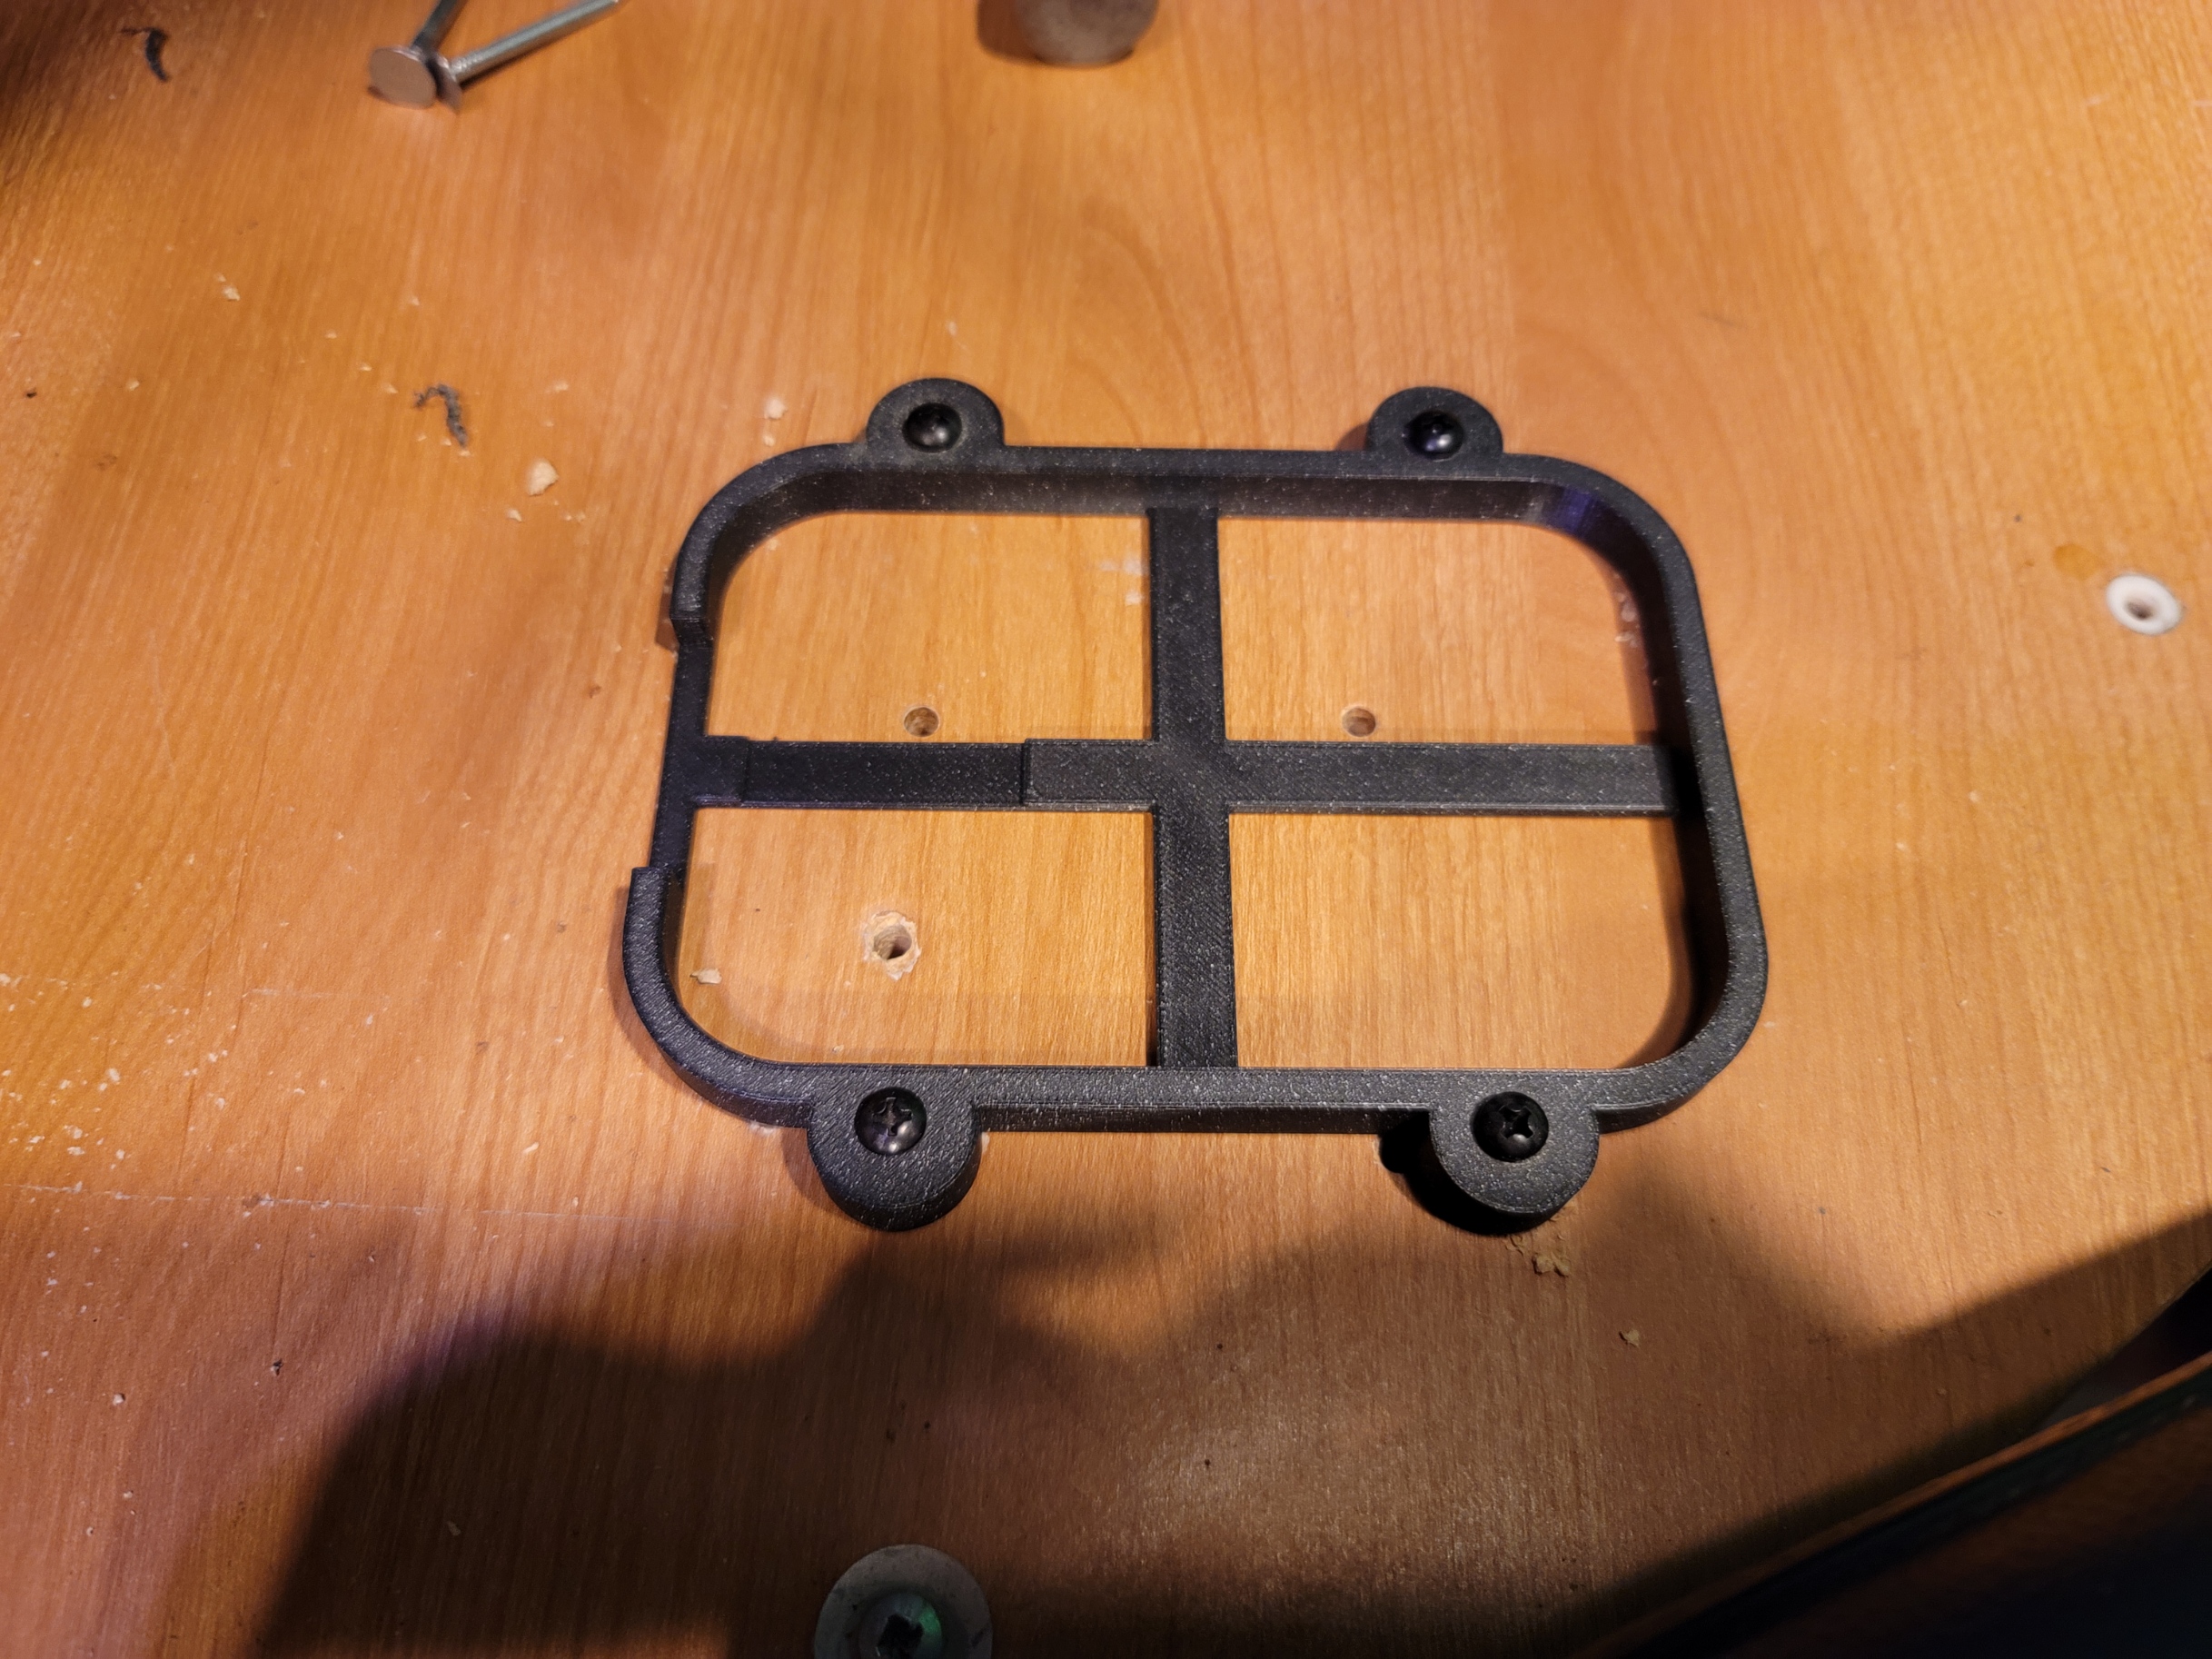
Virpil Mongoos Flight Stick Base Support
prusaprinters
<p> Virpil Mongoos Base CM2 Flush Mount</p><p> </p><p> This is a mounting system for a Virpil Mongoos CM2 flight stick base. It’s designed to sink the base into the desktop so it’s flush with the surface, though a little adjustment may be available based on if you shim on the top of the desk (higher mount), or below (lower mount). The desk I am mounting to is 19.2mm thick, so adjust the shim as needed.</p><p> I included the support frame even though I didn’t need it. I was going to glue it to the bottom of the stick support to add strength, but it doesn’t seem to need it.</p><p>Screw sizes:</p><ul><li>Virpil Mount – M5x.8x40mm -- #2</li><li>Support Screws – 18-8 Pan Head Machine Screw #8-32 4inch -- #4 (metric was too expensive)</li><li>Washers - #12</li><li>Nuts -- #8-32 -- #4</li><li>Lock Nut - #8-32 - #4</li><li>2 nails for marking holes.</li></ul><p>Print Settings:</p><p>Support Structures and Shim:</p><ul><li>0.2 Quality</li><li>4-5 Perimeters</li><li>20% Grid Infill</li></ul><p>Router Guide:</p><ul><li>Prusa Slicer Defaults are fine. This is disposable.</li></ul><p>Process:</p><ol><li>Print the Stick Support. Use this to determine where you want the stick. Use the holes as guides to drill the support holes. Make sure you don’t damage the model, or you’ll have to print another.</li><li>Print the Router Templet Guide. Bolt this to the tabletop.<ol><li>Tape plastic or another drop cloth around your workspace. This will make a lot of saw dust.</li></ol></li><li>Use a Flush Trim Router blade with a bearing on the top of the bit. Make sure your bit depth is adjusted properly, so the bearing runs along the guide plate and is cleanly cutting the desktop.</li><li>Plunge into the middle of the hole and cut along the guide plate.</li><li>Vacuum</li><li>Put a washer on each 4-inch screw and insert them into the holes. Use another washer and a nut to bolt them to the desk.</li><li>Remove the mounting screws from the Mongoos and insert from the bottom of the table.</li><li>Hold into place and use the nails to mark the mount holes.</li><li>Drill a whole just big enough for the M5 bolts (google the size).</li><li>Reinstall the mount and use the shim to fill the gap. </li><li>Drive 2x M5 screws through the mount and shim.</li><li>Fit the Stick Support onto the 4inch screws and secure with washers and lock nuts. Try to keep all of the nuts and washers flat against the base.</li><li>Done.</li></ol>
With this file you will be able to print Virpil Mongoos Flight Stick Base Support with your 3D printer. Click on the button and save the file on your computer to work, edit or customize your design. You can also find more 3D designs for printers on Virpil Mongoos Flight Stick Base Support.
