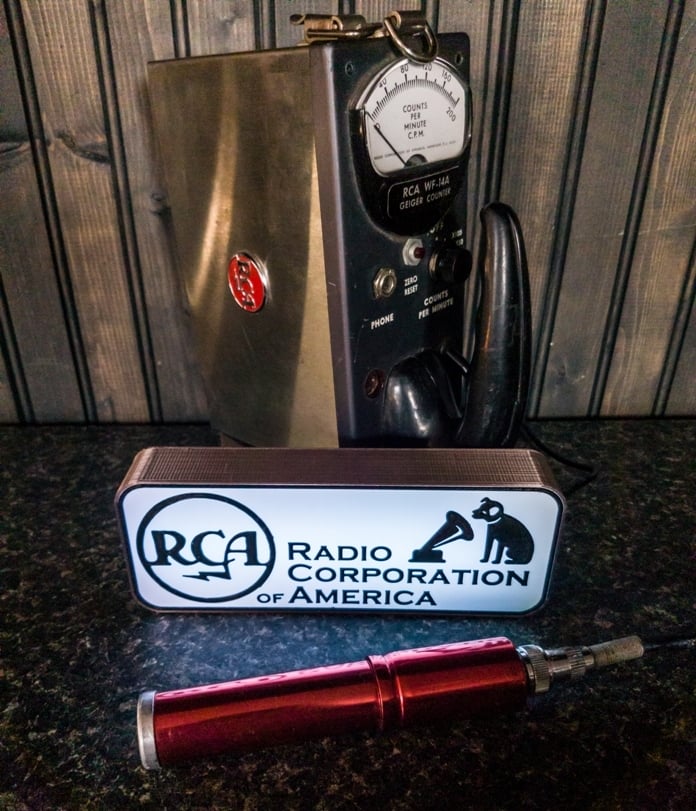
Vintage Geiger counter box signs - Dual colour
thingiverse
Nov23, 2020: Added 'Nuclear Chicago' and RobCo signs. RobCo is the fictional company that build the wrist worn Pip-Boy (which detects radiation) in the Fallout games. Oct30,2020: Added a Tower/El-Tronics, PRI and RCA sign. Replaced sign files with cleaner versions (had originally uploaded older files). Added a 'Blank sign' file which is just the frame, which is the basis for making any custom signs compatible with the same box (188mmx71mm). ............................................. Some nice decorations for collectors of vintage Geiger counters. Uses a small length of 5 volt LED strip to act as a light via a USB cable. The thickness of the sign is a total of 1mm. The white part is 0.6mm and the text is 0.4mm (5 layers in total). Import the sign file and common background file into your slicer and align them. In Cura, ensure the X,Y positions are each set to 0 and the "sign" layer should have Z set to 0.6 (make sure Cura isn't set to automatically drop models to bed). IF YOU ARE USING A SINGLE FILAMENT PRINTER: You will need to change the filament before starting the 4th layer. The box itself has the built-in holders for both the LED strip and to zip tie the USB cable in place. Any standard USB cable can be used for power, just snip of the end that doesn't plug into a PC usb port and solder the power wires to make the colours you want (if your strip is RGB). Make sure the strip is 5V (most are 12V). Cannot be "smart" or "addressable" LED strips (3 wire), as they require an additional controller. Currently made: - Victoreen - Detectron - Tower(Sears)/El-Tronics - Precision Radiation Instruments (PRI) - Radio Corporation of America (RCA) - Nuclear Chicago - RobCo Industries For anyone wanted to make signs like this, it involved the following steps: Create your layout in any program and export into a JPG. Take that JPG and convert it to an SVG file: https://image.online-convert.com/convert-to-svg Take the SVG file and turn into an STL (the default 5mm is fine, since it can be adjusted to whatever in the next step): http://svg2stl.com/ (you can also import the SVG directly into Tinkercad) Import the STL into Tinkercad, adjust as needed and export the final STL to the slicer/printer: https://www.tinkercad.com/ If I missed anything or for any questions, please leave a comment.
With this file you will be able to print Vintage Geiger counter box signs - Dual colour with your 3D printer. Click on the button and save the file on your computer to work, edit or customize your design. You can also find more 3D designs for printers on Vintage Geiger counter box signs - Dual colour.
