Vintage Game
thingiverse
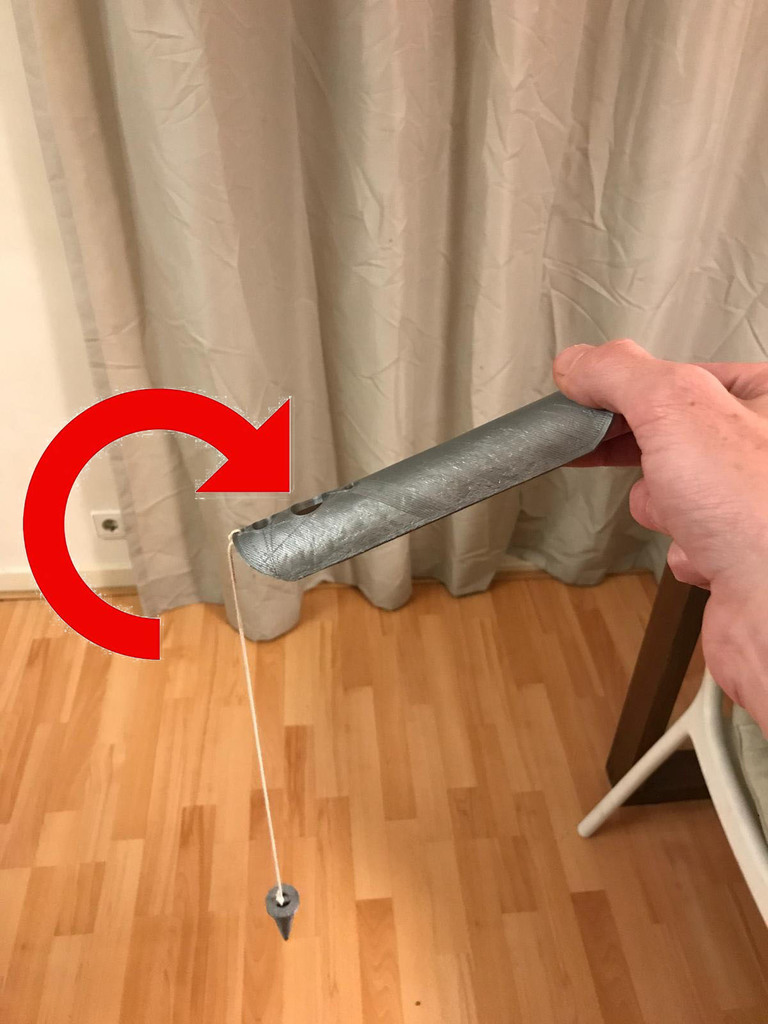
This game/toy was a real blast from my past when I was younger. I meticulously recreated it from memory since the original had long been lost in the depths of time. Please let me know if I made any mistakes with my design. After printing it out, I handed it over to my two trusty testers (my kids) - and I'm happy to report that it's not too easy, but as you get a feel for it, it makes for a fantastic alternative to digital consoles at least for a little while. To bring this game/toy to life, you'll need a length of rope or string to connect STL1 with STL2 (or STL3). The ideal length is between 30-50 cm - feel free to adjust to suit your preferences. For an added layer of fun, I recommend curving STL1 using a hairdryer. This was a key feature of the original game that I remember fondly. As for supports, I opted not to use them if possible. However, I've included a curved version for those who prefer it that way. Here are the rules: 1 point for landing in the largest hole (15mm) 2 points for finding your way into the middle hole (10mm) 3 points for navigating through the smallest hole (5mm) For STL1 + STL2, a 20% infill will take approximately 2 hours and use 26 grams of PLA - keep in mind that this is for printing both at the same time. If you're feeling particularly adventurous, STL3 offers an extra challenge - rotate it without supports to make it even more infuriatingly difficult (my kids certainly didn't appreciate it!). As for STL Curved, be prepared for some support "touching buildplate" - just a heads up.
With this file you will be able to print Vintage Game with your 3D printer. Click on the button and save the file on your computer to work, edit or customize your design. You can also find more 3D designs for printers on Vintage Game.
