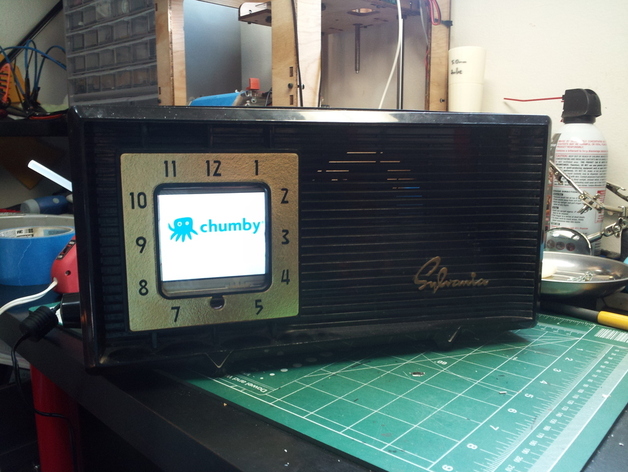
Vintage Chumby Clock Radio
thingiverse
To create a case-modded Chumby, first disassemble both the Chumby and radio, keeping in mind that the radio's internals are on a removable chassis held by two screws. Cut a base plate to match the case dimensions and drill holes for attaching it. Use a 3D printer to create necessary parts, then attach them to the base plate with rivets. Lengthen connector wires as needed, arrange components on stands, and connect everything together. Future improvements may include fixing a broken microphone, creating a back cover, hiding screen gaps, and adjusting the screen holder. For detailed instructions, consult iFixit's Chumby One teardown guide.
With this file you will be able to print Vintage Chumby Clock Radio with your 3D printer. Click on the button and save the file on your computer to work, edit or customize your design. You can also find more 3D designs for printers on Vintage Chumby Clock Radio.
