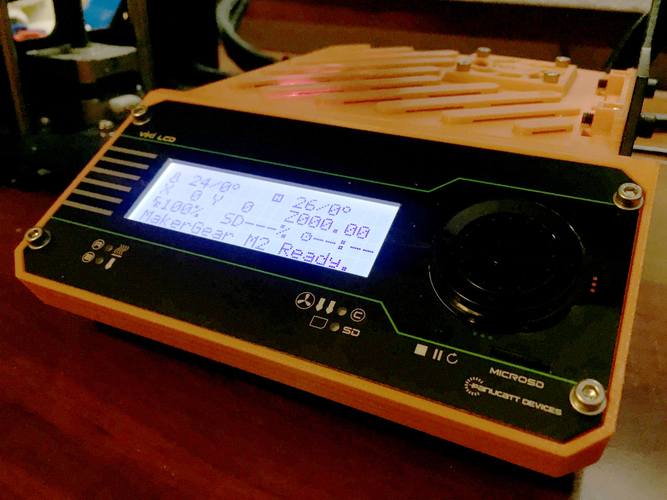
Viki LCD v1.0 Makergear M2 Case
pinshape
Summary: Although the Viki LCD v1.0 has been replaced with v2.0, they are still useful and available on eBay for those who want direct controls for their printer. After waiting about six months, I finally built a case for my MakerGear M2's Viki LCD. The design is based on my 2013-made M2 and the mounts line up perfectly with the printer. The general design was inspired by whoDat's Viki enclosure and I've incorporated enough elements to consider this a remix of that design, but the overall dimensions, position of mounts, size of the case, and position of opening are quite different. I kept the rib design elements on the lid, which provides a nice benefit of letting light from the RAMBo board through. The case is designed to mount the Viki using M3 bolts and nuts with pockets for easy assembly. The same bolts and nuts used to mount the original RAMBo board case can be used for this one. I shrunk the RAMBo portion of the case a bit and made three basic designs where the Viki enclosure is aligned with the left, center or right of the RAMBo portion of the case. There are two variations on the Viki portion of the case: the extended version is fully enclosed and the flat bottom version. I printed the centered, extended case for my own printer, which provides a nice balance of solutions to design challenges. I've posted photos of how this version fits into the M2, including how it fits under the build platform when its completely lowered. Printer Settings: * Printer Brand: MakerGear * Printer: M2 * Rafts: Doesn't Matter * Supports: Yes * Resolution: 0.4 mm nozzle * Infill: 30 - 60% Caveats to note: This is a very big object that takes a lot of plastic (~1/3 - 1/4 of a 1kg roll) and many hours to print (15 - 25 hours - depending on your settings). So if your printer isn't stable and capable of long prints this might be a frustrating build for you. I don't recommend this object for novice / beginner users of their printer. While it doesn't matter if you use a raft or not, the case is much easier to remove from the build plate if you use a raft. I suggest that this be printed with PLA vs ABS because the size of the box is big enough that ABS shrinkage can be pretty significant and make fitting to the M2 difficult. Once printed, you need to snap off small ring supports in the M3 bolt sockets under the RAMBo portion of the case. The position of the bolt holes for the RAMBo board are based on published design specs but may be a tiny bit off for your board (~0.5-1mm). If yours is off, this can be easily remedied by shaving a bit of plastic away with an X-acto knife. Viki Documentation Inquiry: While most of the Viki's operations are straight forward, I think I could make the most of the Viki if there was a bit more instruction on its use. If there is such a document, please post it or a link to it. Thanks in advance!
With this file you will be able to print Viki LCD v1.0 Makergear M2 Case with your 3D printer. Click on the button and save the file on your computer to work, edit or customize your design. You can also find more 3D designs for printers on Viki LCD v1.0 Makergear M2 Case.
