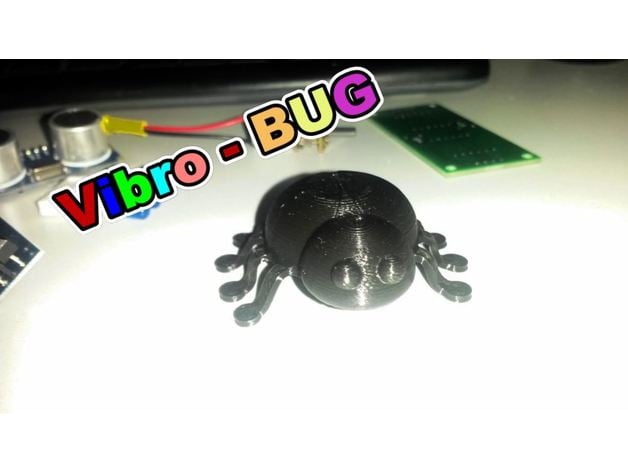
vibro-bug on the 3D printer.
thingiverse
To build the vibration bug, you'll need to print the body of the robot in STL format. Download the files and get ready for a fun project. You'll also need some additional parts: a vibration motor, a CR2032 battery, a small piece of foil, some tape, and a lighter. First, heat up the vibration motor with a lighter until it melts into a flexible shape. Make sure to bend all 8 legs evenly so they're not lopsided. Next, insert the vibration motor into a special groove on the bottom of the chassis and push a wire through a hole. Wind one of the wires around a small piece of foil to improve contact with the battery. Insert the CR2032 battery into an opening, making sure the negative terminal is facing down. Use some adhesive tape to secure it in place. With all the parts assembled, your robot should start moving! Share this video with your friends and subscribe for more fun projects. Check out the vibration motor link: https://www.aliexpress.com/item/5Pcs-Brand-New-Short-Button-type-Vibration-Motors-DC-Coin-Flat-Vibrating-Motor-Voltage-1-5/32619479235.html?spm=2114.13010608.0.0.DJwGAJ Here are the print settings I used: Printer: RepRap Rafts: No preference Supports: Yes Resolution: 0.2 mm Infill: 15% To design this project, I followed these steps...
With this file you will be able to print vibro-bug on the 3D printer. with your 3D printer. Click on the button and save the file on your computer to work, edit or customize your design. You can also find more 3D designs for printers on vibro-bug on the 3D printer..