Vibration Dampening System
myminifactory
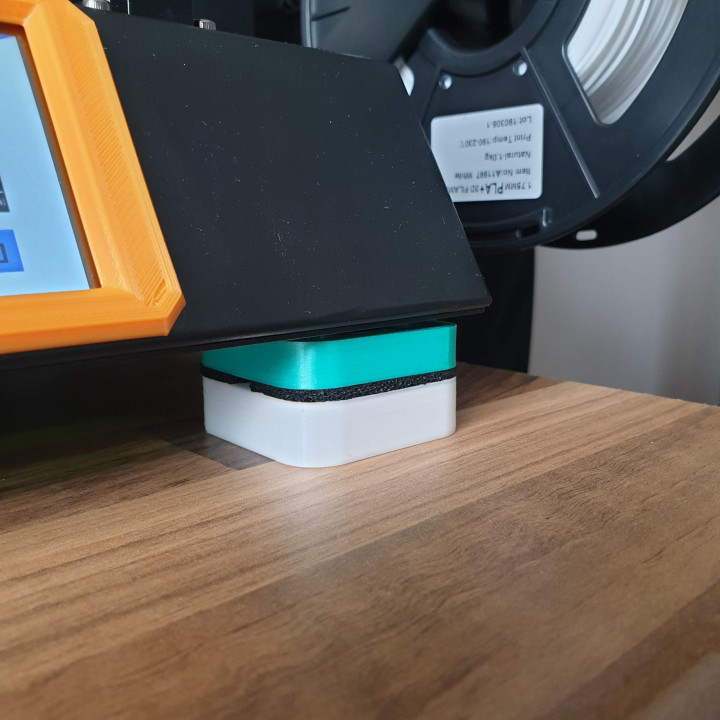
Get In Touch ~ Want to stay up-to-date on my latest 3D printing projects? Add me on snapchat (@brossi_mossi) for regular updates. To access my private story, simply message "PRINTZ" within 24 hours and I'll add you. ~ Introduction ~ The vibration mounts were designed with simplicity and effectiveness in mind. Mine are printed in PLA and TPU, but can be modified to use PLA and Foam for a similar effect. These mounts are designed for the Anycubic I3 Mega / Mega S, but the universal mount should work with many other printers. Alternatively, you can modify the included files for better compatibility with your 3D printer. I've also included an easy print version that uses more plastic for improved bed adhesion. Please like and share this project - it really motivates me to keep creating! ~ Parts ~ (The Ingredients For 1 Mount) * Base (PLA or ABS) * Top (TPU) * Base Mount (PLA or ABS) * M3 Hex Nuts * M3 x 20mm or **M3 x 25mm Cylindrical Head Cap Screws * Optional: secure mounting for Vibration Base Mounts ~ Assembly ~ (Easy Peasy) 1. Insert M3 Hex nuts into the hexagonal slots in each Base. 2. Screw in M3 Cylindrical Head Cap Screws on the opposite side of all bases until they are flush with the face. 3. Place a Top on top of each Base (small hole down). 4. Insert an M3 Nut into each hole on top of the Tops, then tighten the M3 Nuts inside the Top. 5. Skip steps 5-7 if not using Mounts. Slide a Base Mount over all completed Vibration Dampeners and place them under your printer in your desired configuration. 6. Screw one hole of each Mount or lift the mount off the floor and peel the protective layer of tape before adhering it to the surface below. 7. (Only do if using screws) Carefully lift your printer off the mounts without knocking the Vibration Dampeners, then screw in the remaining holes. 8. Finished! ~ PLA / Foam ~ If your printer can't print TPU or you don't want to spend £20-£50 on a roll, I've got you covered. I've created a version that uses foam instead of TPU. Simply take the Foam Base and use it as a stencil to trace out on the foam a cut-out. Cut this out and pierce holes in the same place as the Foam Base. Insert M3 Hex Nuts into the hexagonal holes on both the Foam Base Plate and Foam Top, then screw one through each circular hole in the Foam Base (all the way through). Push the screws through the foam holes and place the Foam Top on top. Tighten the Foam Top M3 Hex Nuts. You can also follow steps 5-7 for a more secure system. Experiment with different types of foam and how tight the M3 Hex Nuts are for optimal results. ~ Notes ~ I'll be working on improving this design in the future, but for now, I'm moving on to another project. My Dampeners are a TPU top and PLA base with some foam in between them.
With this file you will be able to print Vibration Dampening System with your 3D printer. Click on the button and save the file on your computer to work, edit or customize your design. You can also find more 3D designs for printers on Vibration Dampening System.