Vespa LX repair
thingiverse
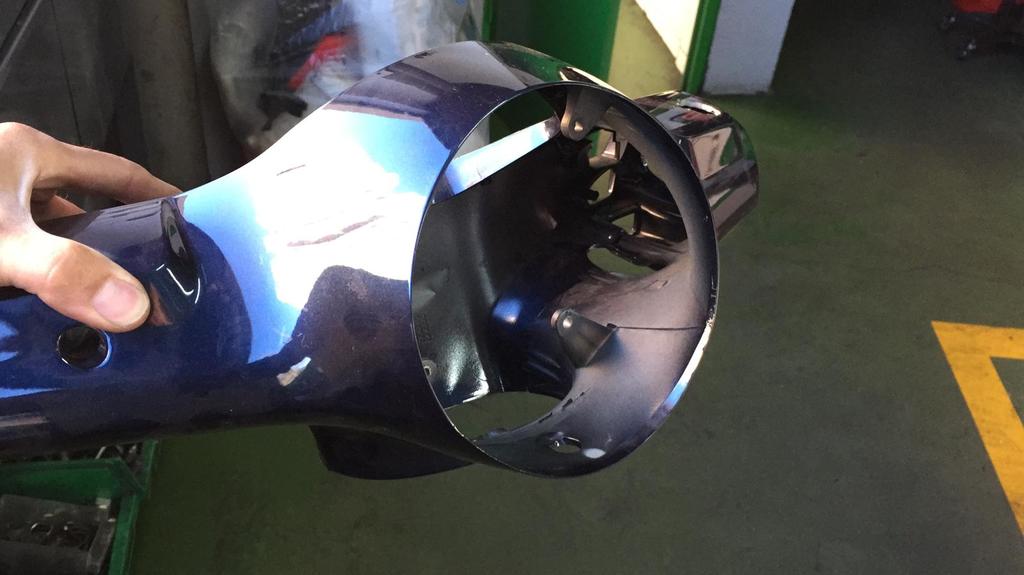
Repairing the Vespa LX lid attachment is a straightforward process that requires basic tools and some mechanical aptitude. Begin by locating the screws that hold the lid shut. Typically, these screws are positioned on either side of the attachment point where the lid meets the frame. Remove the screws using a Phillips head screwdriver to gain access to the internal components. Next, carefully pry open the lid attachment mechanism while working around any cables or wiring that may be connected. Use a flathead screwdriver for this task and work slowly to avoid damaging any of the surrounding parts. Now that you have access to the interior, locate the pin that holds the lid attachment in place. You'll find it at the center point where the lid meets the frame. Remove the pin using needle-nose pliers or a flathead screwdriver, taking care not to strip the threads. With the pin removed, you can now lift off the lid attachment and inspect it for any damage or wear. If necessary, replace the attachment with a new one, making sure it is securely fastened in place before reassembling everything. Reattach the lid by inserting the new pin into the center point where the lid meets the frame. Make sure it's seated properly and then secure the attachment using the screws you removed earlier. Tighten the screws firmly but avoid over-tightening, which can damage the surrounding components. Once the attachment is reassembled, test it by lifting and closing the lid several times to ensure everything is working smoothly and securely.
With this file you will be able to print Vespa LX repair with your 3D printer. Click on the button and save the file on your computer to work, edit or customize your design. You can also find more 3D designs for printers on Vespa LX repair.