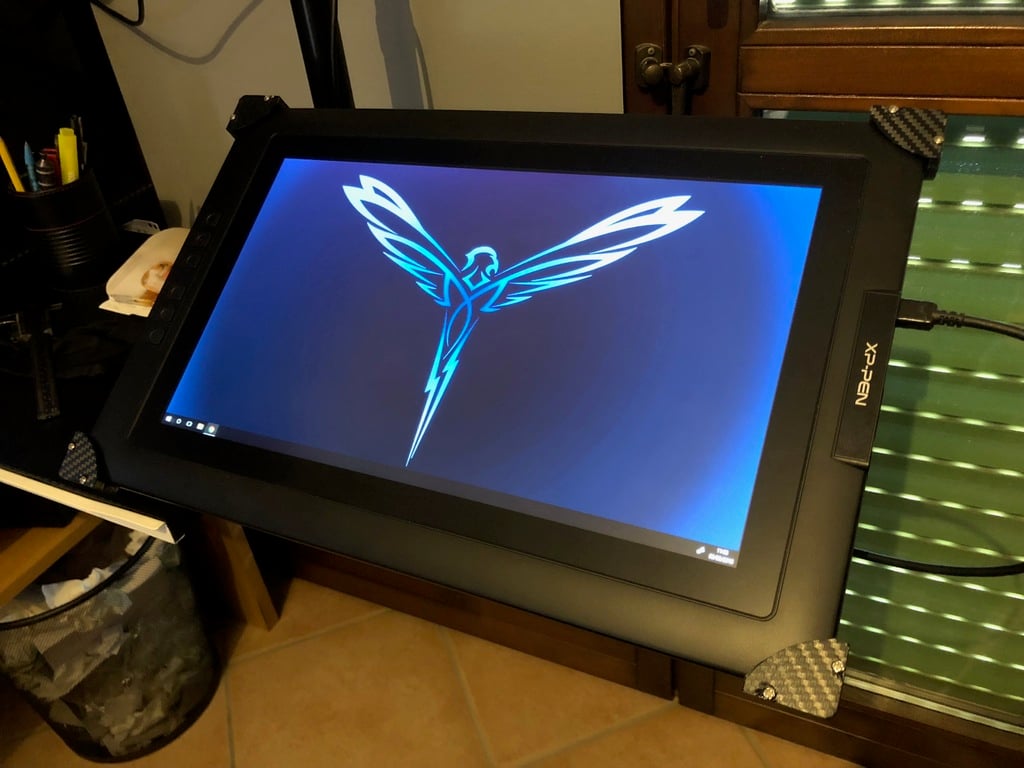
vesa mount for drowing tablet Xp-pen artist 15.6
thingiverse
Mounting a drawing tablet on a monitor stand requires essential components like the Xp-pen Artist 15.6 interactive panel support, which is crucial for setting up the drawing tablet on an arm for the monitor. The necessary parts to print are: - Cover (4 pieces, 2 standard and 2 mirror) - Cover caps (4 pieces, 2 standard and 2 mirror) - Vesa2 (1 piece) - M4 bolts (4 pieces) Additional parts include: - Hex head M4x40 screws (4 pieces) - M4 bolts (4 pieces) - M3x4 screws (8 pieces) Assembly involves: -1 Combine the four cover parts together by gluing their sides and using adhesive tape for assistance. -2 Pass the screws through the four holes on the "vesa2" support, ensuring the screw head enters its respective housing. -3 Glue the "vesa2" support onto the cover, making sure it's secured with protruding screws from the opposite side of the tablet joints. -4 Place the tablet in position. -5 Screw the cover caps onto their respective joints. -6 Attach the tablet to the arm.
With this file you will be able to print vesa mount for drowing tablet Xp-pen artist 15.6 with your 3D printer. Click on the button and save the file on your computer to work, edit or customize your design. You can also find more 3D designs for printers on vesa mount for drowing tablet Xp-pen artist 15.6.
