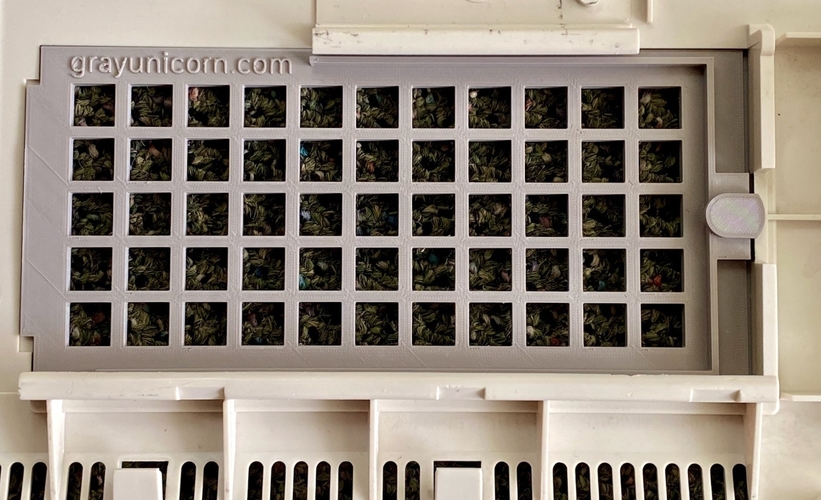
Ventilated latched Amiga 1200 trapdoor
pinshape
I was going to call this "Better Amiga Trapdoor". If ventilation isn't needed, then it's not really better because the original works perfectly without any issues. However, if ventilation is necessary and you 3D print one, the part that needs to bend and snap into place will always be prone to breakage. This design uses a screwdriver to turn a latch instead of bending a catch so it should last significantly longer. Once all parts have been printed, align the part with the slot (drive.stl) in the bottom of the trapdoor (trapdoor.stl) so that it points towards the triangle. Then place the final part (latch.stl) so that it is pointing directly in line with the slot. After ensuring a proper fit, use a small drop of superglue to join them permanently. The type of glue used isn't crucial here because there's very little stress on this joint, but using too much will result in glue entering the hole where the part is meant to turn freely and it won't function properly.
With this file you will be able to print Ventilated latched Amiga 1200 trapdoor with your 3D printer. Click on the button and save the file on your computer to work, edit or customize your design. You can also find more 3D designs for printers on Ventilated latched Amiga 1200 trapdoor.
