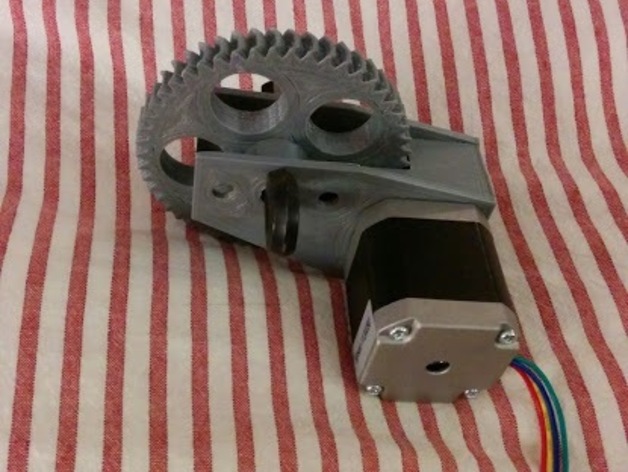
Velux Automation
thingiverse
Constructing a NEMA 17 stepper motor automation add-on for my Velux skylight is the objective. The Kaysan extruder motor (http://www.kysanelectronics.com/Products/Detail.php?recordID=7850) was tested earlier. STL files are available, with scad files found on GitHub (https://github.com/krbaker/3dprinting/tree/master/velux-automation). Print one of each part and use an 8mm Allen wrench for the drive. Assemble the small gear onto the NEMA stepper using a 3mm set screw, then mount the top onto it with four 3mm screws. Attach the NEMA 17 stepper to the top mount plate such that the gear protrudes through the hole. Mount the spacer onto the Velux crank using the two mounting holes and ensure the ridges on the spacer align with those in the skylight. Secure the mount and spacer with screws, then place the big gear into the slot and fasten the mounting plate to the skylight using an 8mm Allen key and a screwdriver. Note that opening the window halfway may facilitate gear movement in both directions. This modification likely voids your warranty, and any damages resulting from this process are not my responsibility.
With this file you will be able to print Velux Automation with your 3D printer. Click on the button and save the file on your computer to work, edit or customize your design. You can also find more 3D designs for printers on Velux Automation.
