Vectrex VecMulti Cartridge Case
prusaprinters
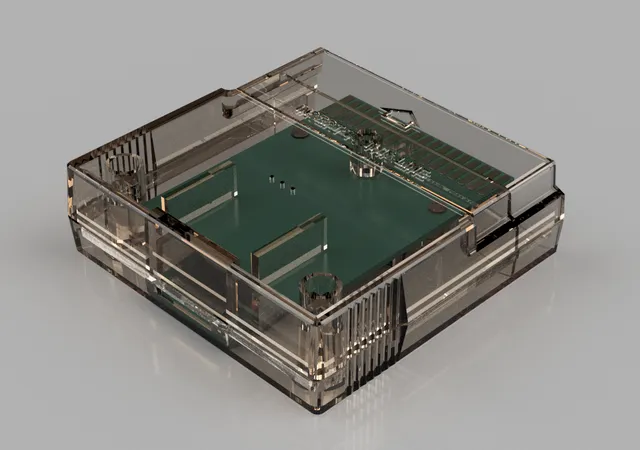
Additional parts neededVecMulti Multicard (2018 version with SD-slot mounted on separate PCB)6 wires, approx 30mm lengthsoldering ironde-soldering toolself tapping screw, max 18mm length Post-PrintingDe-solder the SD-slot PCB from the main PCB, completely removing the pin headers used to mount it.Re-mound the SD-slot PCB underneath the main VecMulti PCB using six wires of approx. 30mm length. This allows the SD Slot to fit in a standard size Vectrex cartridge.Slide the SD-slot PCB in the holder integrated in the bottom shell of the case. The top side will hold it firmly in place once the cartridge will be closed.Folding the wires, place the main VecMulti PCB into its mounting position.If the top shell with holes (to see the VecMulti LED) was printed, hot glue can be applied as a light guide. Apply from the inside of the shell to the holes, don't apply too much, or the PLA can melt!Place the top shell and close the cartridge. Use a screw of maximum 18mm length and pre-drill the holes to fit different diameters. The case should snap-fit even without a screw.Notes: Parts are optimized to be printed support-less. I used 3 perimeters for additional strength.
With this file you will be able to print Vectrex VecMulti Cartridge Case with your 3D printer. Click on the button and save the file on your computer to work, edit or customize your design. You can also find more 3D designs for printers on Vectrex VecMulti Cartridge Case.