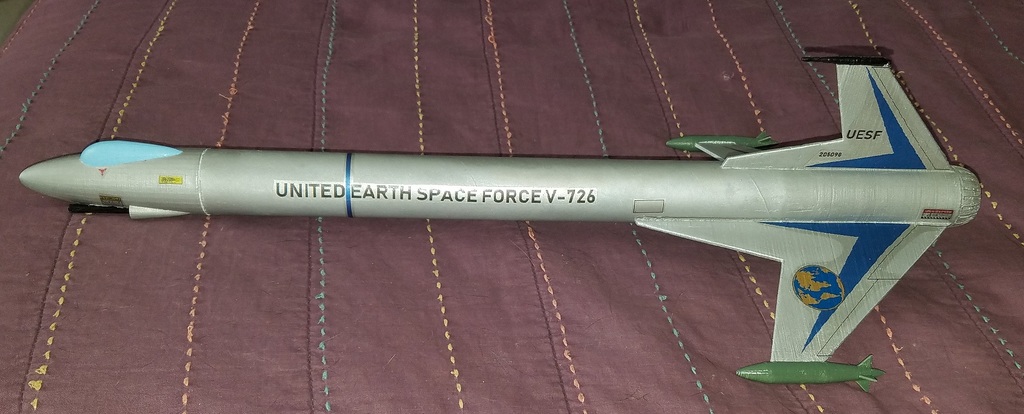
Valkyrie model rocket
thingiverse
In the not too distant future our solar system is under attack by the evil Qrill empire, prompting the nations of Earth to unite and form the United Earth Space Force, which fields the Valkyrie as its front-line fighter, equipped with two photo bombs on its wingtips and two railgun cannons in its nose. It's time for the Qrill to go on the defensive. Each Valkyrie is equipped with a robust design, including photo bombs on its wingtips and railgun cannons in its nose, ready to take on the enemy. The rocket is tail-heavy, so you'll need to add weight to the nose, which depends on how long you make the body tube. To test stability, I taped BBs to the nose and did a swing test with a D12-5 installed. Did you know that a D12-5 weighs almost exactly like 18 post-1986 pennies? It does! After adding more BBs until it was stable, I drilled a hole in the base of the nose cone, dumped the BBs inside, and sealed them with Epoxy. I've flown this rocket on both C6-5 and D12-5 motors, and both flights went smoothly. The rocket flies straight and true but may weathervane slightly in windy conditions due to its large fin surfaces. To enhance structural integrity, be sure to fillet the fins where they meet the body tube. Regarding decals, simply print them on decal paper using your ink jet printer. I designed mine using "Microsoft Paint," so they're a bit rough around the edges. Feel free to redesign them or use my template as inspiration. If you have better design software, by all means, use it!
With this file you will be able to print Valkyrie model rocket with your 3D printer. Click on the button and save the file on your computer to work, edit or customize your design. You can also find more 3D designs for printers on Valkyrie model rocket.
