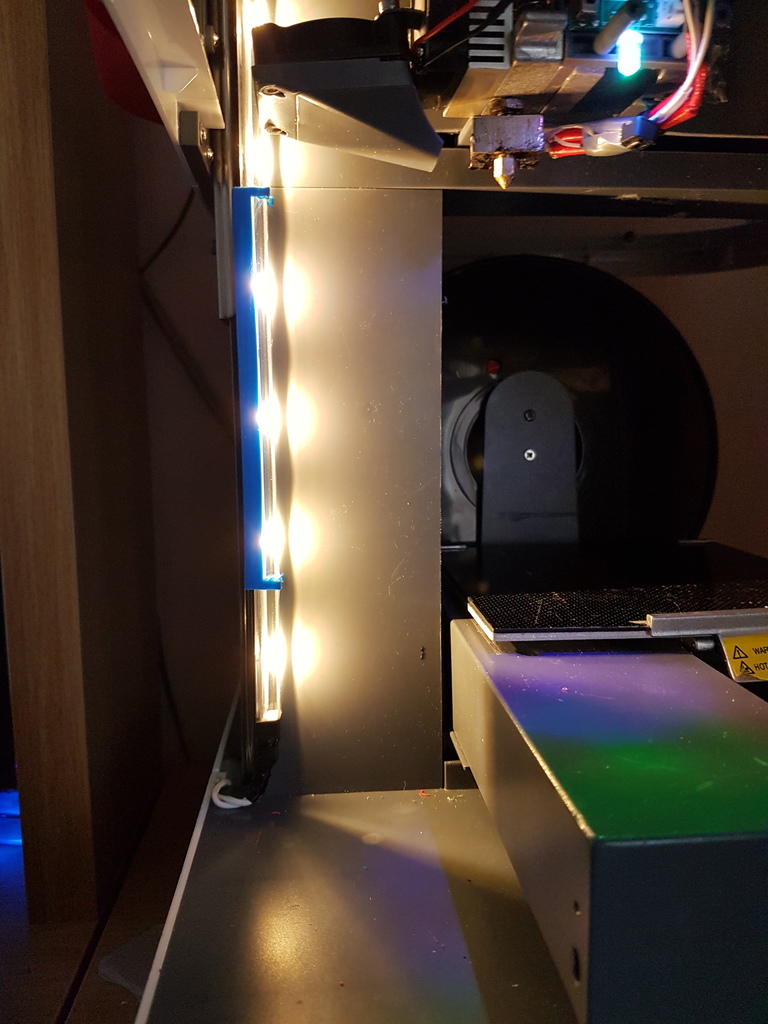
V3 Printer bracket for Ikea LEDBERG LED strip.
thingiverse
I upgraded my print area lighting by purchasing a pack of Ikea LEDBERG led strips, which comes with three strips and a 24-volt plug-in power supply. Since my V3 printer uses a 24-volt PSU, I connected the strip directly to the internal PSU, requiring me to solder wires onto the strip connectors. Be cautious not to short them together if you decide to do the same - I am not responsible for your decisions regarding powering the LED strips. Currently, only one strip is attached, but I plan to add another on the right side soon. The bracket can be installed on either side of the printer and uses the two middle side screws that secure the left or right column covers to the frame. These original screws are long enough, so no new ones are needed. The original brackets relied on double-sided sticky pads (mirror tabs) to hold the strip in place, but on my ABS prints, the heat caused the pads to unstick. The V2 design had clips at both top and bottom, which weren't wide enough. The V3 design addresses this issue by providing a sturdy hold for the strip. I designed the brackets to be large enough to accommodate LED strips with double-sided pads attached but also work without them.
With this file you will be able to print V3 Printer bracket for Ikea LEDBERG LED strip. with your 3D printer. Click on the button and save the file on your computer to work, edit or customize your design. You can also find more 3D designs for printers on V3 Printer bracket for Ikea LEDBERG LED strip..
