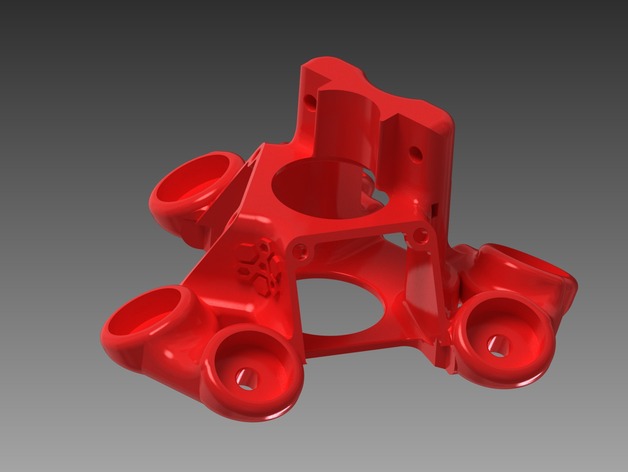
v2 Infill 3D Delta Bot Magnetic Effector
thingiverse
Here is the long awaited version two with rectified mistakes and enhancements, there was a goof-up on the grooves for the clamp, I apologize for my earlier error. I had thought I had uploaded the corrected version but that didn't happen somehow, thankfully that issue has been remedied too. This effector uses FSR's (that's why the missing probe is present) during calibration; when calibrating the machine, I encountered a few crashes into the bed and discovered that the effector was vulnerable in a few points where it split after repeated use, those weak areas have now been reinforced. To repair these weak spots, the openings for the vents have been narrowed down and extra material has been added to thicken the wall as well. The size of the set screws has also been increased to M5X8 from M4X5 in order to boost the magnetic hold of the rods. I've been using this unit for a few months now with no issues whatsoever. Parts you will require are: * 2x 30mm Axial Fans * 2x M3x16 Socket Head Screws * 2x M3 Hex Nuts * 8x M3x12 Socket Head Screws * 6x Countersunk Magnets, 15mm x 5mm in size * 6X M5x8 Set Screws
With this file you will be able to print v2 Infill 3D Delta Bot Magnetic Effector with your 3D printer. Click on the button and save the file on your computer to work, edit or customize your design. You can also find more 3D designs for printers on v2 Infill 3D Delta Bot Magnetic Effector.
