UV resin curing box 2.0
prusaprinters
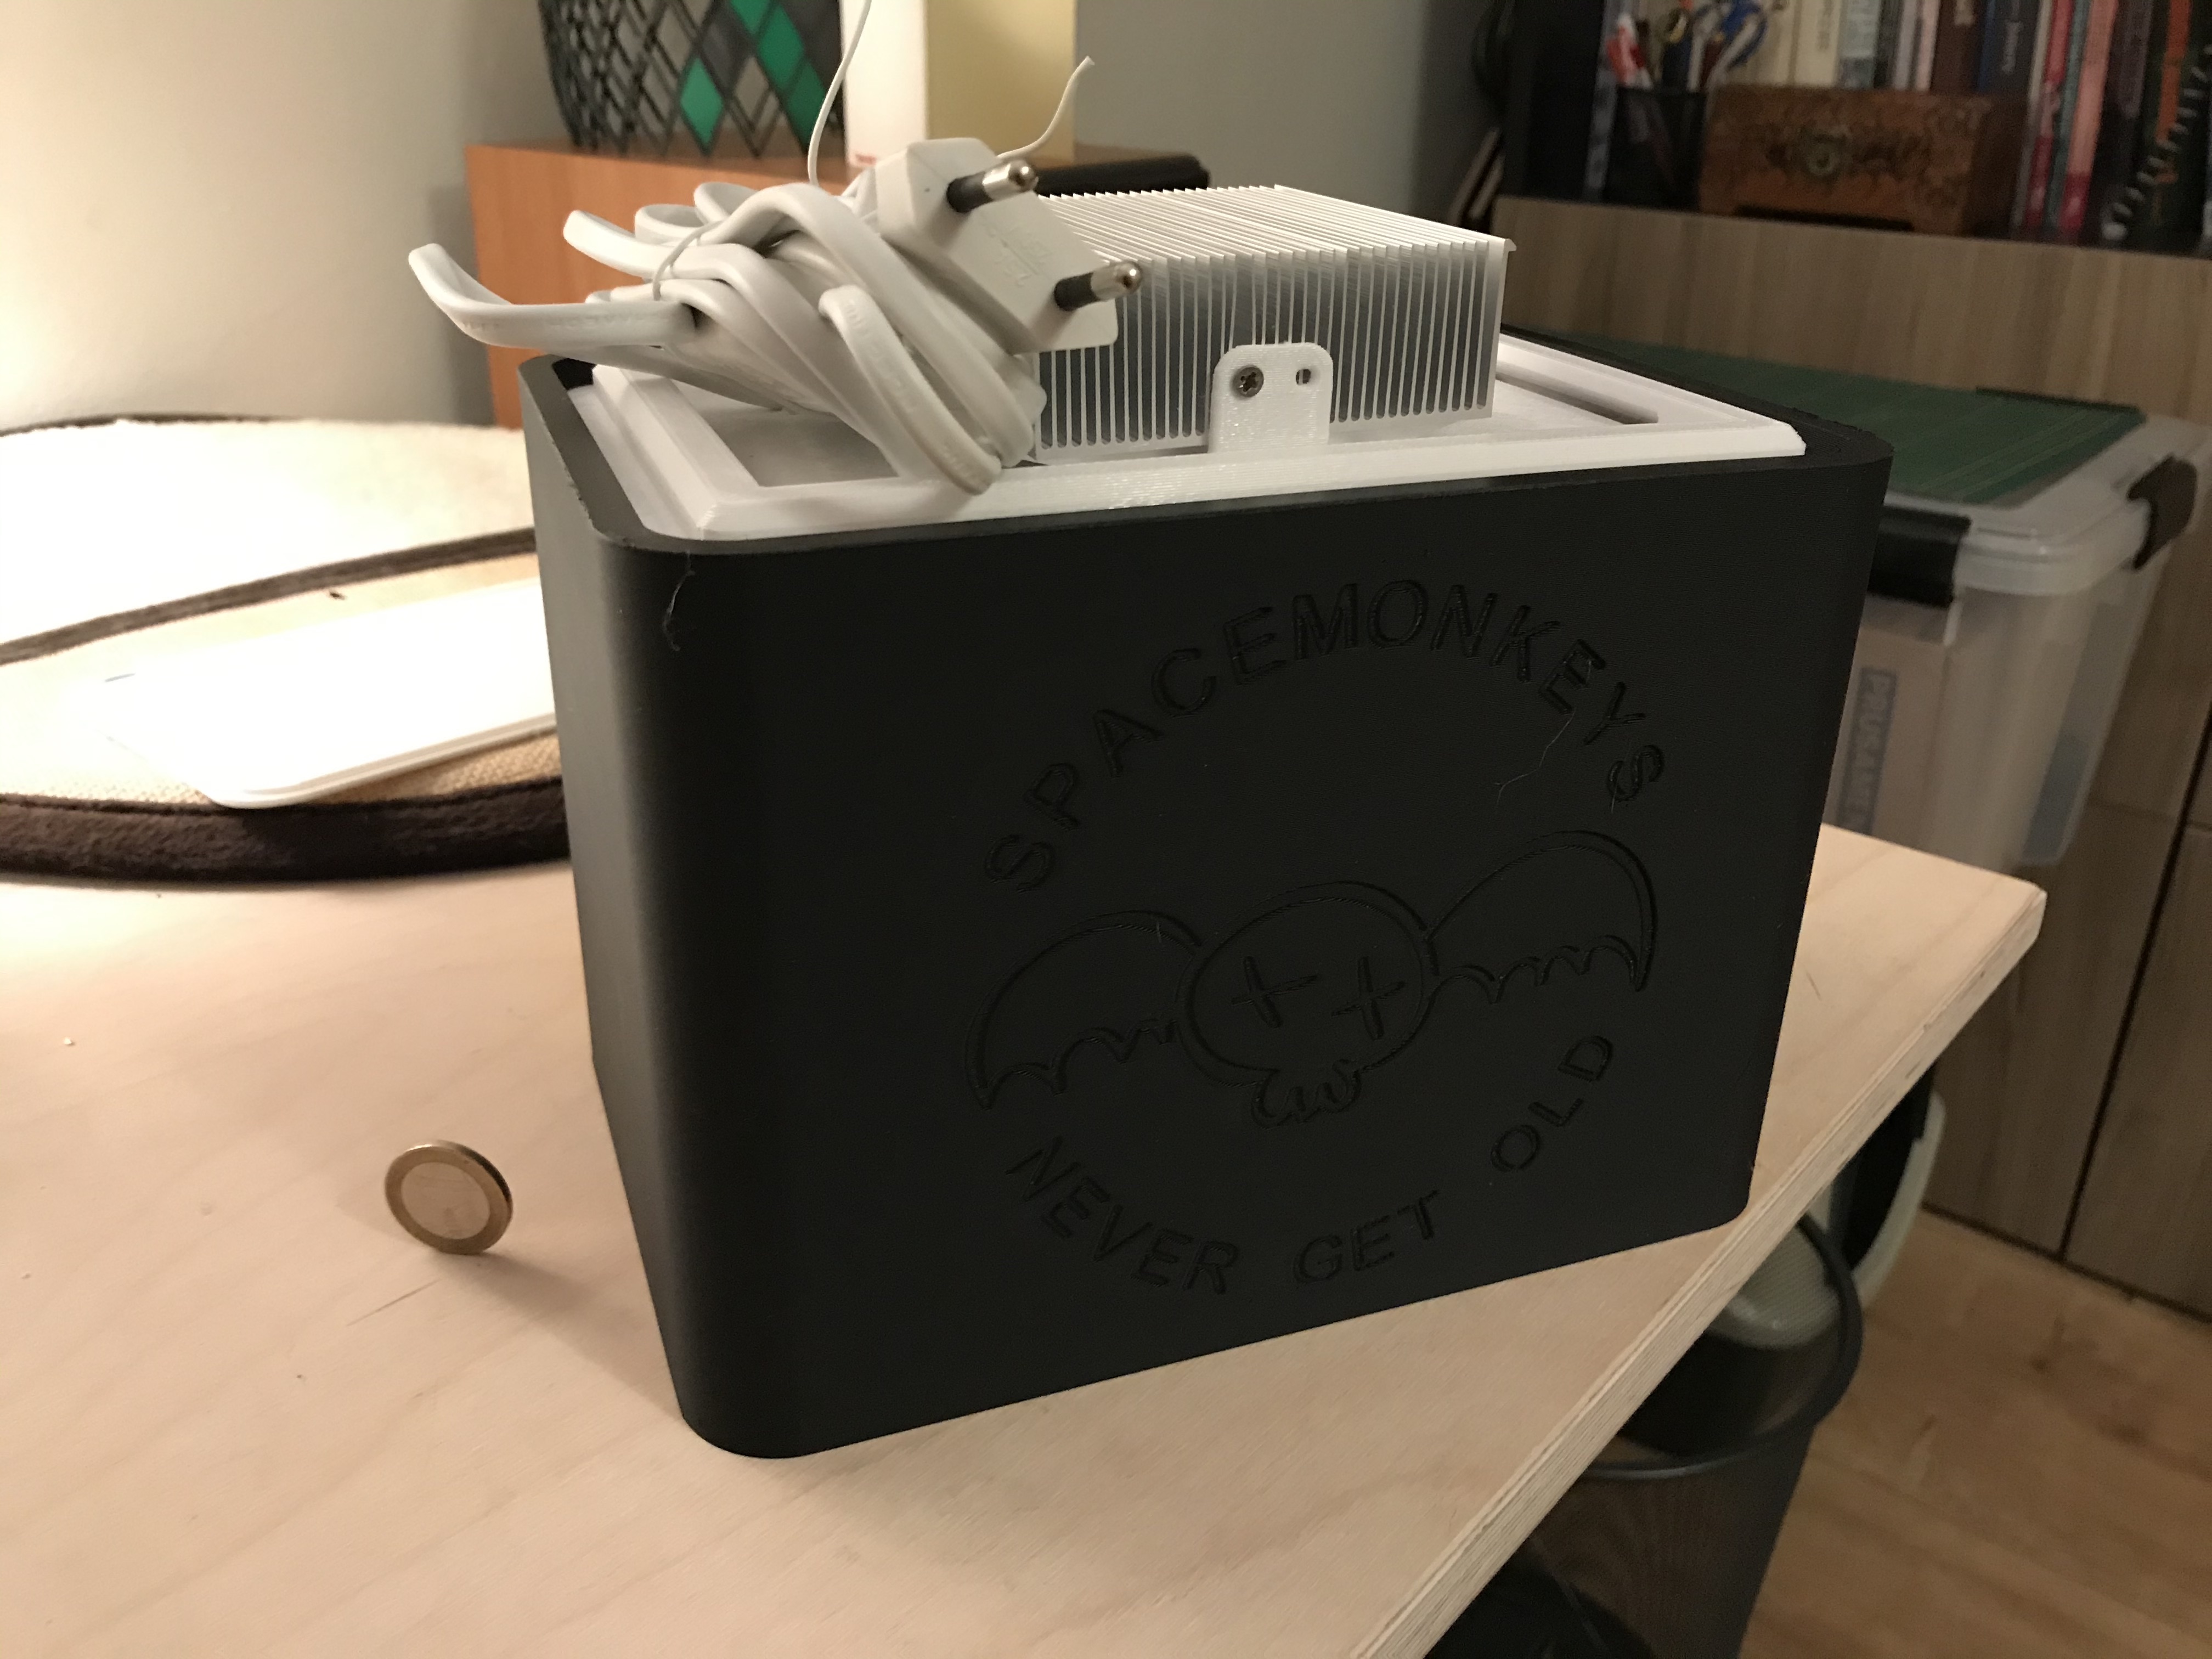
<p>Cure and dry your 3D resin prints in mere minutes. I used to have a setup with a UV led strip, but that turned out to take hours.</p> <p>This is a completely redesigned version of the UV resin curing that I currently use. The main idea was to make it a bit larger (in case I ever get a bigger resin printer) and to firmly attach the UV light to the top. Note that I made this as a birthday present, that's why there is decal/logo on the chamber in the photos, but there is a version included without decal...</p> <h3>Print instructions</h3><h3>Info</h3> <p>The chamber consists of four parts, two are optional. You should at least print the "lid" and the "bucket". For supportlesss printing these are designer in two parts that you can either glue together or stick together using (aluminium) tape on the inside.</p> <p>I highly recommend printing the "bottom" and the "rack" as well. The bottom tray is there for reflecting UV light to the underside of your prints. The rack will hold yor prints up, obviously.</p> <p>For UV light reflection I recommend getting some "Aluminium tape" form the hardware store and covering the inside of the chamber and the bottom tray with it. Alu is a good reflector of UV light and will help your prints cure even faster.</p> <p>The STL for the "rack" is a bit weird because I used prusaslicer to remove the top and bottom layers from it so that it becomes "infill only", this gives a nice honeycomb design to let the light through.<br/> To do this, use the process from the linked movie (or use the prepared gcode, but that uses a 0.6 nozzle): <a href="https://blog.prusaprinters.org/model-with-prusaslicer-modifier-meshes-tutorial/">https://blog.prusaprinters.org/model-with-prusaslicer-modifier-meshes-tutorial/</a></p> <h3>Tips</h3> <ul> <li><strong>Consider printing the lid in PETG, the LED gets HOT. Do not run for too long or you may melt your lid...!</strong></li> <li>print this with the largest nozzle that you have, it will take forever with a 0.4 nozzle!</li> </ul> <h3>Bill of materials for the build</h3> <ul> <li>UV light that runs on 220v mains power, get the version without a lens or cooling block, just the COB:<br/> <a href="https://www.aliexpress.com/item/4000144567253.html">https://www.aliexpress.com/item/4000144567253.html</a></li> <li>Arctic Alpine 64 GT Processor cooler:<br/> <a href="https://www.amazon.de/gp/product/B001A5V1K2">https://www.amazon.de/gp/product/B001A5V1K2</a></li> <li>Aluminium tape:<br/> <a href="https://www.amazon.de/dp/B0049OVT1C/ref=cm_sw_em_r_mt_dp_U_utxnEb3XG83NP">https://www.amazon.de/dp/B0049OVT1C/ref=cm_sw_em_r_mt_dp_U_utxnEb3XG83NP</a></li> <li>Couple of small wood screws to screw to attach the cooling block to the lid.</li> <li>One electrical cord (with switch) for the LED COB</li> <li>Some M3 screws to bolt the LED COB onto the cooler block.</li> <li>A couple of tiewraps.</li> </ul> <h3>Build instructions</h3> <ul> <li>The CPU cooler needs four holes drilled into it so you can bolt the LED to it. Use a 2.5mm drill and wiggle it slightly, that should allow you to bolt the M3 screws straight into the soft aluminium of the cooler. (unless you happen to have some thread taps on hand, but then you shouldn't this explanation anyway...).<br/> Use the LED as a template to mark the holes on the cooler and go to town!</li> <li>Place the LED/cooler assembly onto the lid, and fix it in place with some small wood screws. This will deform a few of the cooling ribs, but you can bend them back afterwards.</li> <li>Cover the insides of the chamber with alu tape</li> <li>Glue the lid into the bucket</li> <li>Attach your electrical cord and fix it in place with some tiewraps.</li> </ul>
With this file you will be able to print UV resin curing box 2.0 with your 3D printer. Click on the button and save the file on your computer to work, edit or customize your design. You can also find more 3D designs for printers on UV resin curing box 2.0.
