UV nail dryers handle
thingiverse
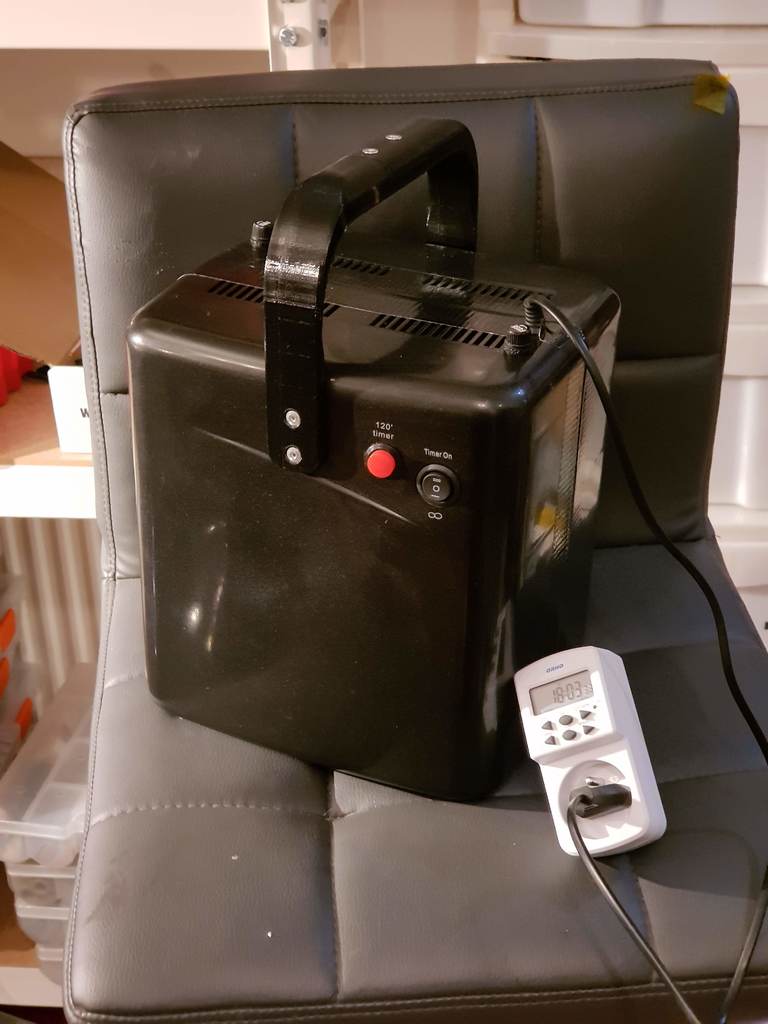
I upgraded my nail dryers from x2 cheap 365um units to a powerful 405um UV curing box with digital timer. The handle is slightly larger than my print area (210mm vs 200mm), so I split it into two parts for easier assembly and attachment to the dryers. This also makes it simpler to combine both dryers together. Unfortunately, my first handle print failed, so I had to reprint the missed part and glue them together to save time. To attach the handle to the box, I used rivets instead of screws and nuts due to laziness. A better approach would be to attach the handle halves to each dryer separately before doing the final assembly of the box. The default 365um UV lamps were replaced with more powerful 405um UV LEDs, which provide a brighter light and exact wavelength for resin curing. If you're planning to buy similar UV LEDs, ensure they are precisely 405um and not double-length 405+365um units (which have two LEDs and cannot be disabled). I've found that 405um gives better curing results and prevents the resin from developing a yellowish tint. For the digital timer, I purchased one from a local store for around $10. When shopping for an electric socket timer, make sure it has a counter mode (also known as "elapsed time" or "timer with counter"). This type of timer allows you to set a specific period of time and starts counting down on a single button press. Avoid timers that only allow you to set exact on/off times, as this will require manual adjustments each run.
With this file you will be able to print UV nail dryers handle with your 3D printer. Click on the button and save the file on your computer to work, edit or customize your design. You can also find more 3D designs for printers on UV nail dryers handle.