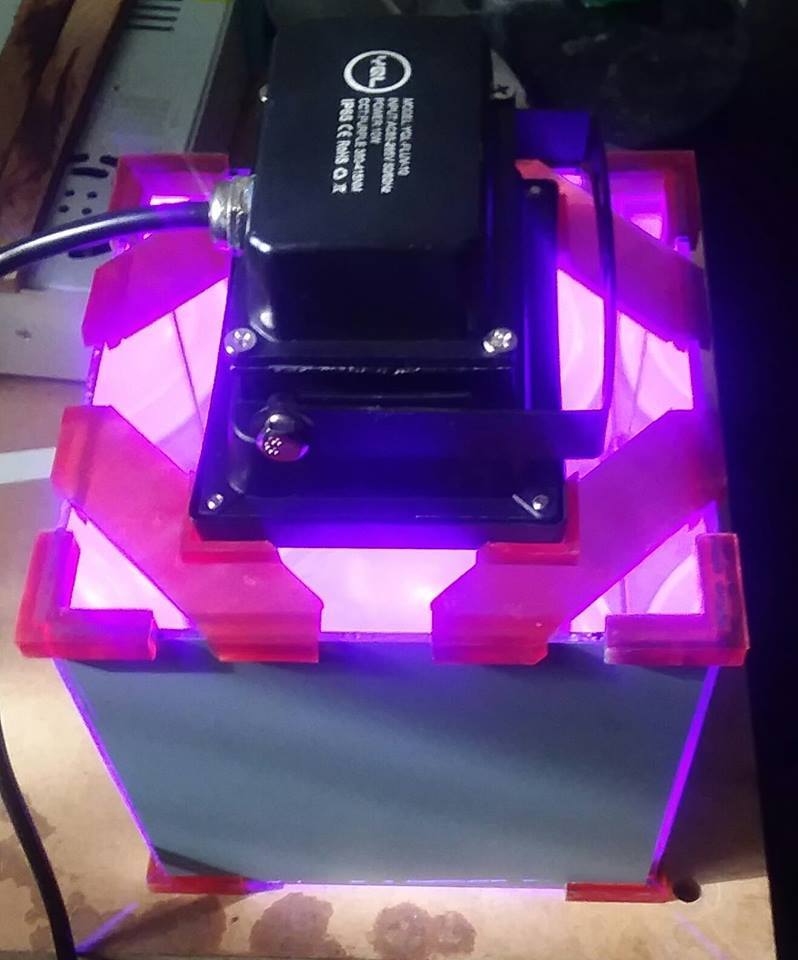
UV Cure Chamber
thingiverse
This is a compact resin cure chamber I created using items purchased from Amazon and some printed parts. If you use the same components, the chamber measures 6"x6" and is sufficient for my needs with my current resin printer. To assemble this chamber, follow these steps: 1. Measure out an acrylic mirror and score it with an exacto knife to snap it into four equal pieces (a 12"x12" mirror yields four 6"x6" pieces). 2. Print two sets of box corners and one set of the UV mount. 3. Attach the corners to the acrylic mirror using super glue, forming a rectangular box. 4. Position the UV mount and secure it in place with care, ensuring that the identical pieces are opposite each other to create a frame for the light. The UV light should fit snugly inside this frame at the top. To enhance the curing process, I place the chamber on top of a glass mirror, eliminating concerns about surface quality. The mirror also helps reflect more light onto the parts. Parts Used: Acrylic Mirror: https://www.amazon.com/Acrylic-Mirror-Sheet-Laser-Creations/dp/B073V592P5 UV Light: https://www.amazon.com/YQL-Blacklights-Blacklight-Lighting-supplies/dp/B076P8SMF1
With this file you will be able to print UV Cure Chamber with your 3D printer. Click on the button and save the file on your computer to work, edit or customize your design. You can also find more 3D designs for printers on UV Cure Chamber.
