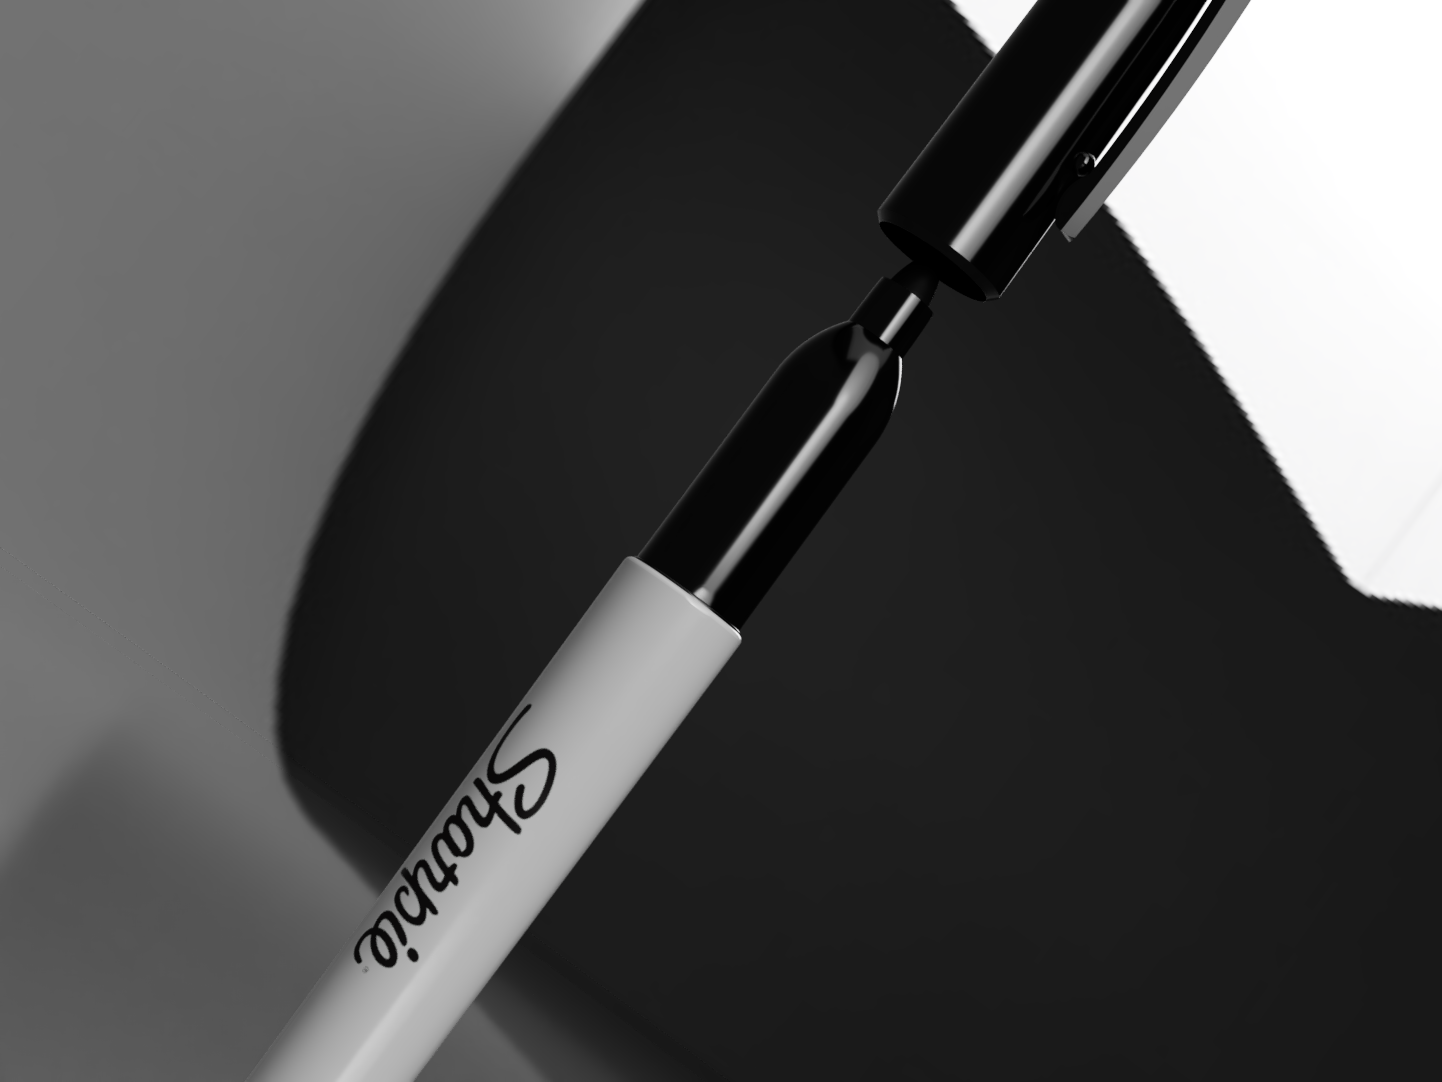
Use This to Make Sharpie Mods! (Sharpie Fine Point Dummy Model)
prusaprinters
<p>When designing a 3D object, it is good practice to first model the object you are designing around. The most recent Prusa Flash Contest is <a href="https://www.printables.com/contest/82">focused on Sharpie Mods</a>, and I have seen many entries that only rely on a simple radius to interface with the sharpie. This limits many models in their beauty and functionality. That's why I wanted to make a model of a Sharpie marker that was not only accurate enough to mechanically fit well with the standard Sharpie Fine Point, but also be easily workable to assist in the modding process.</p><figure class="image"><img src="https://media.printables.com/media/prints/253375/rich_content/e4e6b9db-8637-4f51-8763-f81d0cc7436d/sharpie_fine_2022-aug-04_02-37-29am-000_customizedview51549625514.png#%7B%22uuid%22%3A%221c803003-09c0-402b-bd21-111fdc25e2eb%22%2C%22w%22%3A1442%2C%22h%22%3A173%7D"></figure><h3>Measuring</h3><p>Making an accurate model of a Sharpie marker is difficult for a few reasons. First, it is difficult to measure. The form is nearly entirely composed of complex curves. To try and combat this, I started with flatbed scans of the marker. Then using a set of calipers, I measured key parts to fill out the model. </p><p>Second, the cap has a complex inner structure that is not immediately apparent. It needs to interface well with both ends of the handle, and protects the felt tip independently of the handle. The space for the tip is also extended upwards so air pressure does not become a problem when the cap is put on.</p><figure class="image image_resized" style="width:50%;"><img src="https://media.printables.com/media/prints/253375/rich_content/b649e8ea-4250-454c-824f-86ecd76b2963/image.png#%7B%22uuid%22%3A%225fef399d-587d-4858-b645-48fcfc53d1fa%22%2C%22w%22%3A732%2C%22h%22%3A909%7D"></figure><h3>Testing</h3><p>The printed caps and bodies of the Sharpie model fit nicely with the original marker parts. I will continue tweaking them for the best possible interface.</p><figure class="image image_resized" style="width:50%;"><img src="https://media.printables.com/media/prints/253375/rich_content/07da6543-e9ac-45c0-8fa7-f30532befb33/image.jpg#%7B%22uuid%22%3A%22046977b8-6729-4b32-b9df-ab6364a764b7%22%2C%22w%22%3A4032%2C%22h%22%3A3024%7D"></figure><figure class="image image_resized" style="width:50%;"><img src="https://media.printables.com/media/prints/253375/rich_content/8dc4e021-59ea-4006-b3d8-8448af40b907/image.jpg#%7B%22uuid%22%3A%223930afef-5f4a-4c1f-ae21-64c749efa0bb%22%2C%22w%22%3A4032%2C%22h%22%3A3024%7D"></figure><figure class="image image_resized" style="width:50%;"><img src="https://media.printables.com/media/prints/253375/rich_content/c27c95bc-2934-4d2b-8fbe-961c023057a0/image.jpg#%7B%22uuid%22%3A%227ab3f1b2-c357-4acf-827e-0db369d89f02%22%2C%22w%22%3A4032%2C%22h%22%3A3024%7D"></figure><figure class="image image_resized" style="width:50%;"><img src="https://media.printables.com/media/prints/253375/rich_content/fbe88183-06f3-4c98-8003-4ac721091f47/image.jpg#%7B%22uuid%22%3A%224ae8b1ae-eea2-4567-a9f1-a53ed90885ea%22%2C%22w%22%3A4032%2C%22h%22%3A3024%7D"></figure><h3>How to Use</h3><p>I want you to be able to use this model to make Sharpie mods that fit wonderfully. This model was made in Fusion 360, but I will include .step files as well so you can build on it from other applications.</p><h4>Usage Rules</h4><p>I want people to use this model to make Sharpie mods. However, I also want others to see the work I put into creating this model. Please mark any published designs as a remix if you use this model. This not only helps others find this and design great models, but also lets me enjoy the high-quality modifications that you all create.</p><h4>Walkthrough of the Model</h4><p>To familiarize yourself with this model, hit play on the timeline to see the steps I used to create the components. I first separated the marker into its parts like cap, handle, grip, and nib. The following sketches define the profile of those parts.</p><figure class="image"><img src="https://media.printables.com/media/prints/253375/rich_content/989f1ac9-7e80-4b3b-a2fe-2b2d1d62ce3b/image.png#%7B%22uuid%22%3A%223d8e77cb-b2d3-4f8e-a44d-aa2643681e68%22%2C%22w%22%3A784%2C%22h%22%3A44%7D"></figure><figure class="image image_resized" style="width:19.27%;"><img src="https://media.printables.com/media/prints/253375/rich_content/11ed10e4-0cc5-4fcb-905b-52b3b546c86e/image.png#%7B%22uuid%22%3A%22e8067dc0-f6e6-4ffa-8648-7a7a894df673%22%2C%22w%22%3A206%2C%22h%22%3A482%7D"></figure><p>If you are seeing a cross section, you can disable it by clicking the eye next to the “Analysis” section.</p><figure class="image image_resized" style="width:19.07%;"><img src="https://media.printables.com/media/prints/253375/rich_content/2c0cf52e-914c-4a79-9111-fa01d83340ad/image.png#%7B%22uuid%22%3A%2259c96f3d-67d2-4d1c-9c47-c891e37496f0%22%2C%22w%22%3A227%2C%22h%22%3A230%7D"></figure><p>Changing the dimensions in the sketches is the best way to tweak the fit of specific parts.</p><h4>Importing as a Reference</h4><p>When making a mod using this model, you'll want to import it as a reference into your document so you can design around it. Importing references is easy, and here's how I go about it.</p><p>In a new (saved) document, you want to use the Insert > "Insert Derive” feature. It keeps your timeline clean of the previous mess of making the dummy model itself.</p><figure class="image image_resized" style="width:75%;"><img src="https://media.printables.com/media/prints/253375/rich_content/90a63705-6a74-47f7-a5bb-b1db14fce54b/image.png#%7B%22uuid%22%3A%221938b57a-2a0e-45c7-90c9-2e38fda772a8%22%2C%22w%22%3A698%2C%22h%22%3A520%7D"></figure><p>When you select the file, it will temporarily open the file you're deriving from (the sharpie dummy model) so you can select what you want to import. I would suggest selecting the “Sharpie Cap” and “Combined Handle”</p><figure class="image image_resized" style="width:75%;"><img src="https://media.printables.com/media/prints/253375/rich_content/dc0c578c-e099-4deb-9416-087385faeafa/image.png#%7B%22uuid%22%3A%223052261f-3a86-41e6-bdb4-9fe9db8d66ff%22%2C%22w%22%3A837%2C%22h%22%3A524%7D"></figure><p>This inserts those components into your document for you to use for intersections, projections, and boolean operations!</p><figure class="image image_resized" style="width:50%;"><img src="https://media.printables.com/media/prints/253375/rich_content/458f7453-e0e0-47d2-855b-e4b0960bea6b/image.png#%7B%22uuid%22%3A%221632d77c-9e7e-46af-9d08-c9949203348a%22%2C%22w%22%3A409%2C%22h%22%3A507%7D"></figure><h4>Suppressing the Clip</h4><p>For some purposes, you may want to not use the clip of the sharpie when using this model. To suppress it, right-click on the timeline item called “Clip Profile Extrude” and select “Suppress Features.” You can also unsuppress it through the same process.</p><p> <img class="image_resized" style="width:28.33%;" src="https://media.printables.com/media/prints/253375/rich_content/6b5a537d-1c1b-4413-b1de-6b9abdf188e9/image.png#%7B%22uuid%22%3A%22b50bbdb0-f417-4c2b-addb-484a31a205f8%22%2C%22w%22%3A221%2C%22h%22%3A256%7D"><img class="image_resized" style="width:39.13%;" src="https://media.printables.com/media/prints/253375/rich_content/115062a4-ea87-4d06-8bfd-c103584f0417/image.png#%7B%22uuid%22%3A%224058c27c-2079-47a9-8b25-e7ec33b057f6%22%2C%22w%22%3A358%2C%22h%22%3A294%7D"></p><h3>Thoughts</h3><p>One of the most wonderful things about small-scale manufacturing is that it allows people to make beautiful objects that are not limited to the traditional engineering design space. I am not limited as much by the material used or the time it takes for me to design. Even on objects that may be taken for granted, the community can discover the best possible form and bring beauty to them through meticulous attention.</p><p>I really enjoy doing well organized CAD, and this was a very fun weekend project. I’d love to see you post your makes and remix my ideas. If this has gotten you thinking considering Sharpie mods more carefully like it did for me, consider liking the design, leaving me a tip using the <img class="image_resized" style="width:3.28%;" src="https://media.printables.com/media/prints/246839/rich_content/f60ed68f-0de6-42d8-916d-3d5898c064a5/image.png#%7B%22uuid%22%3A%22bf8baf83-ad9c-4476-b671-86bd74895891%22%2C%22w%22%3A28%2C%22h%22%3A22%7D"> button at the top-right and <a href="https://www.printables.com/social/7984-xuis/models">subscribing to my designs here</a>.</p><h3>Reference Scans</h3><h3><img class="image_resized" style="width:50%;" src="https://media.printables.com/media/prints/253375/rich_content/ac79160d-9694-432a-894d-e481d55cc63d/sharpie-normal.jpg#%7B%22uuid%22%3A%224f97b3e8-bef6-4eb0-acba-d1aab7156b19%22%2C%22w%22%3A792%2C%22h%22%3A1026%7D"> <img class="image_resized" style="width:50%;" src="https://media.printables.com/media/prints/253375/rich_content/422e7689-8fc4-4dad-8987-412d6fa9716e/sharpie-cap-cross-section.jpg#%7B%22uuid%22%3A%229c30e7c7-38bf-4ec8-aca3-081be6135c31%22%2C%22w%22%3A313%2C%22h%22%3A970%7D"> <img class="image_resized" style="width:50%;" src="https://media.printables.com/media/prints/253375/rich_content/c4469a75-5c32-4dae-8ec9-c3a2195177cf/sharpie-fine.jpg#%7B%22uuid%22%3A%22501eb08c-f0e4-4710-bf5a-66f49025f810%22%2C%22w%22%3A992%2C%22h%22%3A1026%7D"></h3><figure class="image image_resized" style="width:50%;"><img src="https://media.printables.com/media/prints/246839/rich_content/fe189dc1-4959-43f7-94f0-28c246c5da04/drop-shadow-transparent.png#%7B%22uuid%22%3A%22c7769a88-a172-4ef2-a19d-c48598e98171%22%2C%22w%22%3A1200%2C%22h%22%3A1200%7D"></figure>
With this file you will be able to print Use This to Make Sharpie Mods! (Sharpie Fine Point Dummy Model) with your 3D printer. Click on the button and save the file on your computer to work, edit or customize your design. You can also find more 3D designs for printers on Use This to Make Sharpie Mods! (Sharpie Fine Point Dummy Model).
