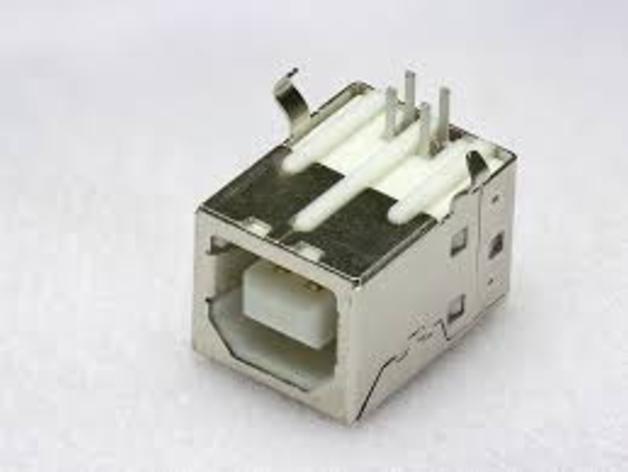
USB Type B Female Socket Fixation
thingiverse
To Install a USB Type B Socket on a Panel, Follow These Steps: First, obtain the necessary tools and materials, including the USB Type B socket, panel cutout template, drill press, drill bits, wire strippers, and a multimeter. Next, identify the correct location for the USB socket on your panel, taking into account any nearby electrical components or obstructions. Mark this spot carefully with a marker. Cut out the panel to fit the socket using the provided template and a jigsaw or circular saw. Be cautious not to cut too deeply, as you may damage the surrounding area. Drill holes for the mounting screws using a drill press and a 1/8 inch drill bit. Then, install the mounting clips according to the manufacturer's instructions. Strip the insulation from the wires connected to the socket using wire strippers. Use a multimeter to verify that each wire is correctly connected to the corresponding terminal on the socket. Finally, connect the wires to the socket and secure it firmly to the panel with screws. Test the USB connection by plugging in a device and checking for proper function.
With this file you will be able to print USB Type B Female Socket Fixation with your 3D printer. Click on the button and save the file on your computer to work, edit or customize your design. You can also find more 3D designs for printers on USB Type B Female Socket Fixation.
