USB lamp stand foot
prusaprinters
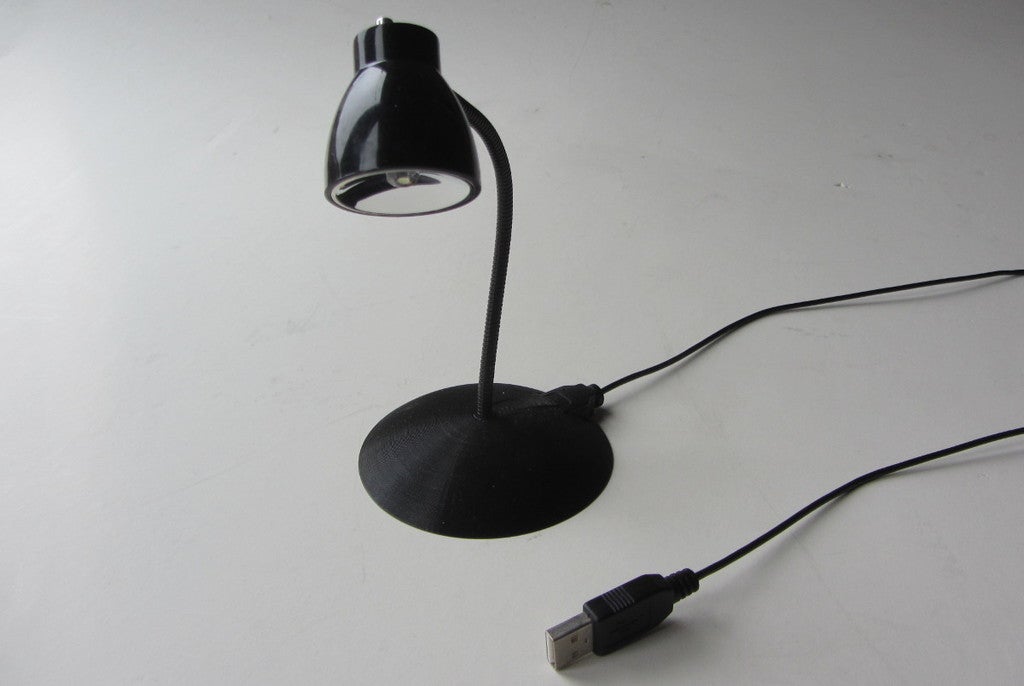
<p>This is more of a side effect of an experiment with sacrificial layer usage appllied to something marginally useful; changing an USB based laptop keyboard light to a standalone lamp. Based on a Maxxter ACT-NL-01 bought at a local Action shop, I applied the dome object from <a href="https://www.thingiverse.com/thing:2015387">https://www.thingiverse.com/thing:2015387</a>.</p><p>I learned about sacrificial layers here: <a href="https://www.youtube.com/watch?v=upqTE8EPZIQ">https://www.youtube.com/watch?v=upqTE8EPZIQ</a></p><p>The new version 4 is a bit higher, so a standard USB-A contra plug fits. The filler bit is available too. The dome gets smoother if you can apply dynamic layer height here.</p><h3>Print Settings</h3><p><strong>Printer Brand:</strong></p><p>Prusa</p><p> </p><p><strong>Printer: </strong></p><p>I3 MK3S</p><p><strong>Rafts:</strong></p><p> </p><p>No</p><p> </p><p><strong>Supports: </strong></p><p>No</p><p><strong>Resolution:</strong></p><p> </p><p>0.2mm</p><p> </p><p><strong>Infill: </strong></p><p>5%</p><p><br/><strong>Filament:</strong><br/><br/>Brand: any brand; Type: PLA, but any rigid filiament will do; Colour: black works best in my case <br/> </p><p><strong>Notes: </strong></p><p>Make sure the single sacrificial layer is present after slicing to carry the overhang in the upper layers. You have to remove it afterwards.</p><p>Making the top layers thinner gives a smoother surface. Some slicers (like PrusaSlicer), allow variable layer height.</p><p> </p><p> </p><p> </p><p> </p><p>Category: Decor</p>
With this file you will be able to print USB lamp stand foot with your 3D printer. Click on the button and save the file on your computer to work, edit or customize your design. You can also find more 3D designs for printers on USB lamp stand foot.