USB Charger 2020 (4020) mount
prusaprinters
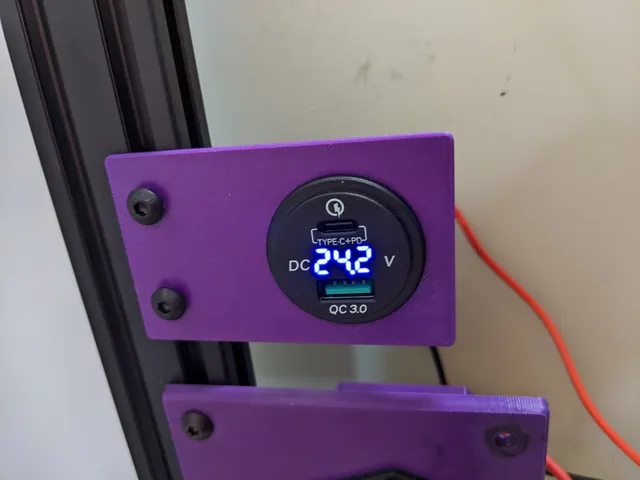
I had a PSU cover with a USB charger mount. I switched to a small PSU, so I “designed” this rectangle with 3 holes. Grab a USB car/marine charger from Amazon, AliExpress, or wherever to put in the big hole and M5 bolts with t-nuts in the small holes to anchor to the extrusion.Connect your charger to your PSU. The [charger I ordered](https://www.amazon.com/dp/B07NV9D61R) handles 12v-24v and displays the input voltage as a nice extra. Double-check your charger supports your printer's voltage. I used a charger with a USB-A (QC3) and a USB-C port. You can also find a variant with two USB-A ports. However, it only supplies 2A and the RPI claims to need 2.5A, while the RPI4 wants 3A. So, I might need to do some testing to use if this will actually work well for its purpose.Now you can power a Raspberry Pi, your phone, or something else from your printer.
With this file you will be able to print USB Charger 2020 (4020) mount with your 3D printer. Click on the button and save the file on your computer to work, edit or customize your design. You can also find more 3D designs for printers on USB Charger 2020 (4020) mount.